I wanted to make a smaller table which could be used as a coffee table as well as a table for kids. I searched a lot for a quicker and easier way to make such a table but could not find any instructions online. So I thought about it and came up with a way to make the table. I would like to share with you how I made the small table.
The frame was made using the plastic (PVC) waste pipe and pipe fittings (32 or 40 mm diameter) mainly used for bathroom/kitchen waste/drains. I bought these parts quite cheap from a trade DIY shop. In UK these type of pipes and fittings are called solvent weld pipe and fittings. Solvent weld means they can be stuck/attached with solvent cement (also known as PVC Glue).
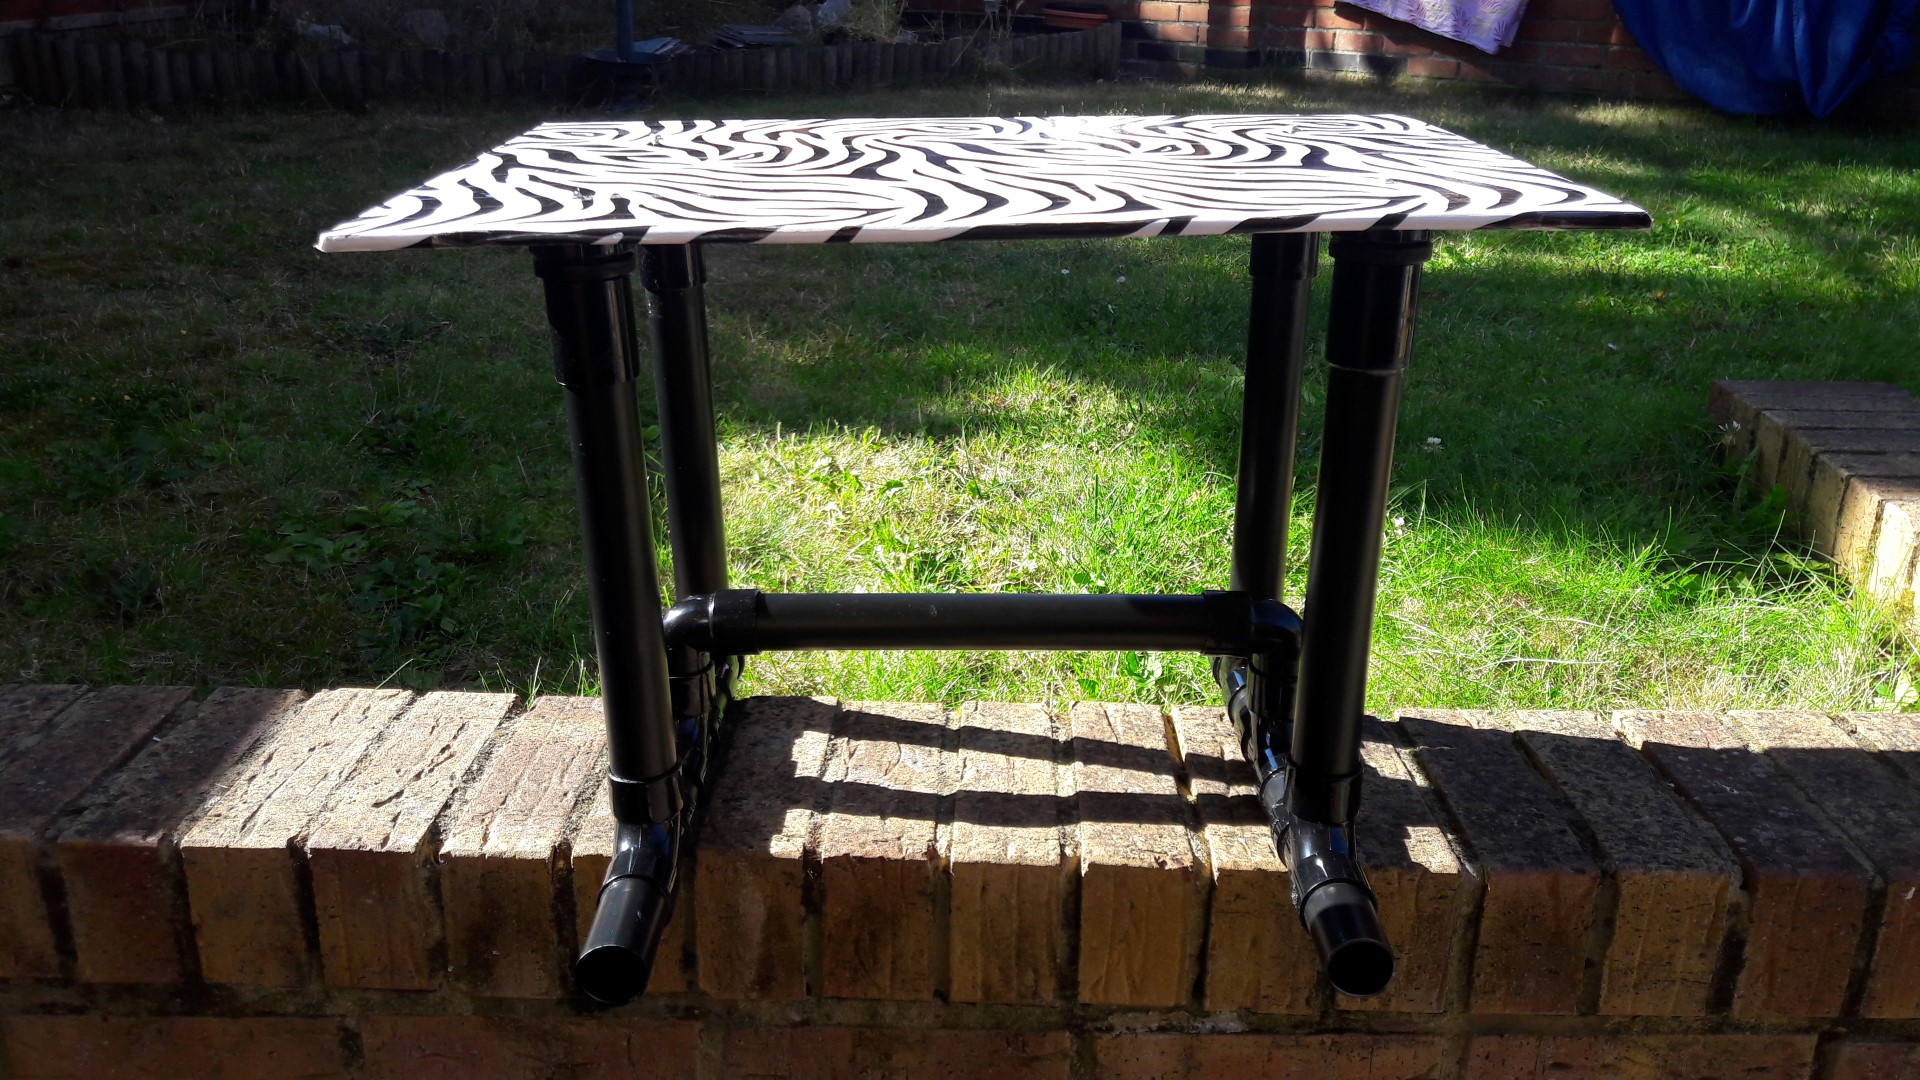
This is what the finished table looks like 🙂
Components Required
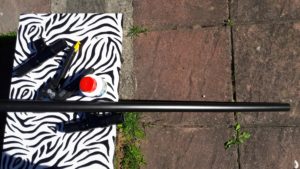
- Solvent weld (PVC) pipe black, 32 mm diameter
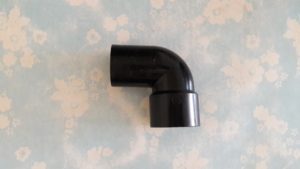
- Solvent weld (PVC) 90 degree conversion
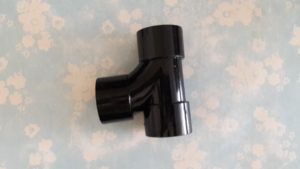
- Solvent weld (PVC) Tee, 32 mm
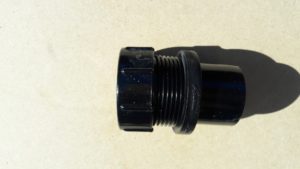
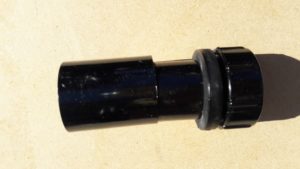
- Solvent weld (PVC) access plug
- Solvent weld (PVC) straight coupling 32 mm
- Solvent Cement (PVC Glue)
- About 5 mm MDF wood for the top
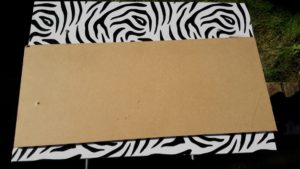
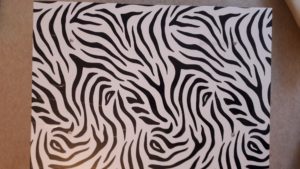
- Any nice decoration (paper or paint etc.) to go on the top
Tools Required
- Drill with a wood drill bit
- Screw-driver
- A wood saw (manual, hand one or powered) or get the wood already cut
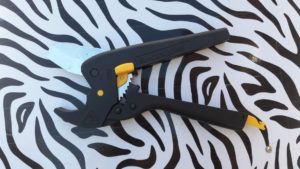
- Plastic, waste pipe cutter
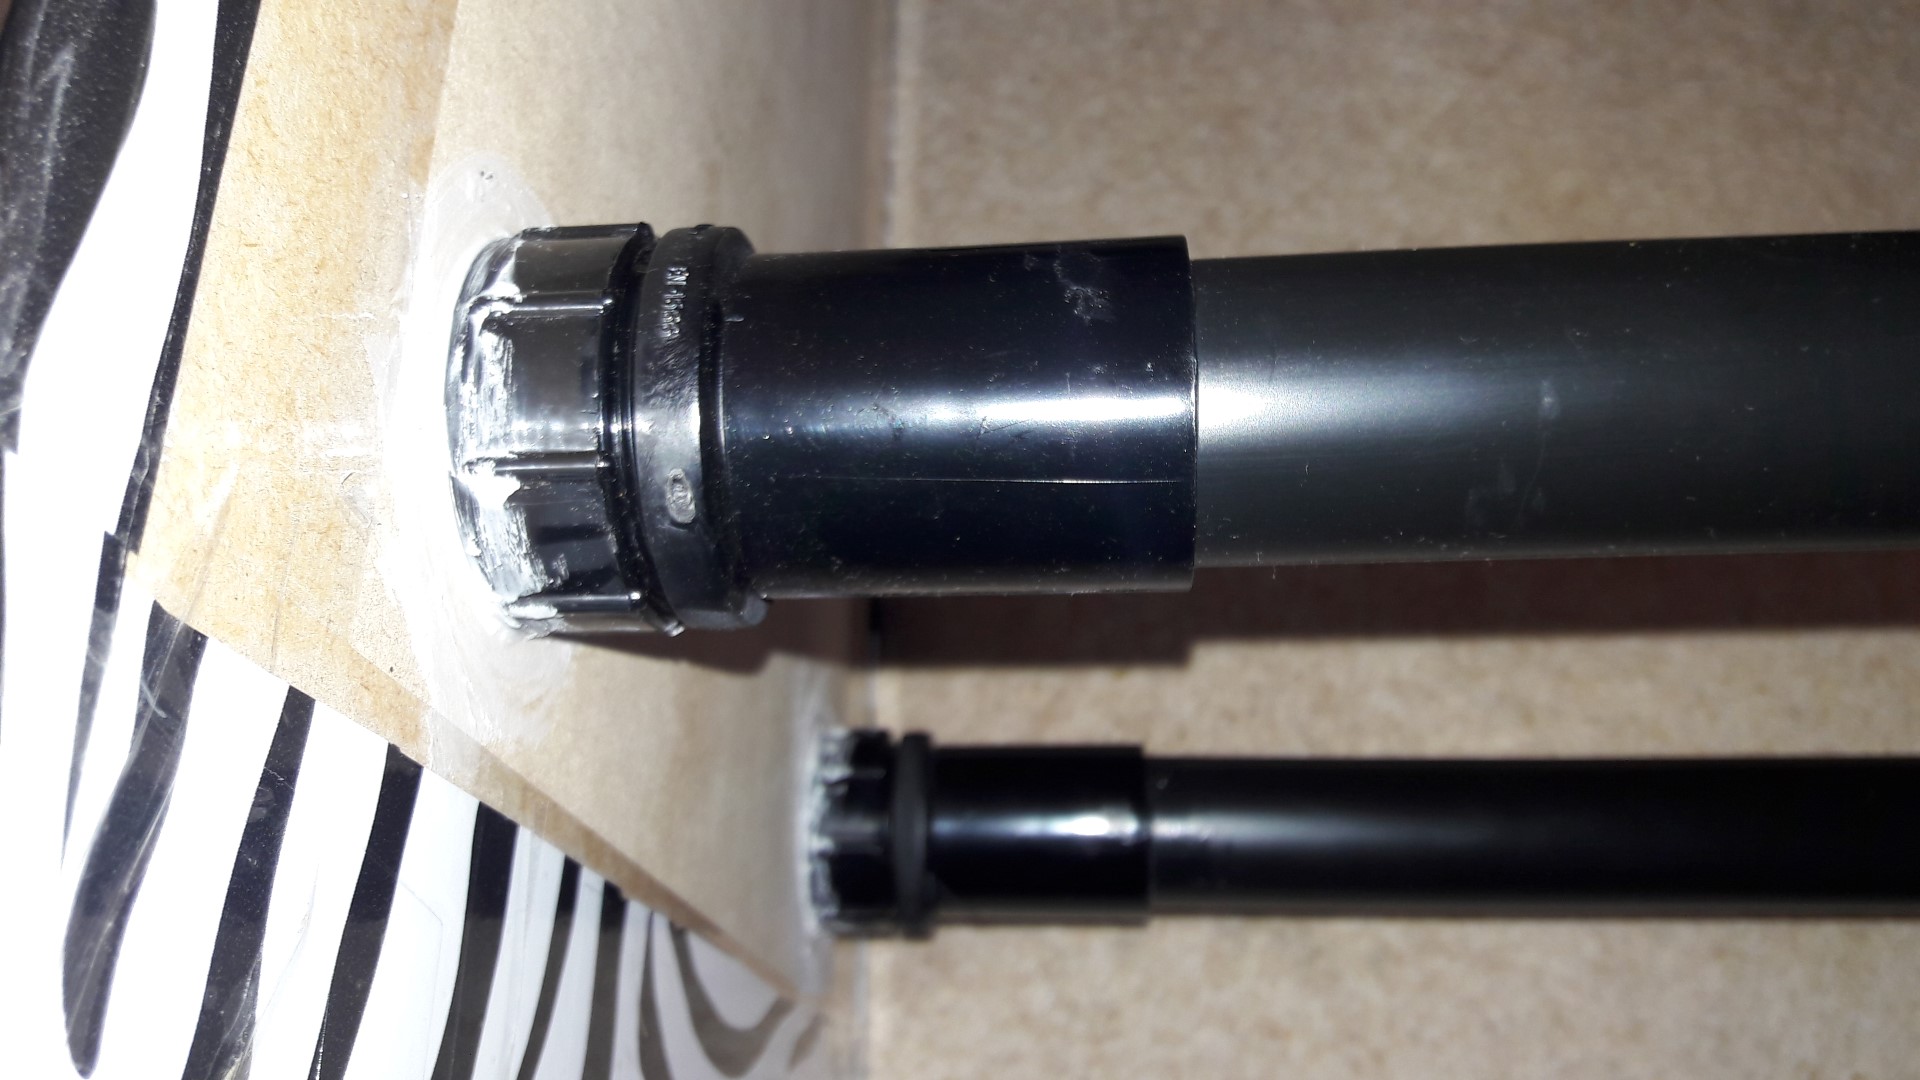
Please be careful while using these tools. First part of the process is to stick the access plug to the wood top of the table in order for the table legs to be screwed on. I first unscrewed the cap and glued the cap on the back side of the wooden top. I also drilled a hole through the top and the plastic cap and passed a screw and fixed it with a nut on the bottom side.

Applying solvent to a 32 mm straight coupling to make a joint with the access plug.
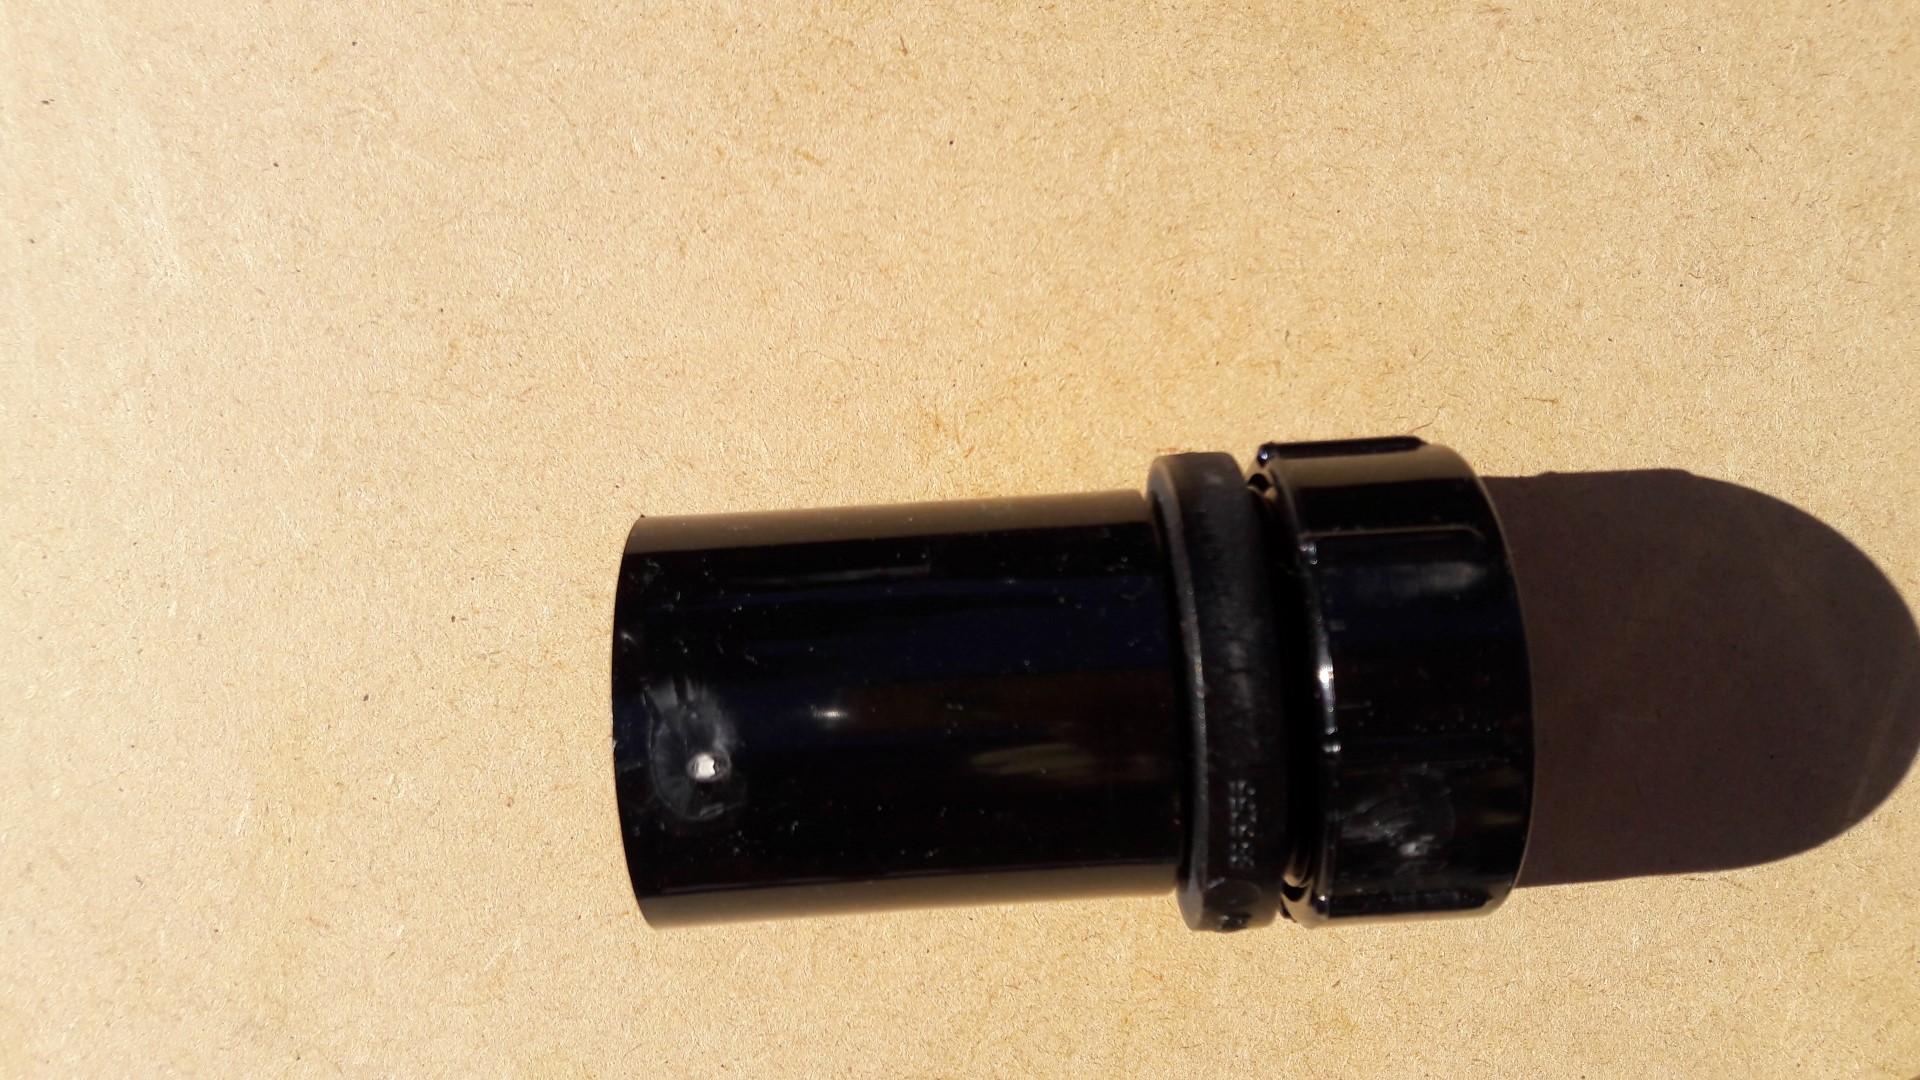
Then applying solvent to the straight coupling and the pipe cut to the size of the table leg that you require in order to create the leg of your table.
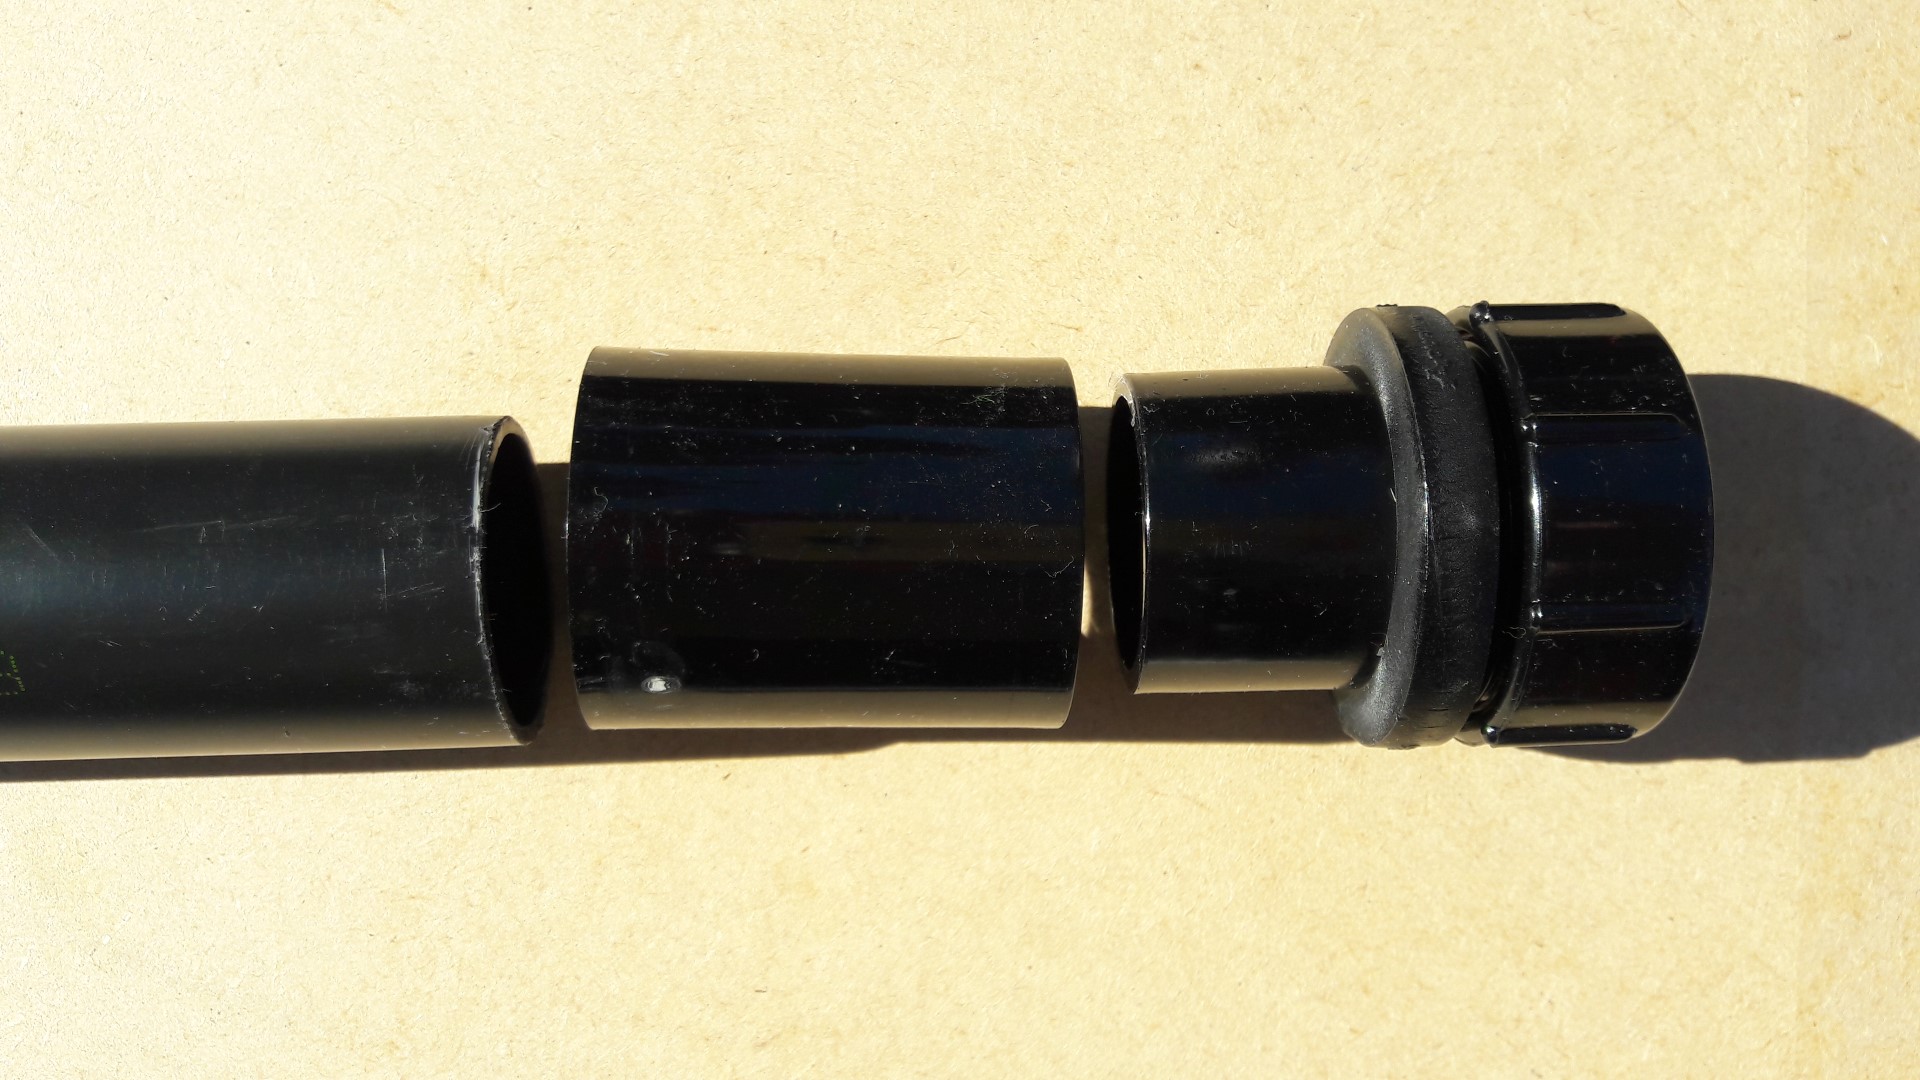
Finally the leg of your table is ready :).
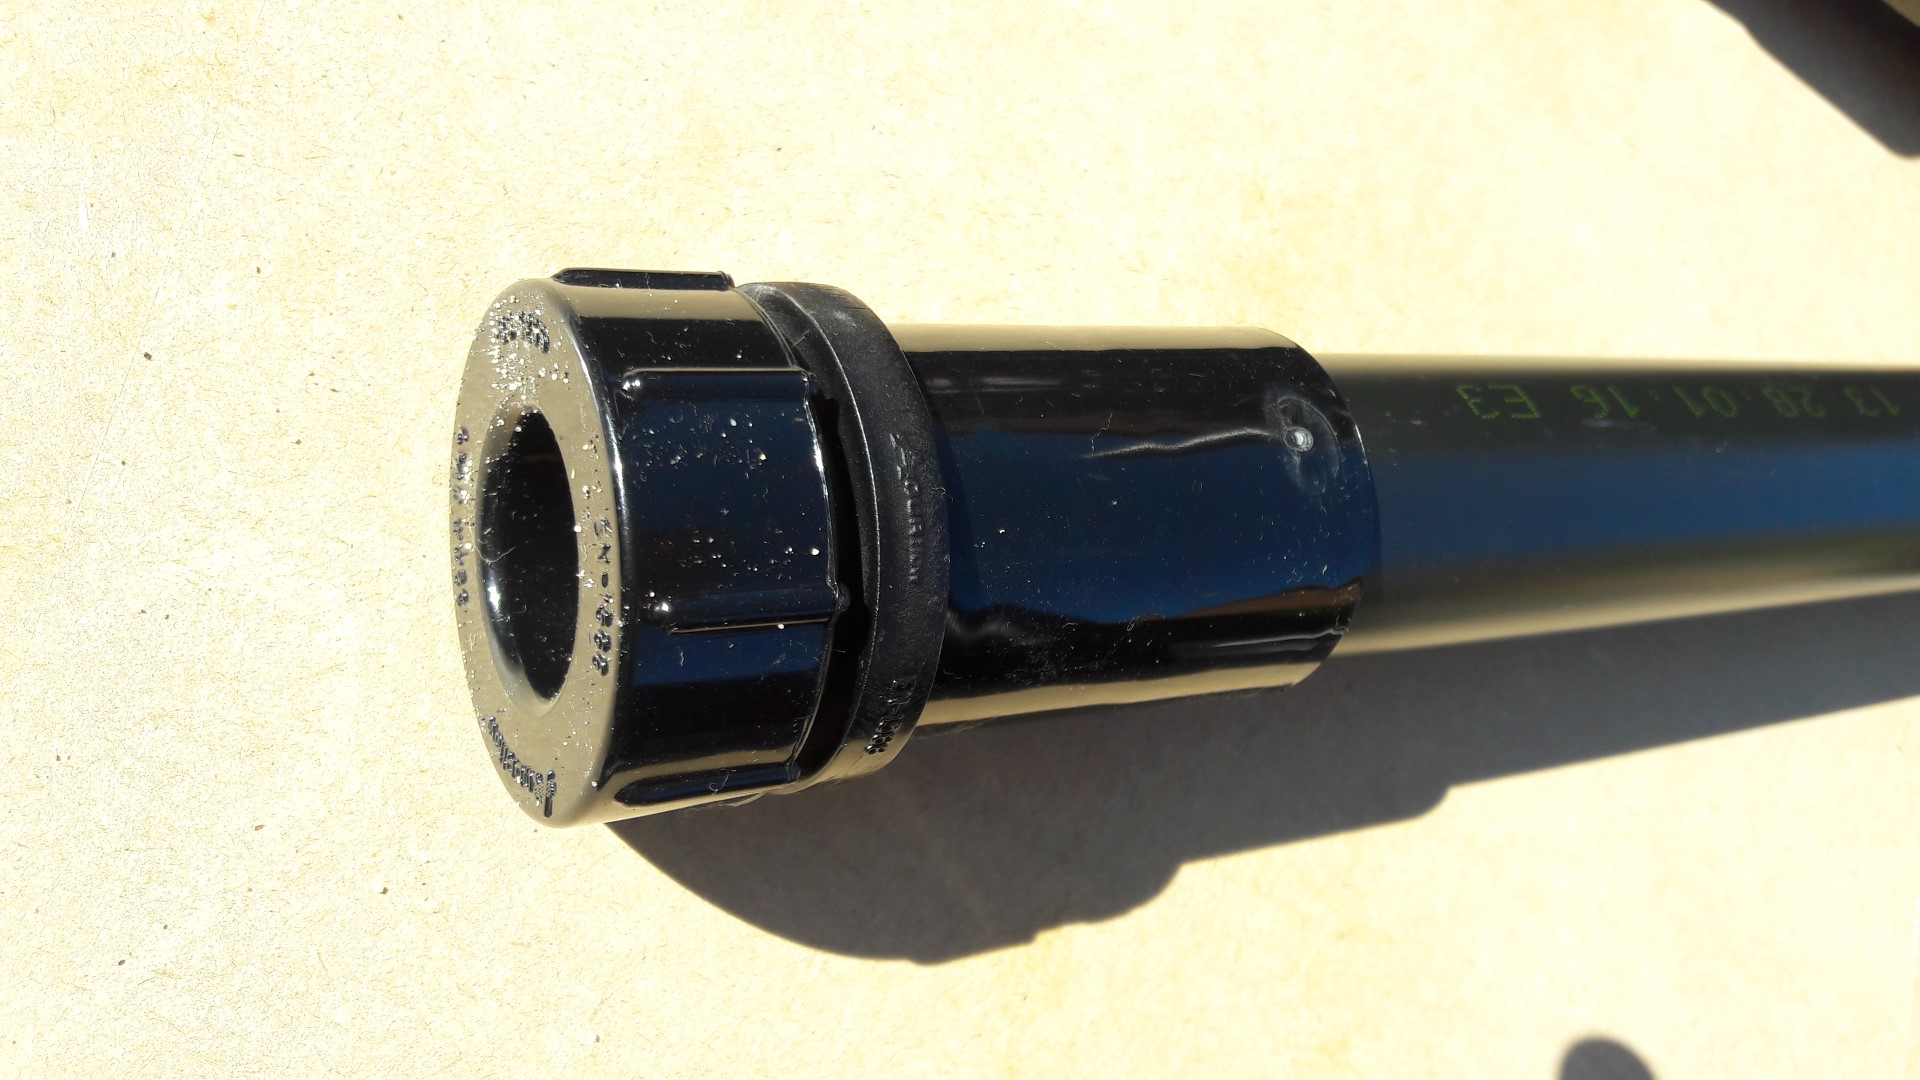
The leg then is screwed onto the cap of the access plug which we stuck on the back side of the table top before.
Now solvent is applied to the Tee to create stable base on the legs of the table.
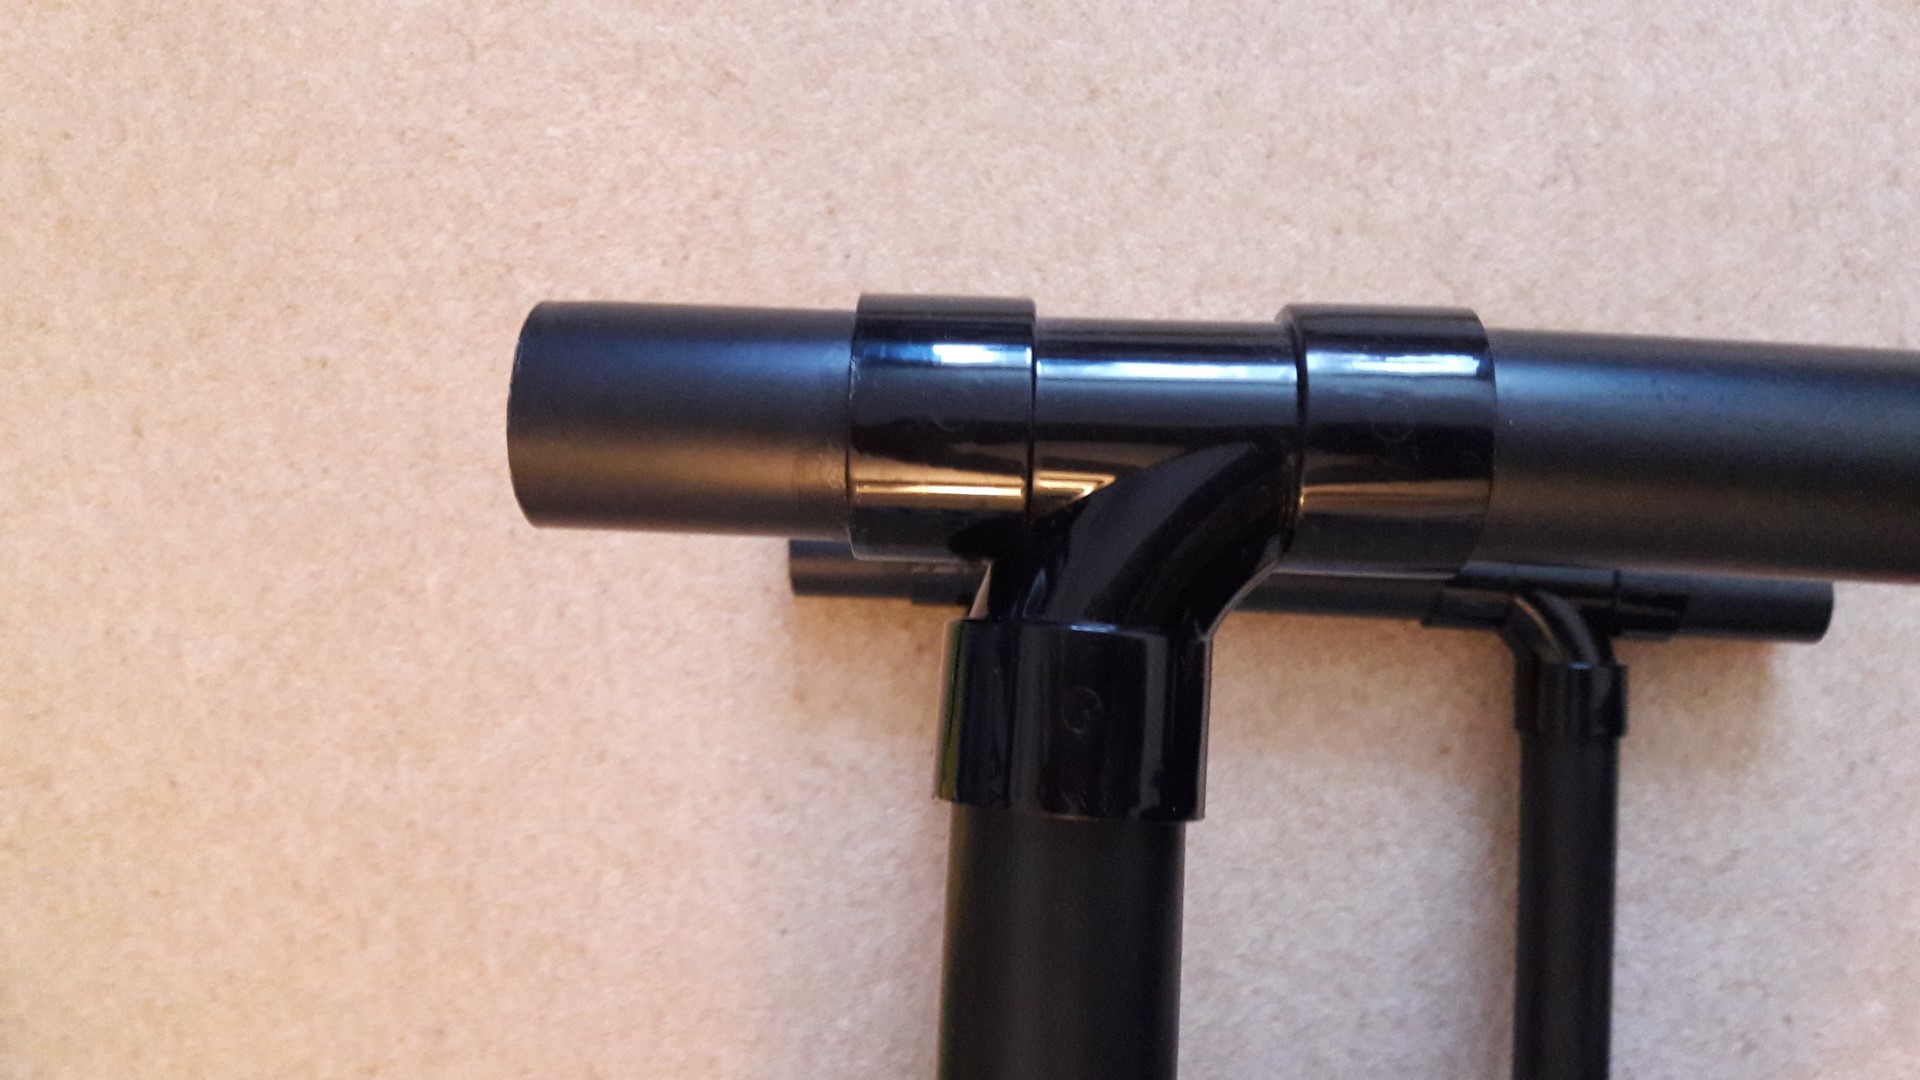
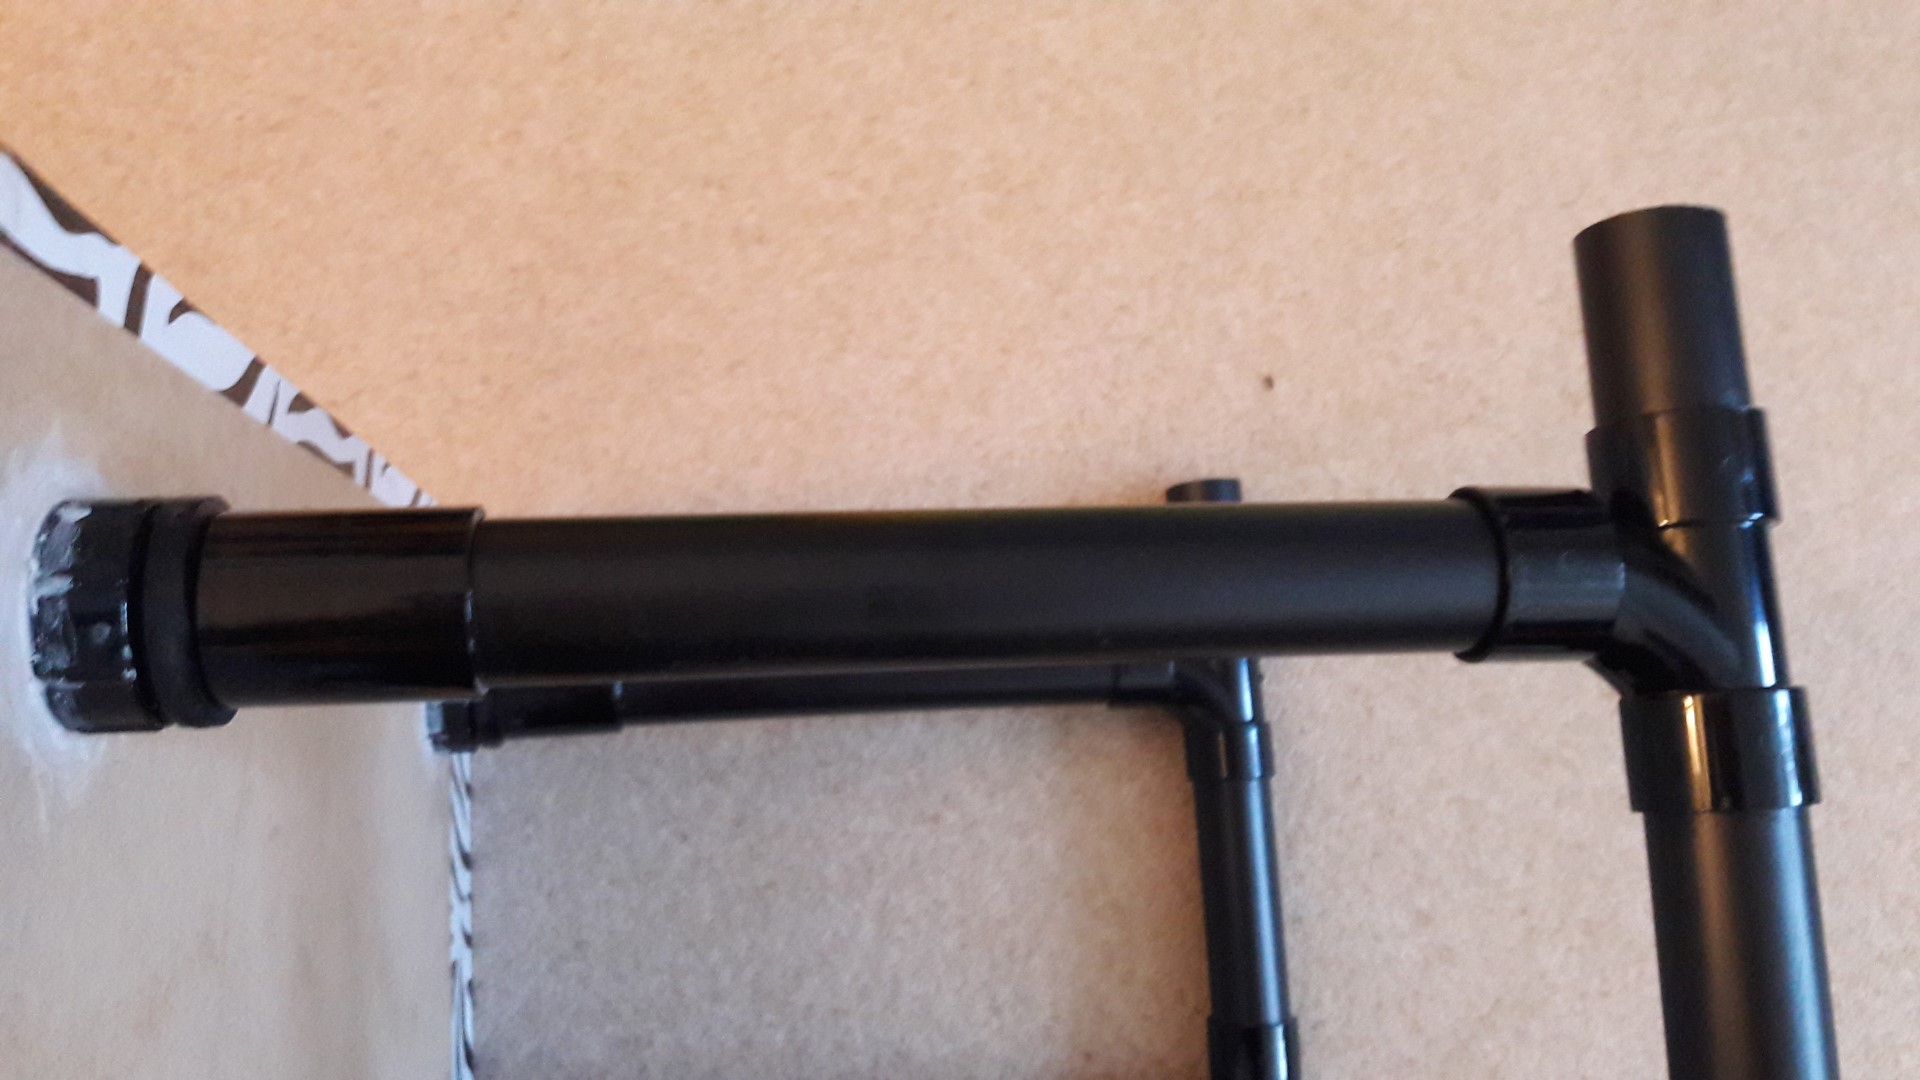
The following image shows the entire table leg. The main reason behind creating such a base at the end of the table leg is so that the table can easily slide on the carpet or laminate floor. This also stabilizes the table and gives strength to its structural integrity.
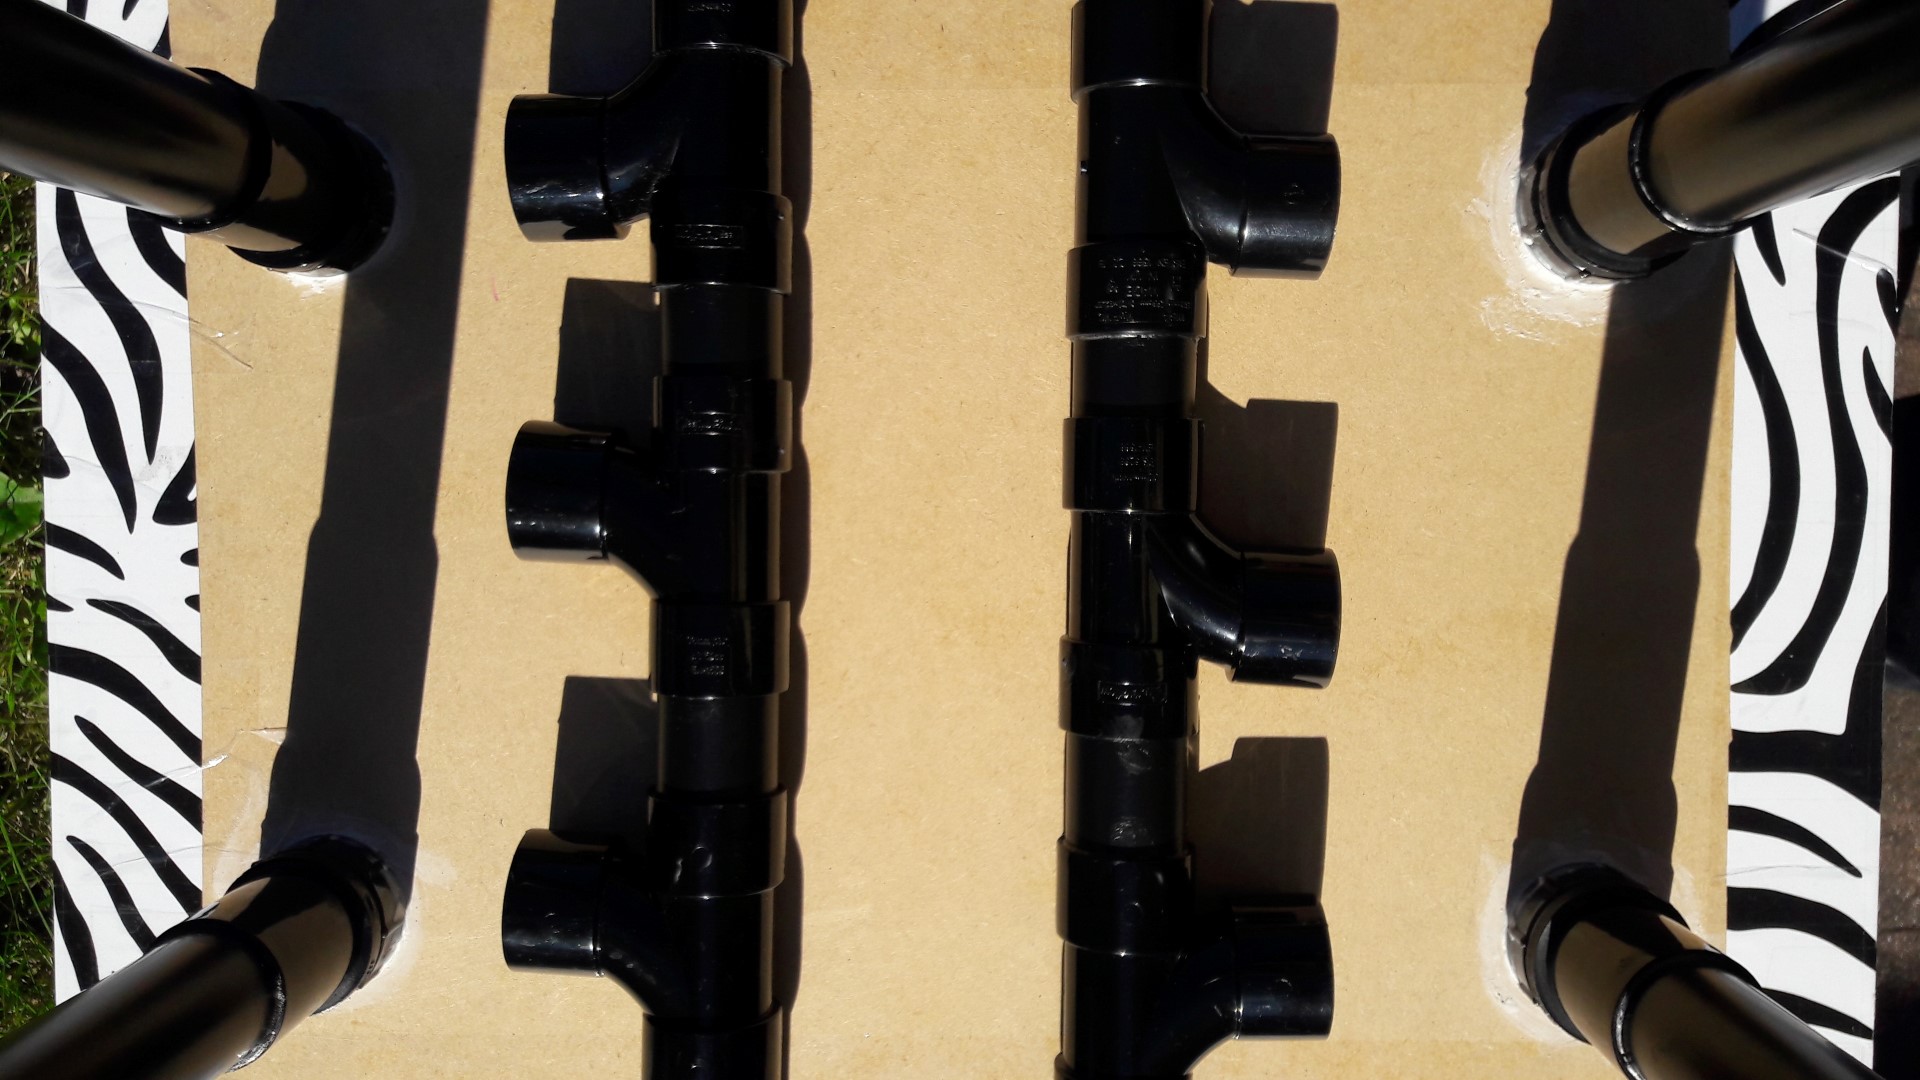
In order to create the middle support and leg rest, 3 Tees are stuck together as shown in the following image, by applying solvent to the Tees and small pieces of pipe to link and interconnect them.
The 90 degree conversion is then stuck to the middle Tee. This forms one end of the leg rest in the middle of the table.
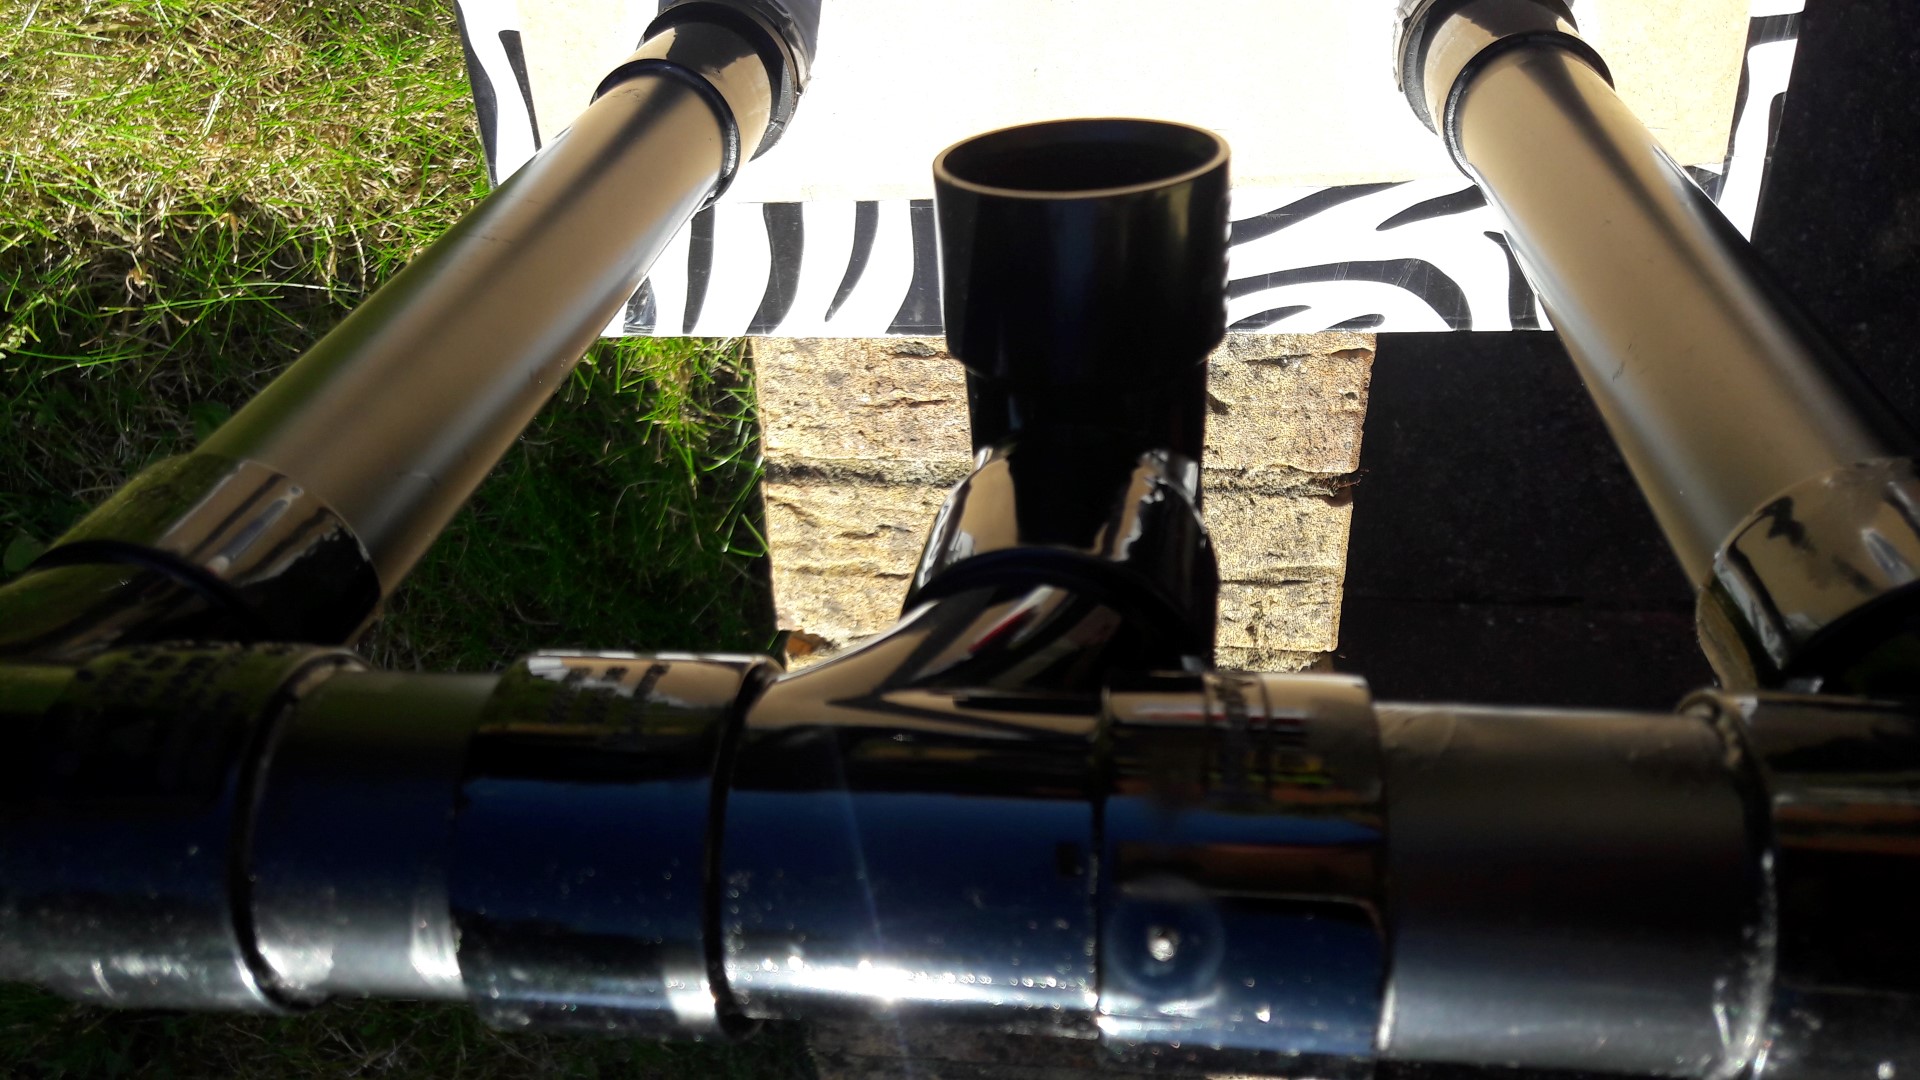
Then pipe is cut and stuck to the 90 degree conversion on one end, length wise to create the leg rest.
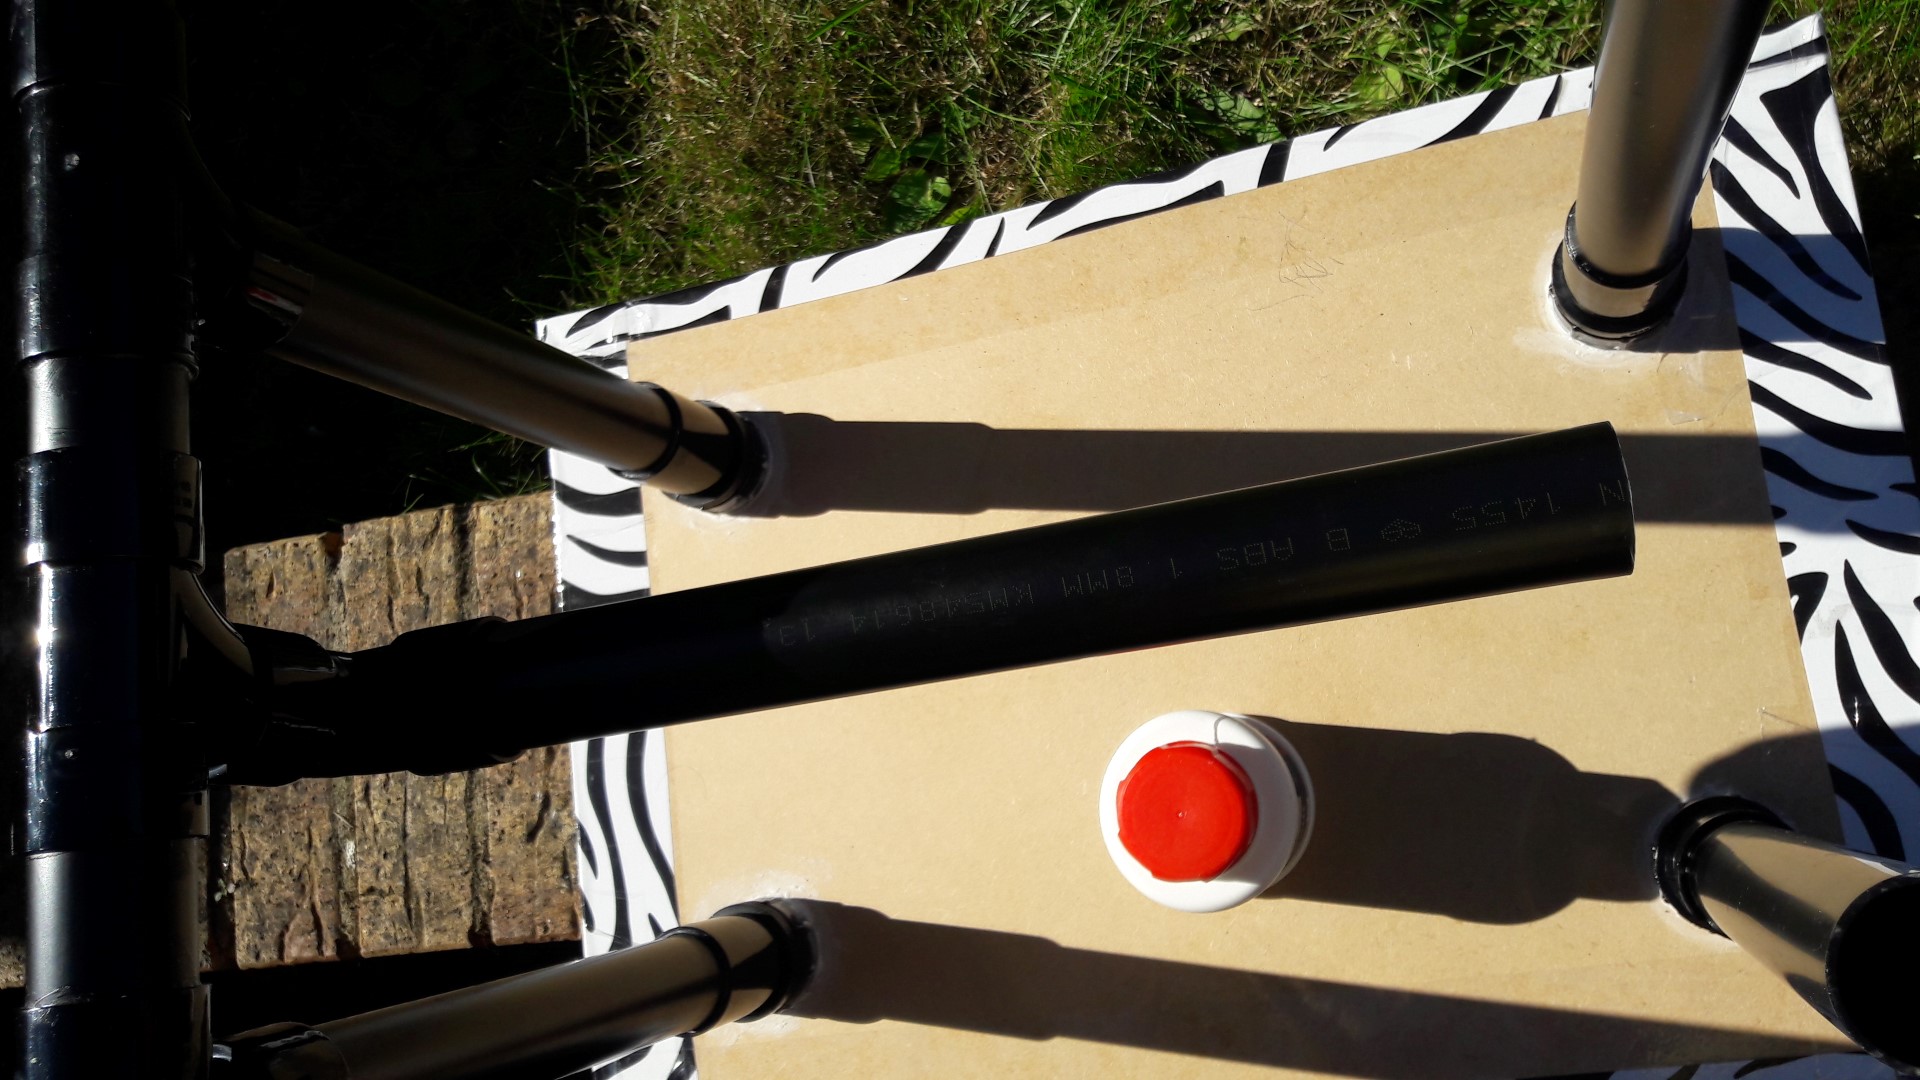
Similarly the other end of the leg rest is created using the Tee and the other 90 degree conversion.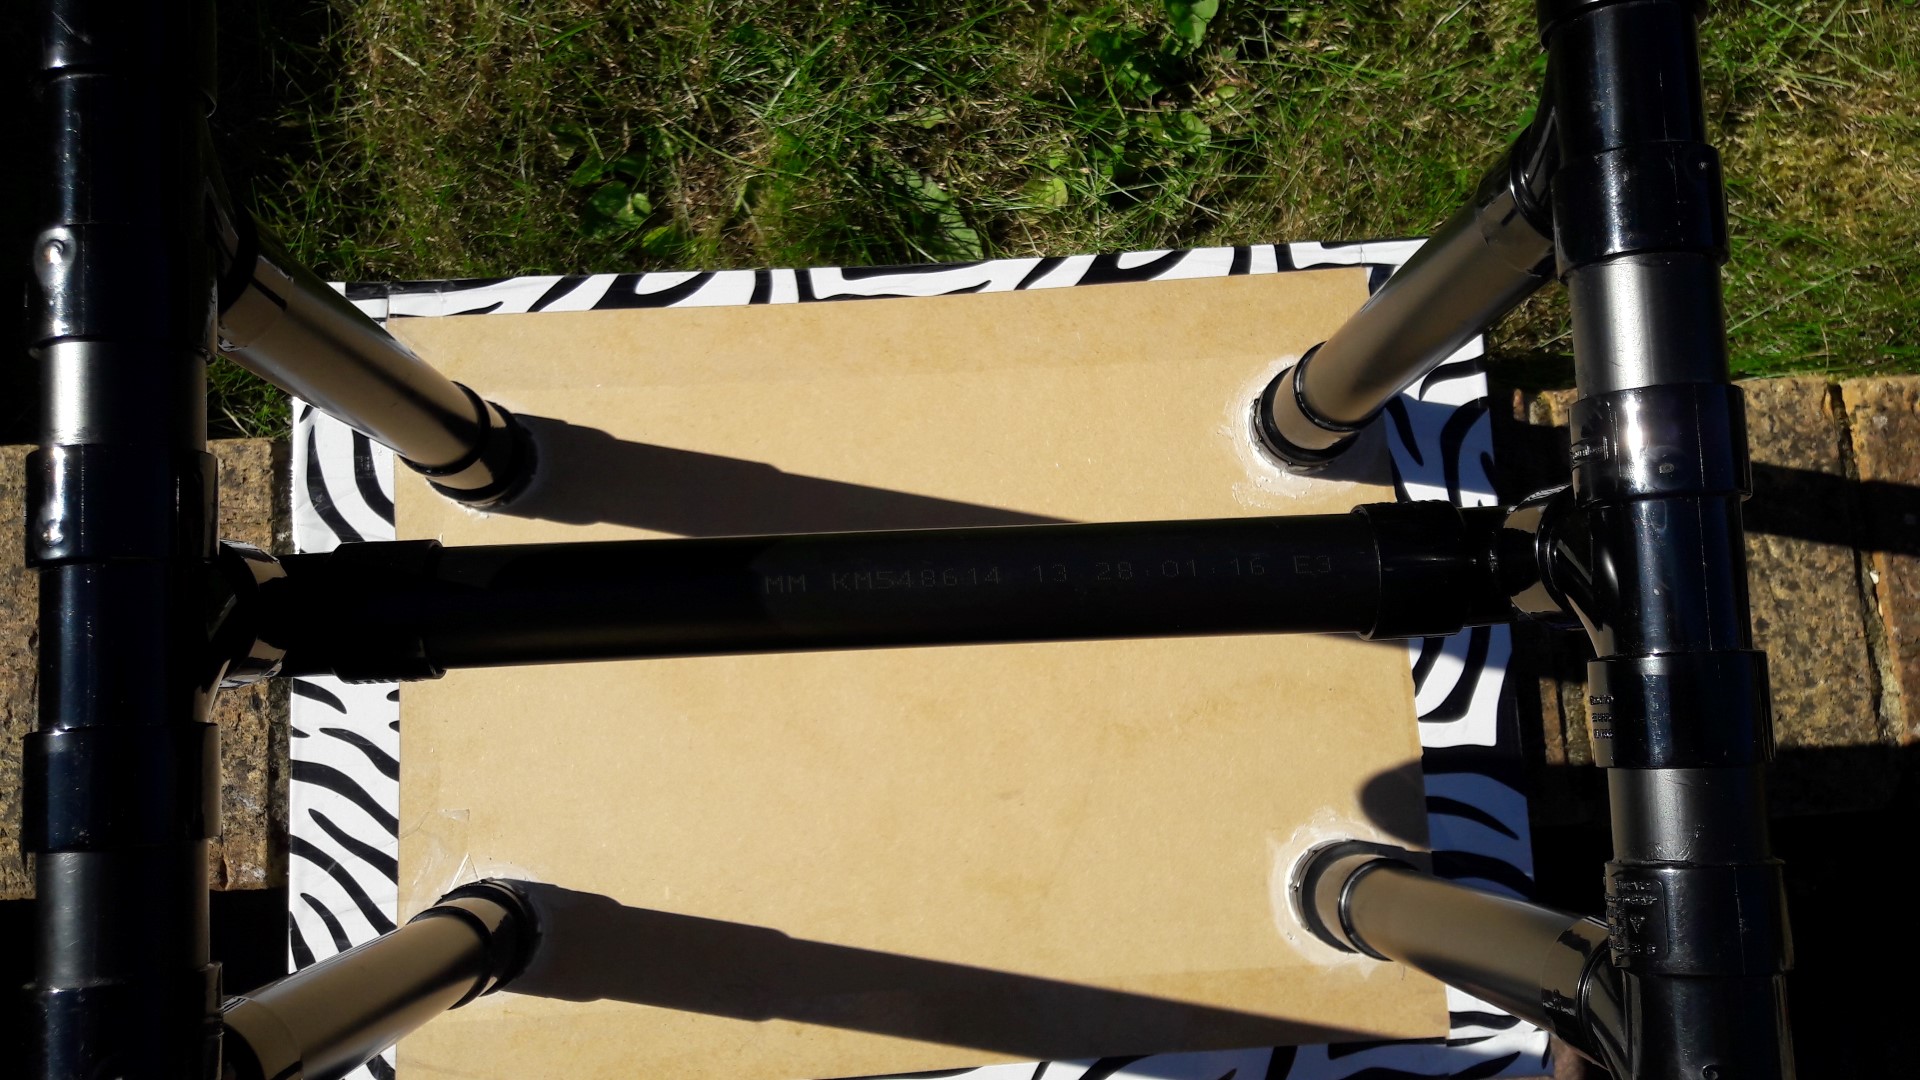
This structure serves two purposes, a nice leg rest and provides much required structural strength to the table.
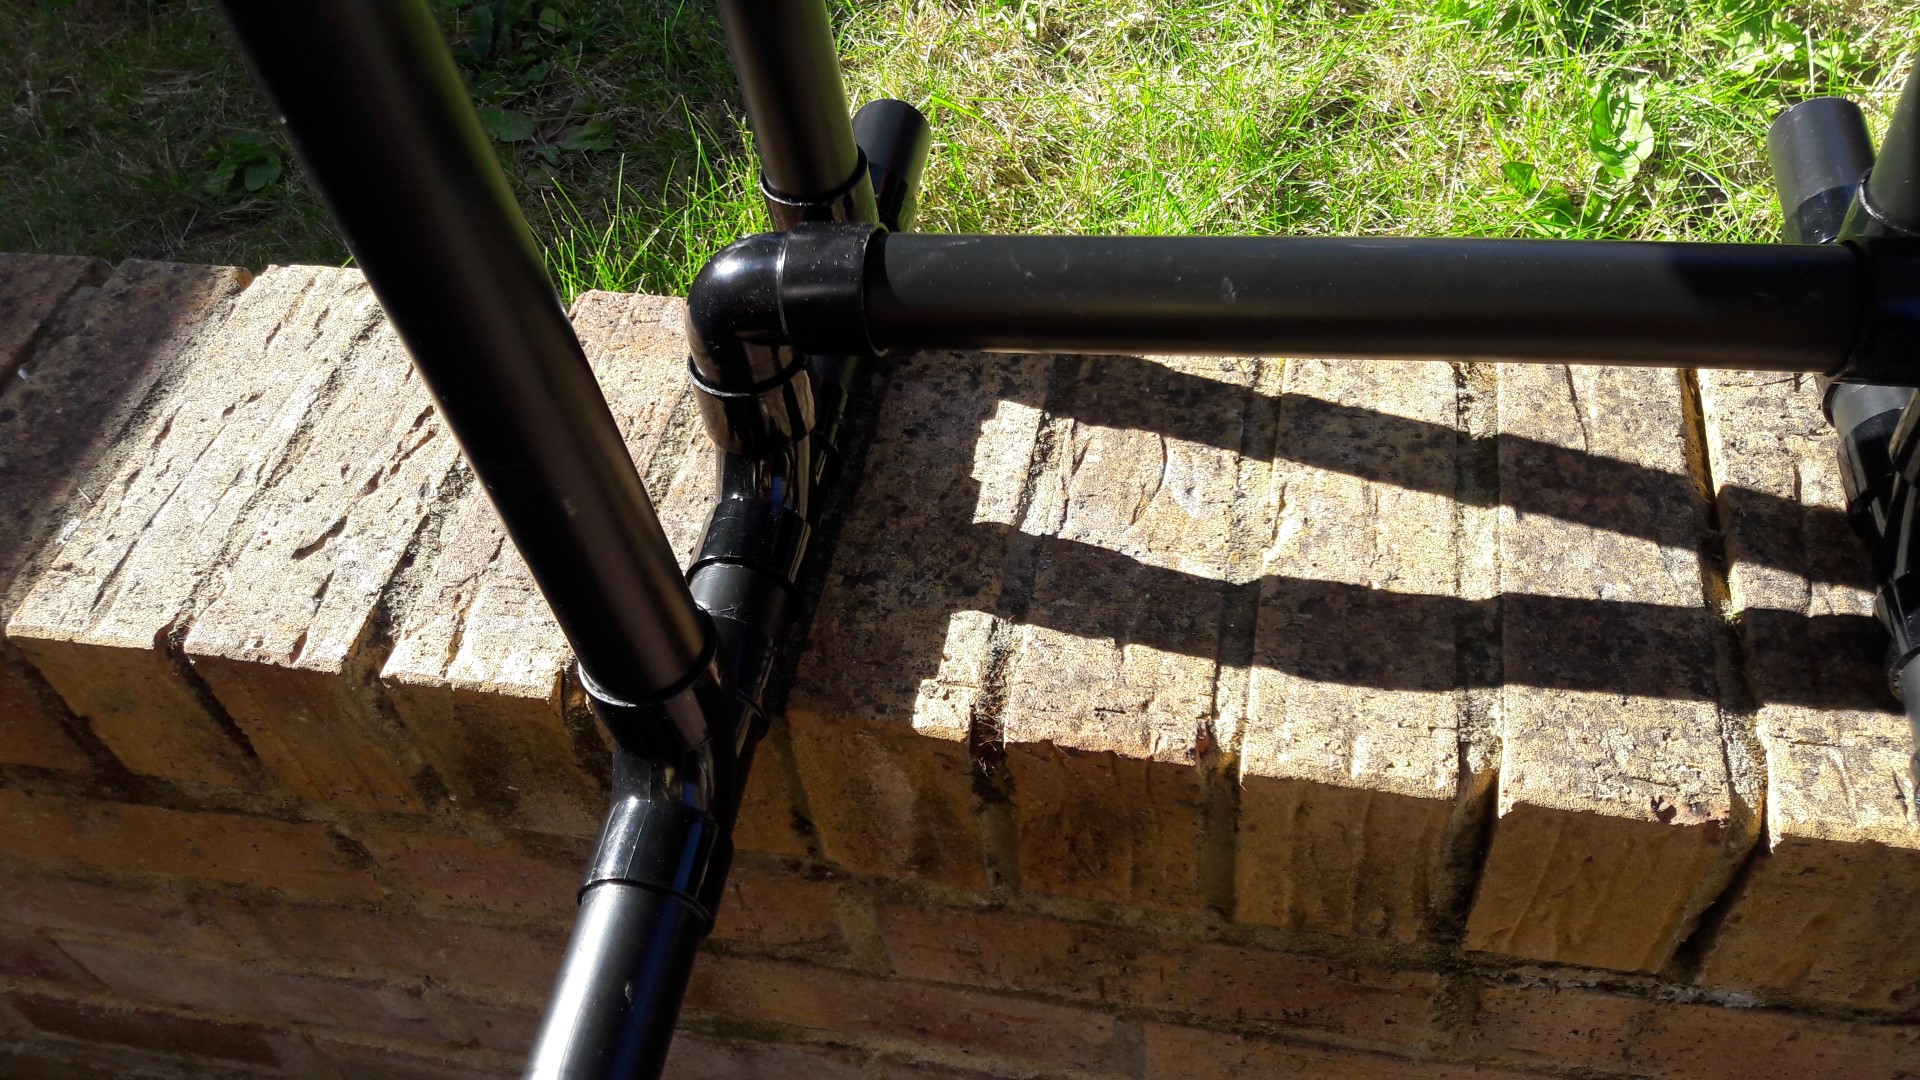
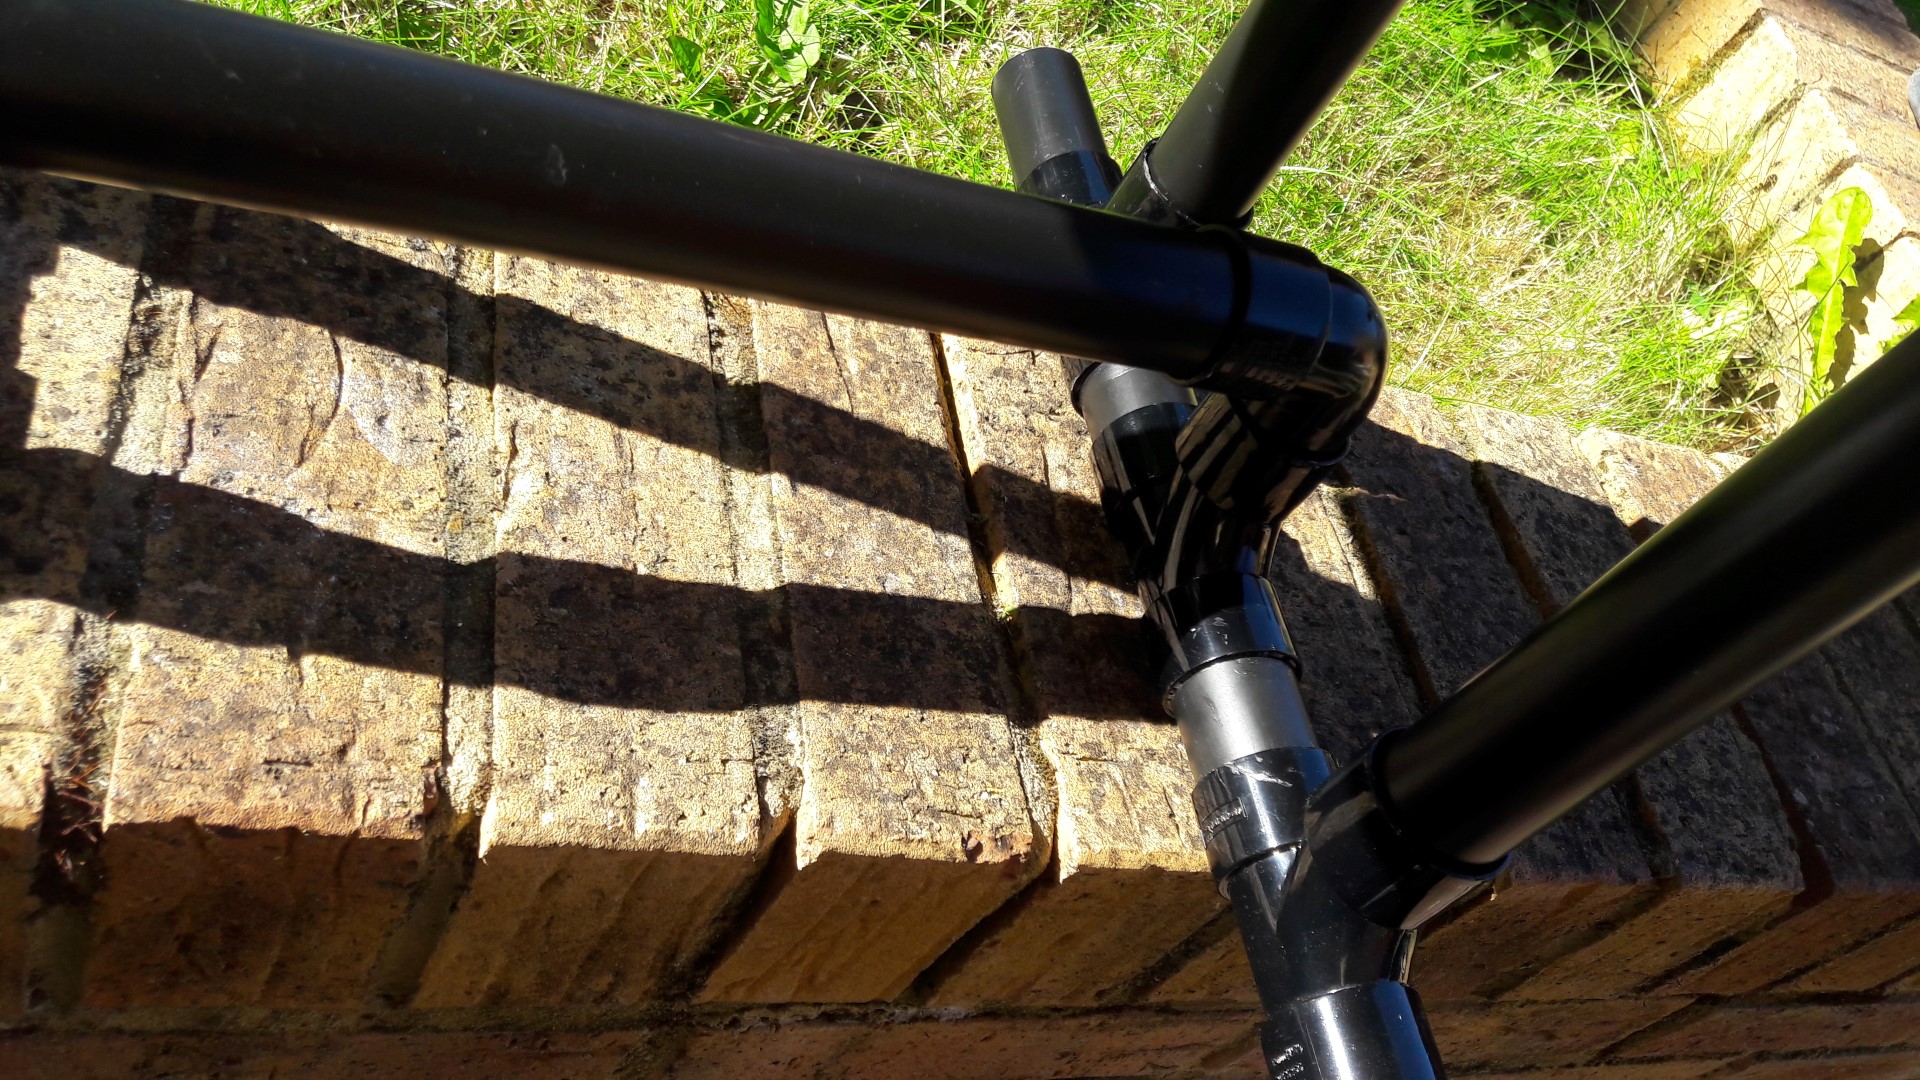
Finally the table is ready. So easy to make, so quick to make.

