Until now I have been using my laptop without an external mouse. I now needed to use an external mouse for my work because the touch-pad and the buttons on the touch-pad slowed me down.
A while ago, I had purchased an off-the-shelf cheap lap-desk for my laptop which did not have space to put external mouse and mouse pad. This still cost me £10. So I did not want to spend more money to buy another one. Also, lap-desks with space for an external mouse were quite expensive and not normally easily available.
So that got me thinking, the aim was to figure out a quick, cheap (almost free) way to make a lap-desk with decent space to accommodate a mouse pad and external mouse. You may choose to not have the space for an external mouse. This Instructable shows you step by step how to make such a lap-desk from scrap laminate flooring.
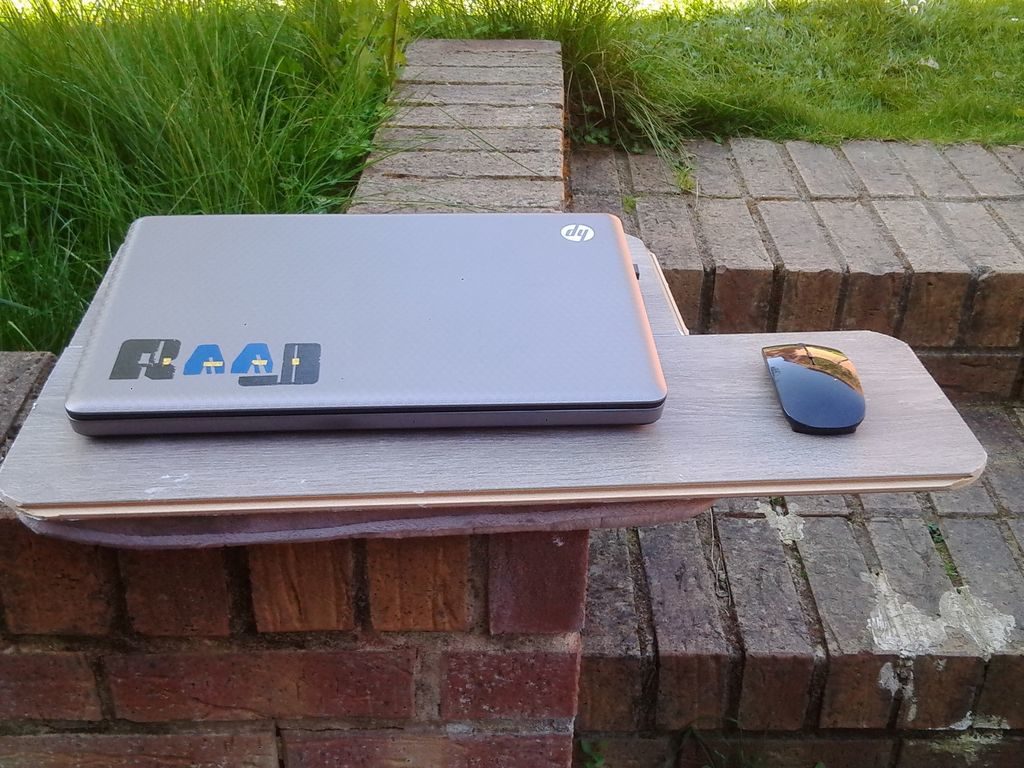
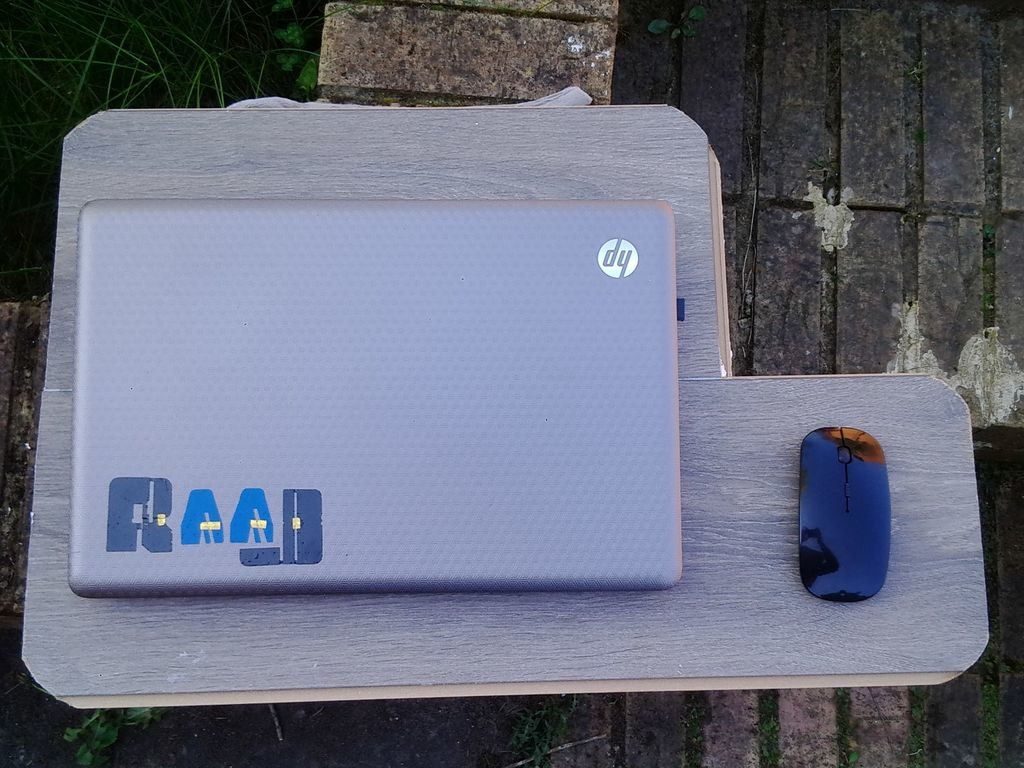
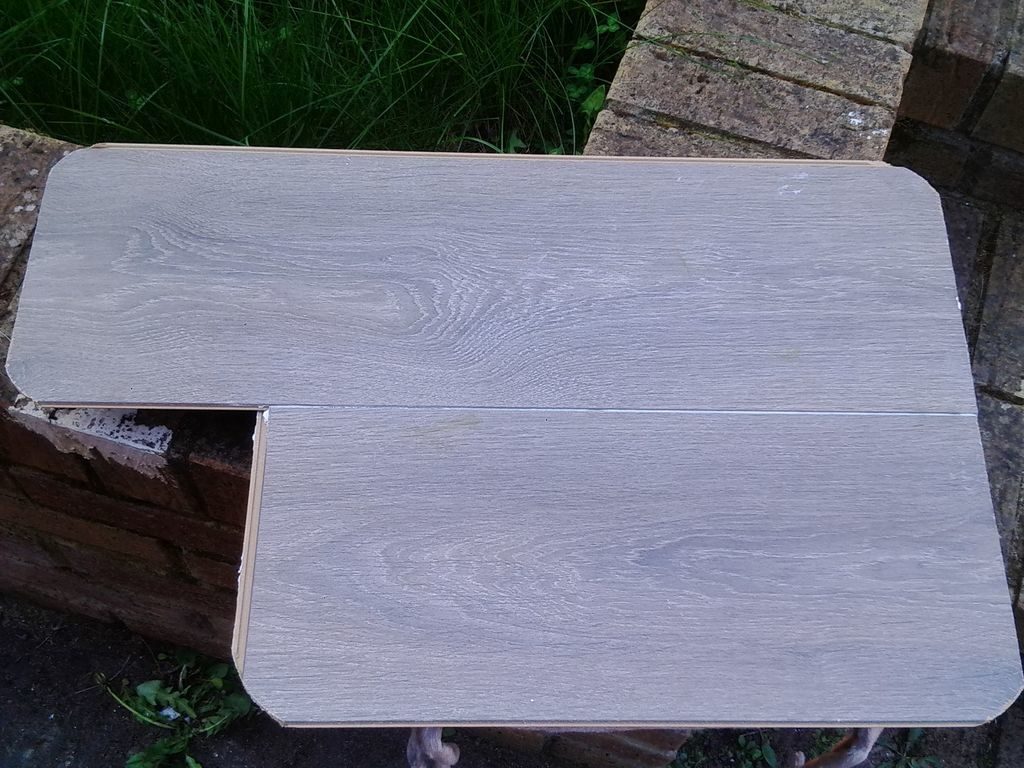
The picture on this page is of the finished lap-desk.
Materials and Tools
The aim is to make it almost free or extremely cheap. When I say cheap, definitely cheaper than the off-the-shelf one which had cost me £10.
Materials:
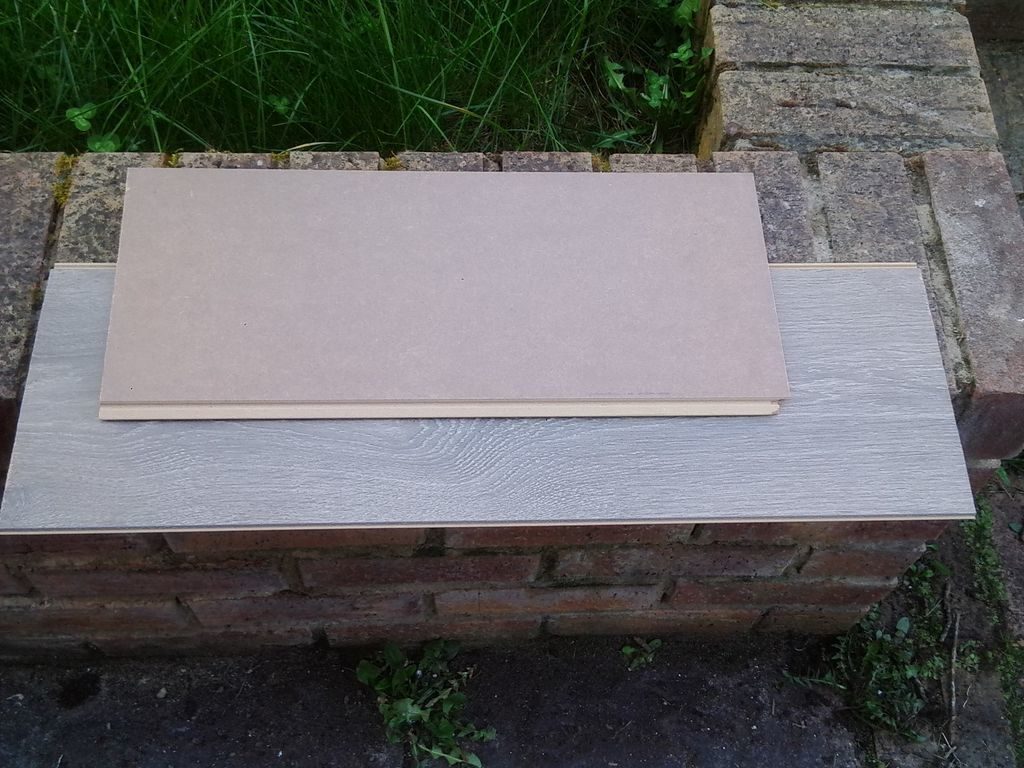
1) Scrap, unused, off-cut, reclaimed laminate floor board. You have freedom to choose whatever color you like. We need two pieces to click into one another so as to allow the width to fit the lap and so that you can rest a decent sized 15 inch laptop on it. You may measure the size (length and breadth) of your lap that you want to cover and the size of the laptop. One piece requires to be slightly longer than the other to allow the space for an external mouse. You may choose not to have space for an external mouse, in that case you should have both the cuts of the laminate of same size. Images show the cuts that I used.
2) Some form of wood/construction glue.
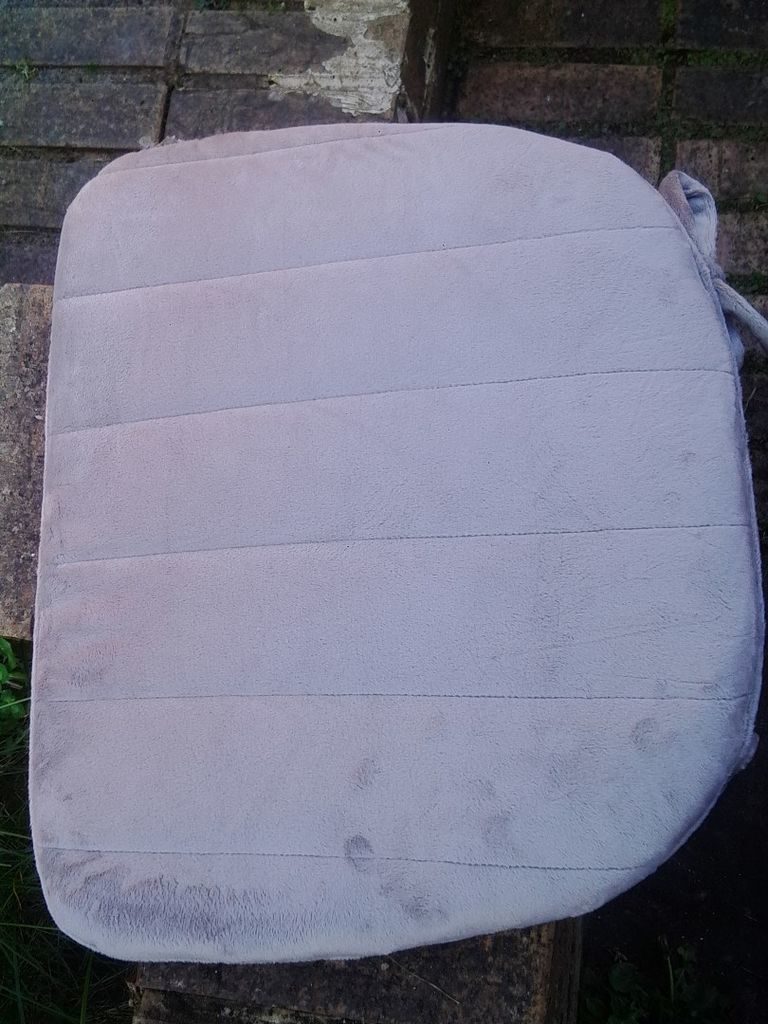
3) A chair cushion. The size would be to cover the lap area.
Tools:
1) Jig saw or hand saw or some saw to cut the laminate as necessary.
Joining the Two Offcuts of Laminate Flooring Boards
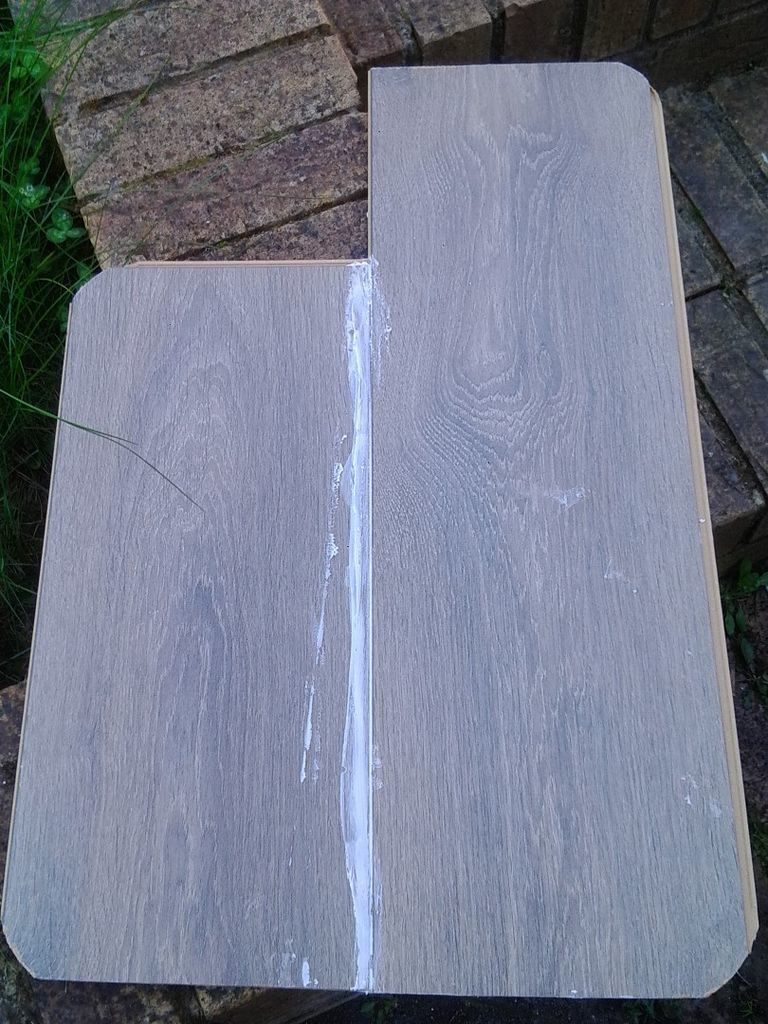
1) First of all, I cut and rounded the corners of the laminate boards as they can be quiet annoying when you use the lap-desk.
2) You may choose to trim the unused tongues on the side but I did not bother. As the idea was to save time and make it quick. Also time is money :).
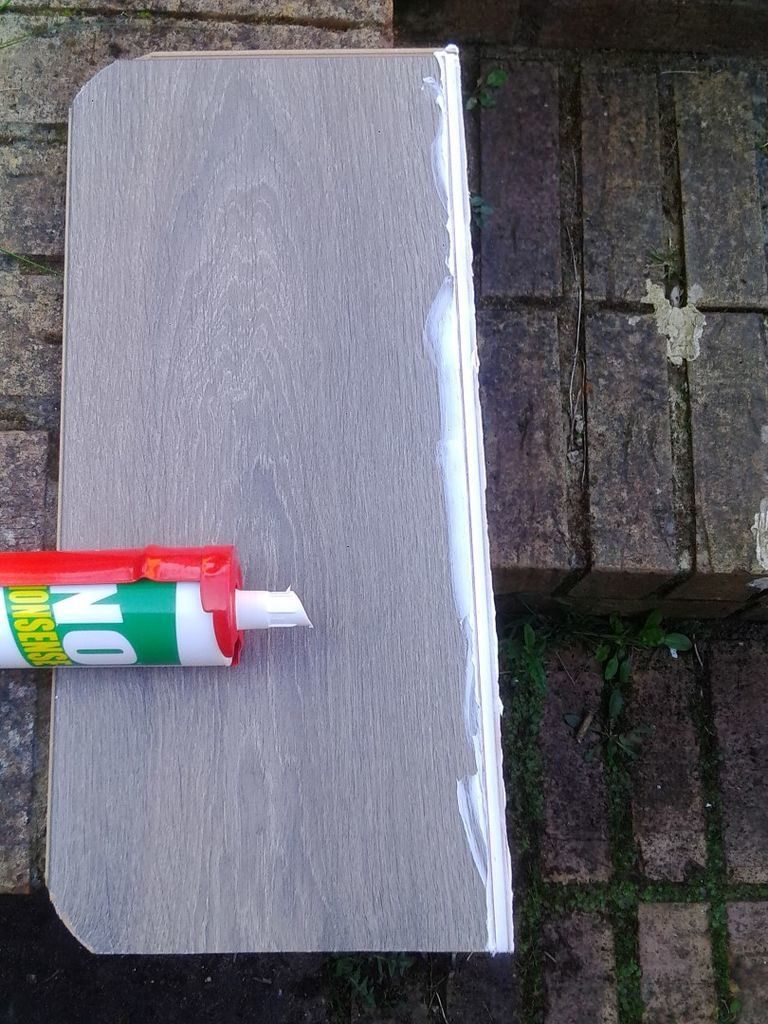
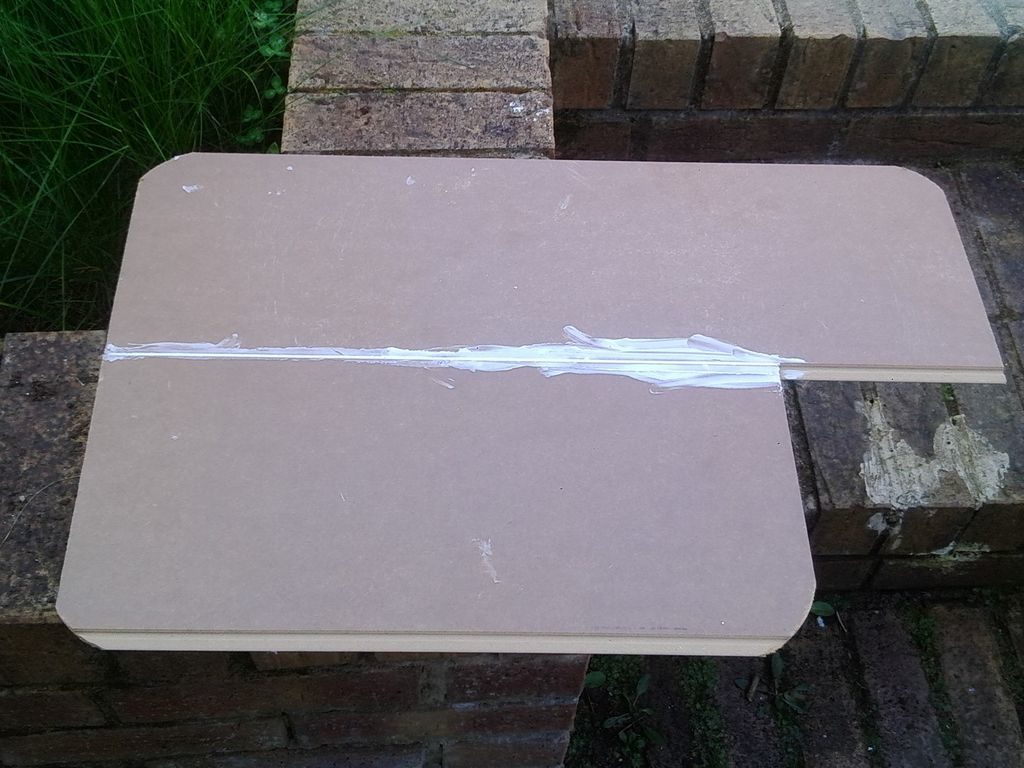
3) Apply the wood/construction glue into the tongue of the laminate board and then click the second piece into the first one as shown in the image.
4) Leave it for the glue to dry out.
5) In case you would like to attach more support for the two boards, as
shown in the image, you can glue a couple of supporting laminate or wood pieces. You can use clamp to hold them until they are properly stuck and the glue has dried. Althought, the boards glued and dried properly should be strong enough to hold without requiring this step.
Attaching Seat Cushion
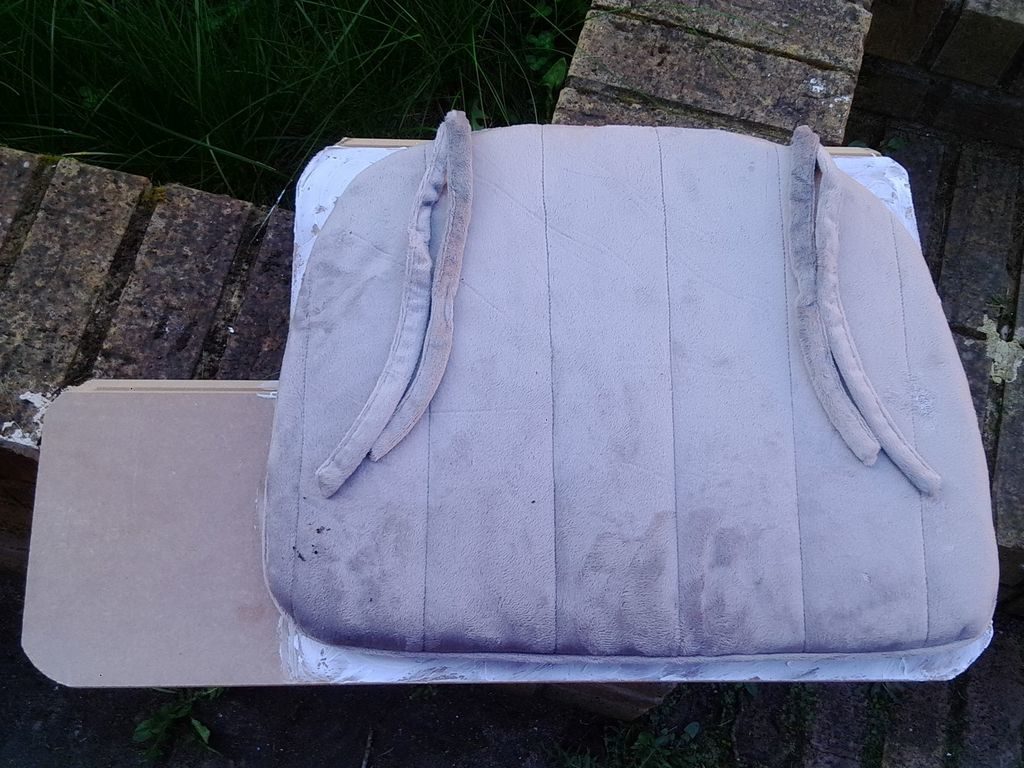
1) Apply glue on the back side of the composite laminate in order to attach the chair seat cushion.
2) Place the cushion on the glue, press it to make sure the cushion is attached properly.
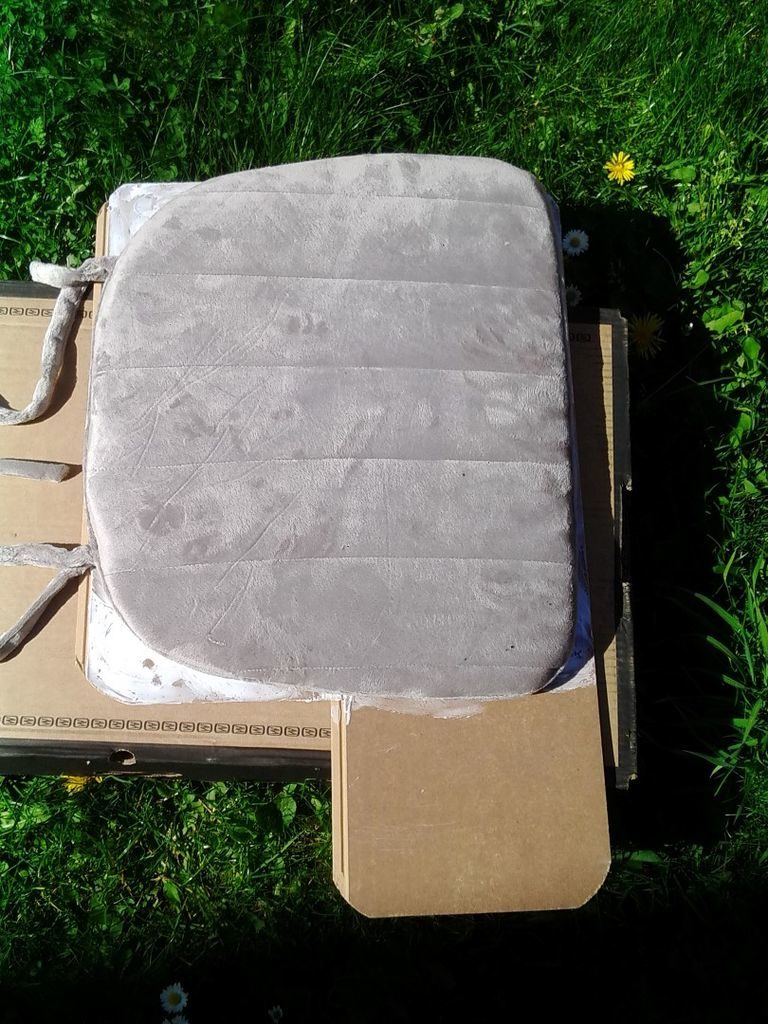
3) Reverse the assembly and put some weight on top and leave it for the glue to dry out.
The idea behind the cushion is that it provides support and cushioning effect on the lap while resting at least 1 or 1.5 Kilo worth of laptop weight. Most of the off-the-shelf ones do come with some form of cushion. I already had a memory foam chair cushion and that is what I used. However you may choose whatever is available.
There is no step here. Just that after the glue is dried, the lap-desk is ready to be deployed 🙂 as shown in the image.