Cross Compiling OpenCV for Xilinx Zynq Arm on Ubuntu Linux OS

I am writing this to keep a log for myself and others whenever I want to cross compile OpenCV for Xilinx Zynq – ARM platform for Ubuntu 14.04. I have followed instructions mentioned on Xilinx-Wiki however I had to tweak quite a few instructions for me at a few places in order to successfully compile OpenCV. I have chosen to download and compile OpenCV-2.4.9 in particular. I did this a while ago so the Xilinx Vivado tools are older versions Vivado 2014.4. I have not tried on other versions of Ubuntu and OpenCV but I think it should still work. I have not listed any OS level dependencies that is required before attempting to start cross compiling OpenCV for Xilinx Zynq. The prerequisite is that the Xilinx Vivado tools have been installed correctly in Ubuntu /opt/Xilinx/ directory and can be invoked from Linux shell prompt. The following are my compilation of the instructions:

  1. First install Xilinx Vivado Tools successfully without any problems in /opt/Xilinx/Vivado folder.
  2. Create a text file (env_opencv_xilinx) with the following environment variables to be sourced so that the Vivado tools are available on command line:
  3. export CROSS_COMPILE=arm-xilinx-linux-gnueabi-
    source /opt/Xilinx/Vivado/2014.4/settings64.sh
  4. Source env_opencv_xilinx file
  5. Download OpenCV-2.4.9 from http://opencv.org/downloads.html
  6. Unzip and untar OpenCV and place it in /home/user/opencv-2.4.9 folder
  7. Download ffmpeg-2.8.10 from http://www.ffmpeg.org/download.html#releases
  8. Unzip and untar FFmpeg folder. I chose to move the ffmpeg-2.8.10 folder inside the opencv-2.4.9 folder.
  9. Change directory inside the ffmpeg-2.8.10 folder
  10. Run: ./configure –enable-shared –disable-static –cross-prefix=arm-xilinx-linux-gnueabi- –arch=armv7l –target-os=linux –prefix=/home/user/opencv-2.4.9_arm/ffmpeg-2.8.10/
  11. Add the following paths in the env_opencv_xilinx and source it again:
  12. export LD_LIBRARY_PATH=/home/user/opencv-2.4.9_arm/ffmpeg-2.8.10/lib:${LD_LIBRARY_PATH}
    export C_INCLUDE_PATH=/home/user/opencv-2.4.9_arm/ffmpeg-2.8.10/include:${C_INCLUDE_PATH}
    export CPLUS_INCLUDE_PATH=/home/user/opencv-2.4.9_arm/ffmpeg-2.8.10/include:${CPLUS_INCLUDE_PATH}
    export PKG_CONFIG_PATH=/home/user/opencv-2.4.9_arm/ffmpeg-2.8.10/lib/pkgconfig:${PKG_CONFIG_PATH}
  13. Create a folder called build within the opencv-2.4.9 directory.
  14. Add the following lines in a text file called toolchain.make and place it in the /home/user/opencv-2.4.9/ folder:
  15. set( CMAKE_SYSTEM_NAME Linux )
    set( CMAKE_SYSTEM_PROCESSOR arm )
    set( CMAKE_C_COMPILER arm-xilinx-linux-gnueabi-gcc )
    set( CMAKE_CXX_COMPILER arm-xilinx-linux-gnueabi-g++ )
    set( CMAKE_INSTALL_PREFIX /home/user/opencv-2.4.9_arm/build )
    set( CMAKE_FIND_ROOT_PATH /opt/Xilinx/SDK/2014.4/gnu/arm/lin/arm-xilinx-linux-gnueabi )
  16. Copy all the generated SO library files from ffmpeg-2.8.10/lib/ folder to opencv-2.4.9/build/lib folder otherwise OpenCV build process may not find the FFmpeg libraries automatically.
  17. Change directory into the build folder.
  18. I have chosen to set the BUILD_opencv_nonfree=ON as I would like to explore the algorithms available in the non-free of OpenCV.
  19. Run: cmake -D CMAKE_TOOLCHAIN_FILE=toolchain.make -D BUILD_opencv_nonfree=ON /home/user/opencv-2.4.9_arm/
  20. Check the configuration information of OpenCV to confirm the FFmpeg library is detected.
  21. Customise Build options by running: ccmake .
  22. I have chosen to keep WITH_JPEG and WITH_PNG set to ON so that the applications can read and write JPEG and PNG format image files, however Xilinx recommends the following options to be set to OFF
  23. WITH_1394, WITH_CUDA, WITH_CUFFT, WITH_EIGEN, WITH_GSTREAMER, WITH_GTK, WITH_JASPER, WITH_OPENEXR, WITH_PVAPI, WITH_QT, WITH_TBB, WITH_TIFF, WITH_UNICAP, WITH_V4L, WITH_XINE
  24. First press ‘c’ then ‘g’ to generate new Makefile. Alternatively edit CMakeCache.txt to modify build options. Check that WITH_FFMPEG=ON in CMakeCache.txt to enable FFmpeg support.
  25. Run: make
  26. Copy and Save build/lib/libopencv_core.so.2.4.9 in a different folder than lib.
  27. Run: make install .If all goes well then there will not be any errors however I did get an error here saying libopencv_core.so.2.4.9 not found, flagged by the module/core/cmake_install.cmake script. I checked that this particular SO was generated however during the make install process, due to may be some incorrectly generated command in some script it gets removed. I did not have time to debug this in detail however I fond a work around to complete the installation.
  28. Edit build/modules/core/cmake_install.cmake and remove the following lines, this will not generate the error during “make install” and the installation should now complete:
  29. “FILE(INSTALL DESTINATION “${CMAKE_INSTALL_PREFIX}/lib” TYPE SHARED_LIBRARY FILES
    “/home/jj901099/opencv-2.4.9_arm/build/lib/libopencv_core.so.2.4.9”
    “/home/jj901099/opencv-2.4.9_arm/build/lib/libopencv_core.so.2.4”
    “/home/jj901099/opencv-2.4.9_arm/build/lib/libopencv_core.so”
    )”
  30. Copy the saved libopencv_core.2.4.9 back to the build/lib/ folder. That’s it.

If I have not missed any step then Opencv-2.4.9 should have now compiled in the opencv-2.4.9/build directory, enjoy image processing.
 

Share Button

Problem with Cross Compiling OpenCV for Xilinx Zynq – ARM with FFmpeg on Ubuntu Linux OS

Problem:

I followed the instructions mentioned by Xilinx at http://www.wiki.xilinx.com/OpenCV+Installation in order to cross compile the OpenCV-2.4.9 with FFmpeg for Xilinx Zynq Platform on Ubuntu 14.04.

While configuring the FFmpeg, it gave me the following warning:

“WARNING: arm-xilinx-linux-gnueabi-pkg-config not found, library detection may fail.”

The FFmpeg did compile ok and generated all the necessary SO files however as a result of the warning when I tried to build the OpenCV-2.4.9, I got errors that libavcodec.so.56, libavformat.so.56 etc FFmpeg libraries are not found.

Following errors while build takes place :

/usr/lib/gcc-cross/arm-linux-gnueabi/4.7/../../../../arm-linux-gnueabi/bin/ld: warning: libswresample.so.1, needed by opencv/ffmpeg-2.7.1/lib/libavcodec.so.56, not found (try using -rpath or -rpath-link)
opencv/ffmpeg-2.7.1/lib/libavcodec.so.56: undefined reference to `swr_close@LIBSWRESAMPLE_1′

/opt/Xilinx/SDK/2014.4/gnu/arm/lin/bin/../lib/gcc/arm-xilinx-linux-gnueabi/4.8.3/../../../../arm-xilinx-linux-gnueabi/bin/ld: warning: libswscale.so.3, needed by ../../lib/libopencv_highgui.so.2.4.9, not found (try using -rpath or -rpath-link)
../../lib/libopencv_highgui.so.2.4.9: undefined reference to `avcodec_decode_video2@LIBAVCODEC_56′

Solution:

The way I have manged to resolve this and successfully cross compile OpenCV is by manually copying the SO libs from FFmpeg/lib folder to the OpenCV/build/lib directory and then rerunning the make. After this OpenCV was successfully built.


Share Button

My Travel of the World

India

From Gujarat to Shillong, Assam and from Delhi to Kanyakumari.

USA

Niagara falls, New York to Los Angeles, Las Vegas and Grand Canyon

Ireland

Galway to Rosslare, Dublin to Cork, Dingle, Limerick

United Kingdom

Glasgow, Edinburgh, London, Brighton, Bournemouth, Portsmouth, Birmingham, Holyhead, Newcastle upon Tyne

France

Niece, Monaco Monte Carlo, Cannes

Italy

Turin

Greece

Athens, Patras

Czech Republic

Prague, Brno

Germany

Frankfurt, Dusseldorf, Bremen, Cologne-Bonn, Nuremberg

Norway

Oslo

Poland

Wroclaw, Warsaw

Portugal

Lisbon

Austria

Viena, Graz

Slovenia

Ljubljana

Spain

Madrid

Belgium

Brussels, Leuven

The Netherlands

Eindhoven, Rotterdam, Amsterdam

Cyprus

Larnaca, Nicosia

UAE

Abu Dhabi, Dubai

Share Button

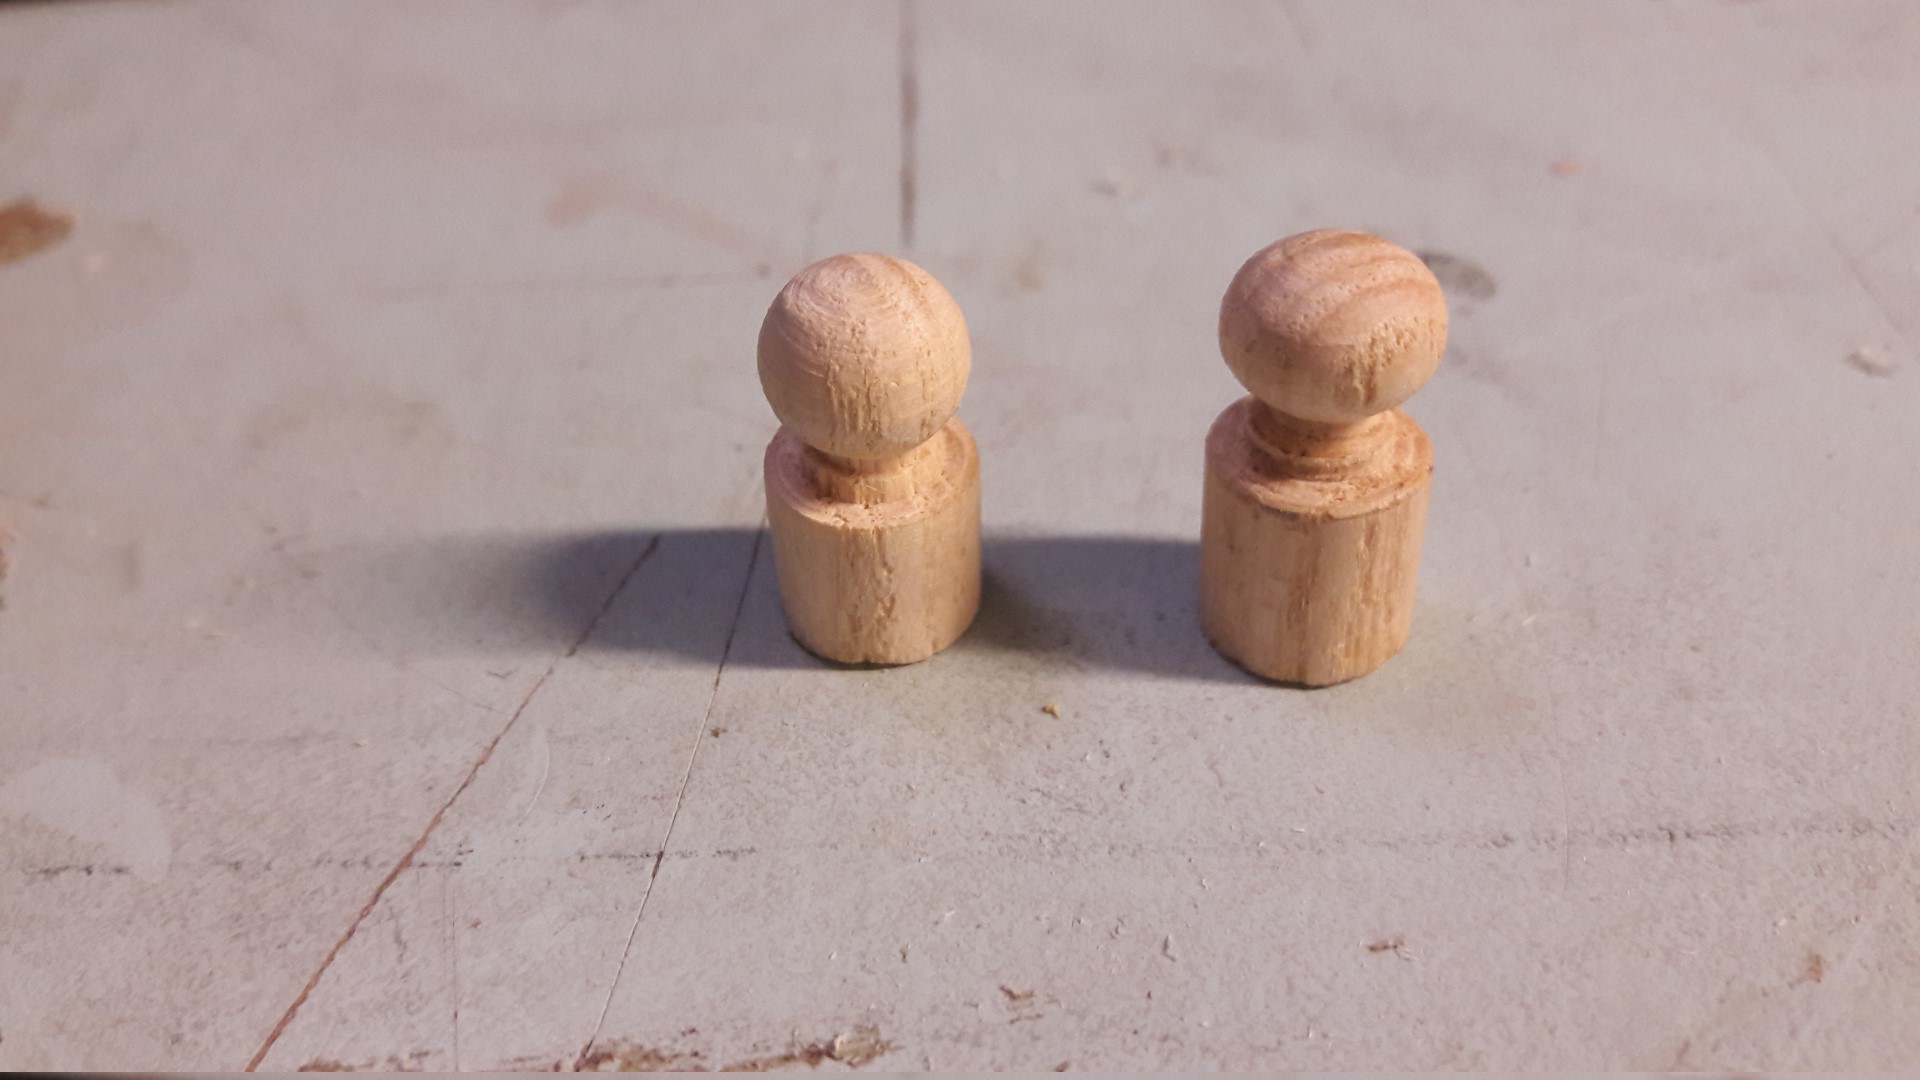
Turning Wood on a Lathe For the First Time :)

First time learnt to turn some wood on a wood lathe today at RLAB. Received a lot of help and guidance from my fellow members at RLAB.

And created the following. Helping out somebody by creating missing pieces for their toy rack.
woodpiece-large

Share Button

My Photography

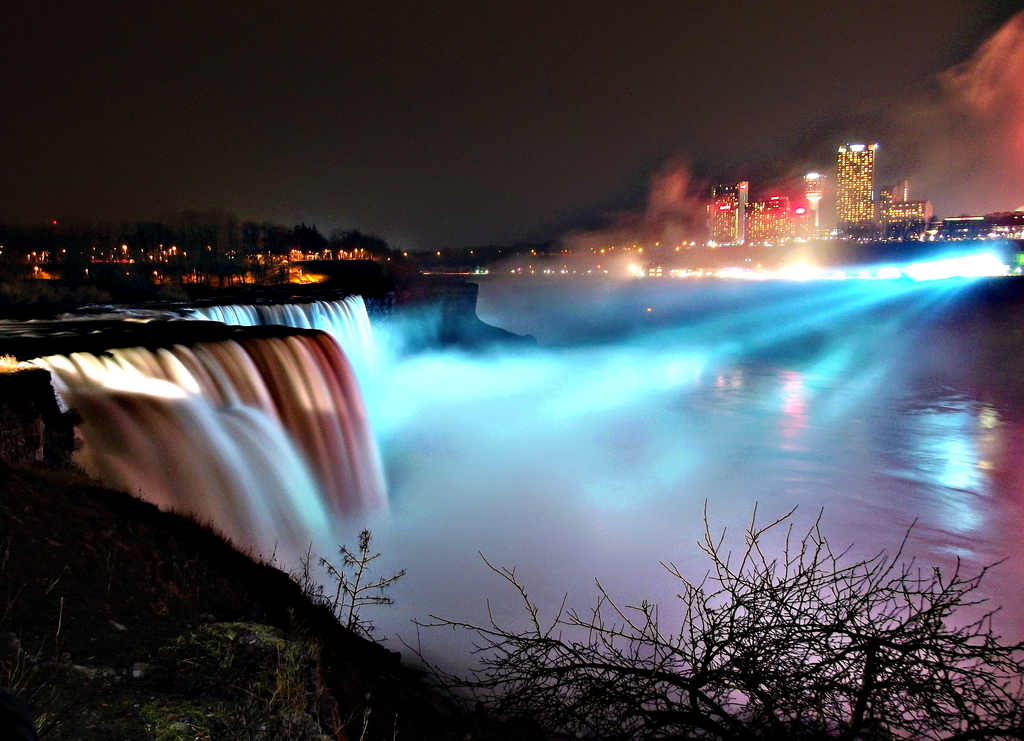
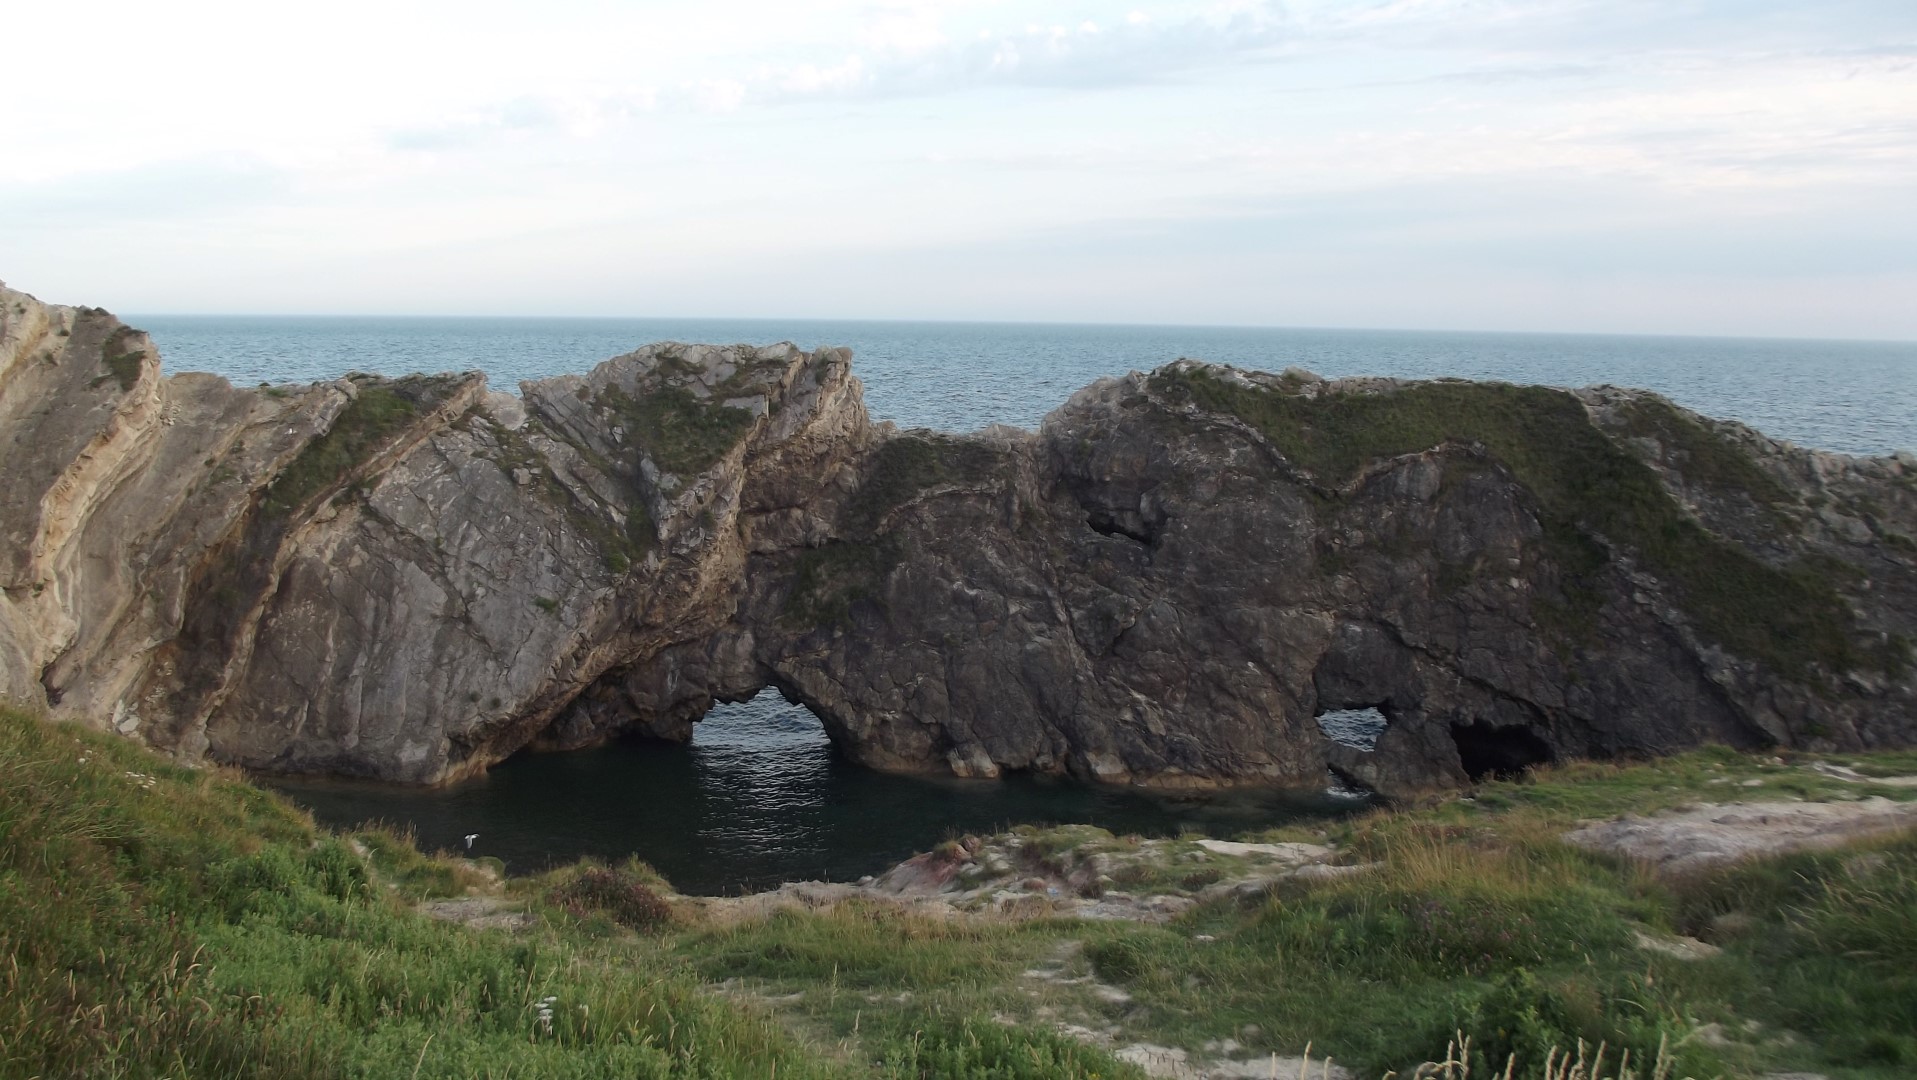
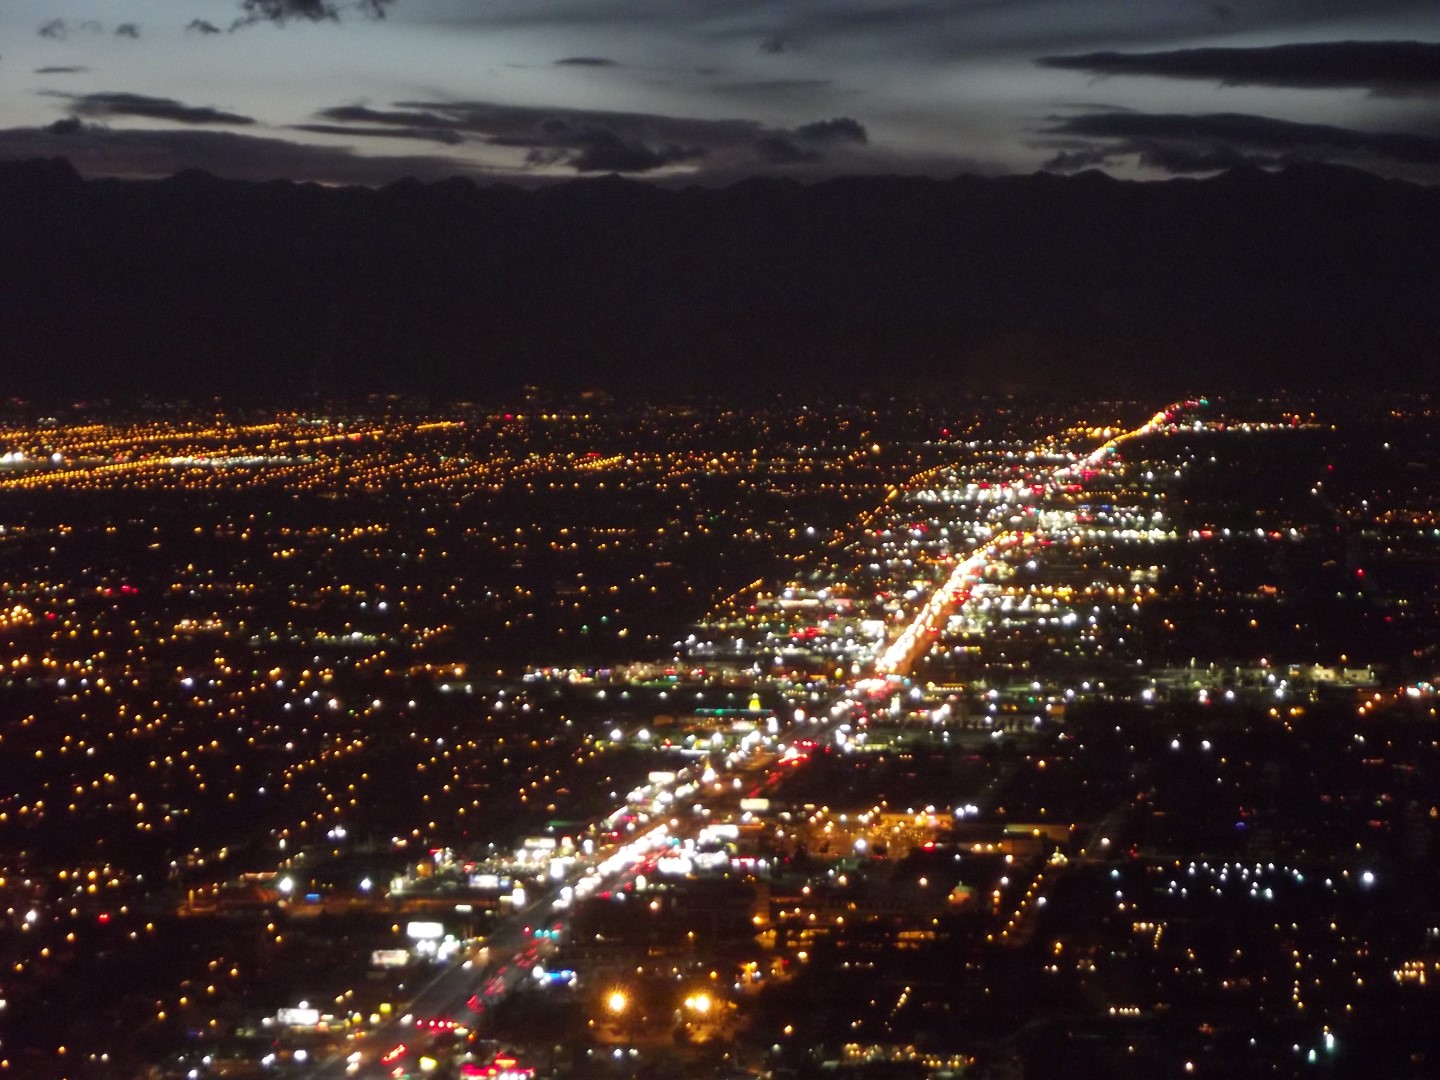
I have personally visited the following places and captured these images in my Canon EOS 300D DSLR and FujiFilm S2980 Bridge Camera :).

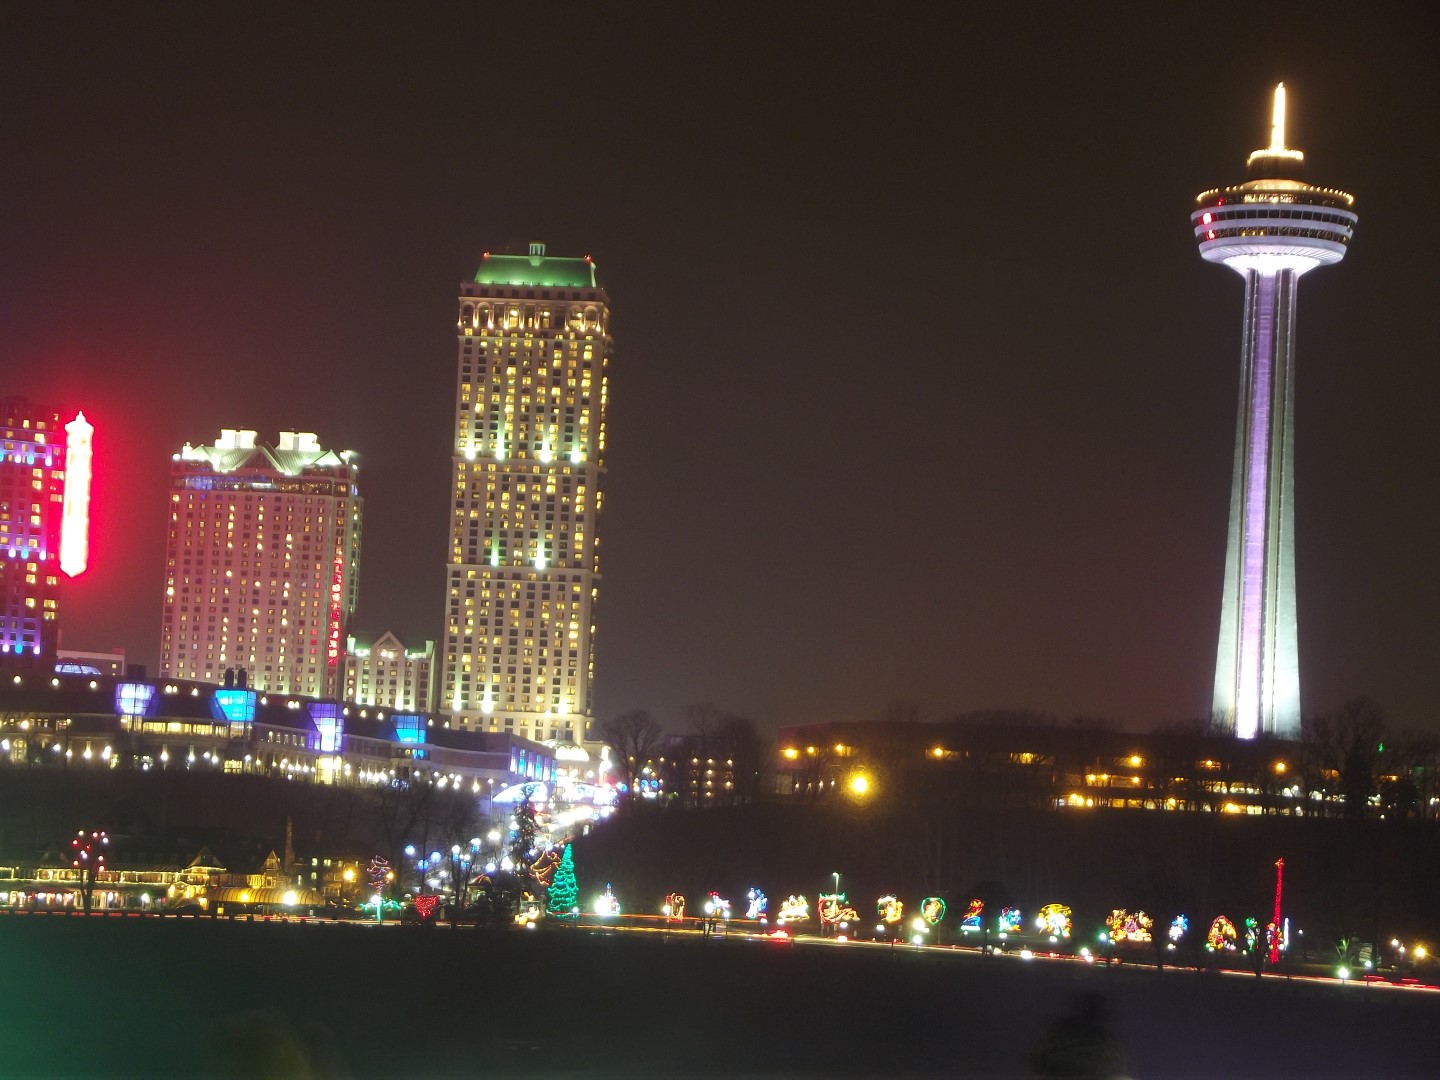
niagra

Niagara Falls at Night

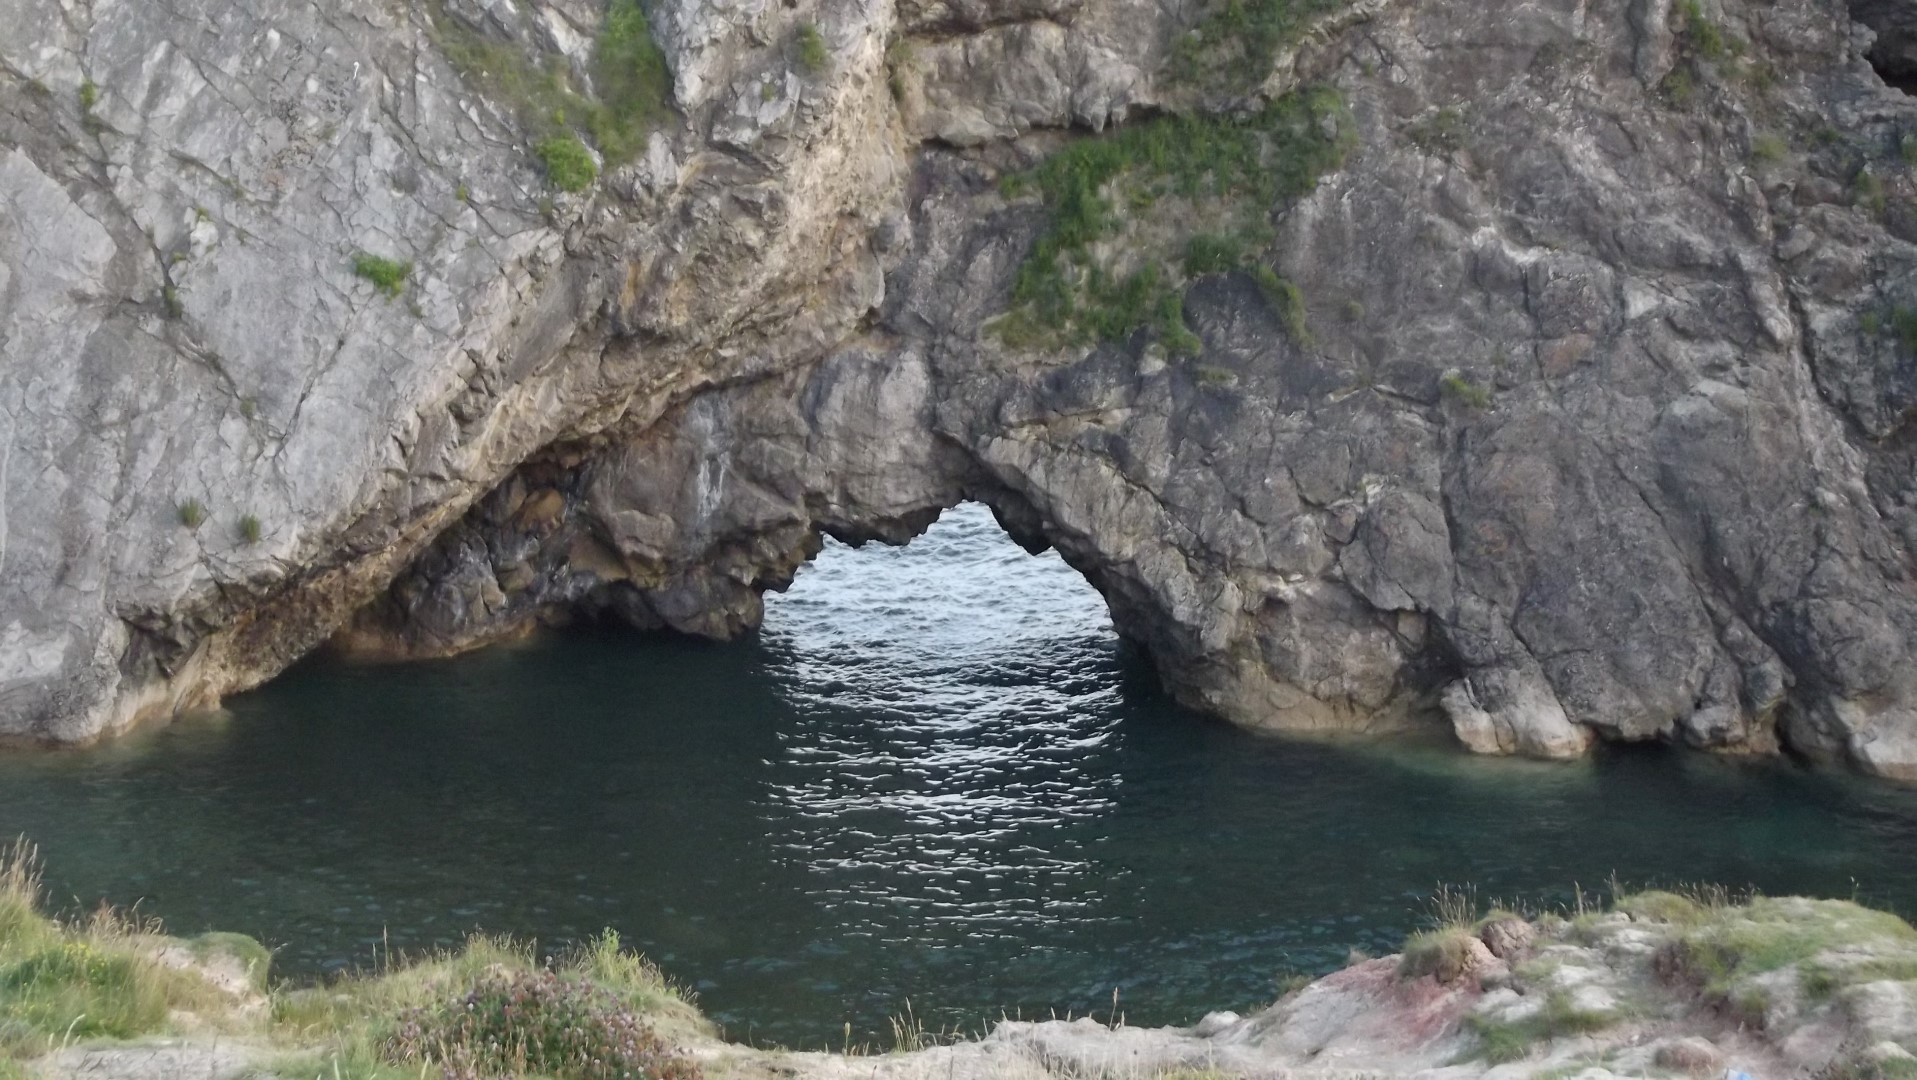
lulworthcove-3-large

Lulworth Cove, Dorset, UK

dscf1357-large

The Strip, Las Vegas

img_9125-large

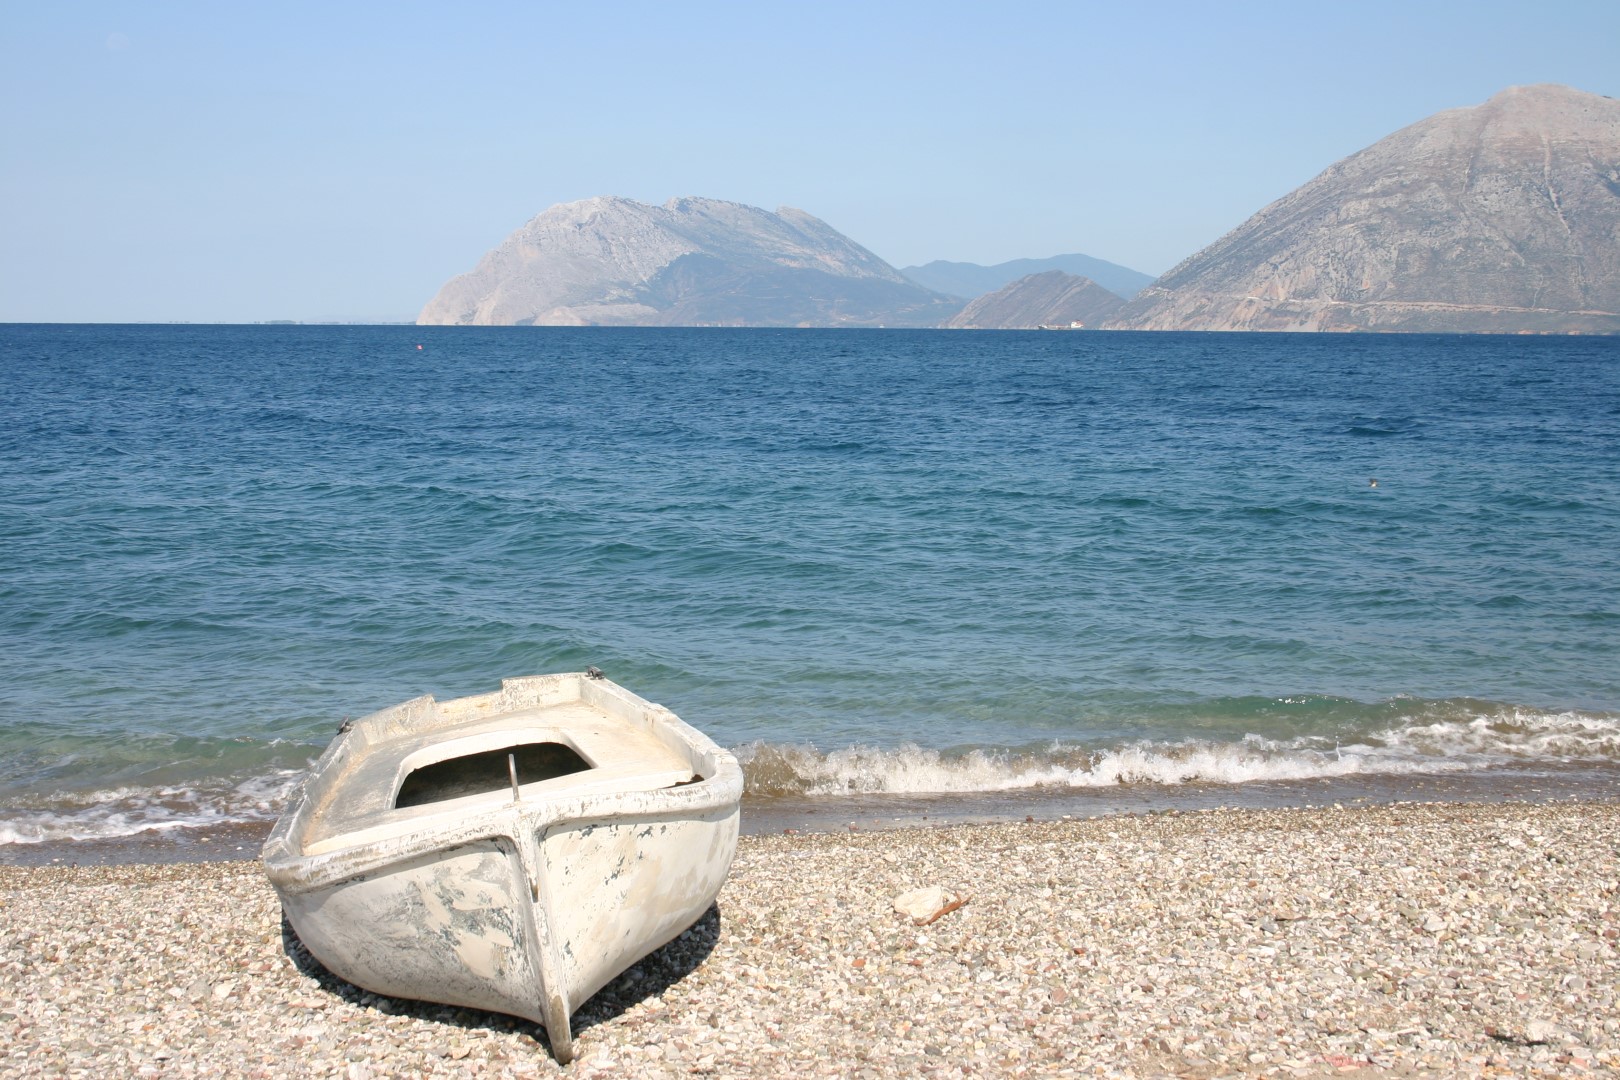
Patras, Greece

readinguni2-large

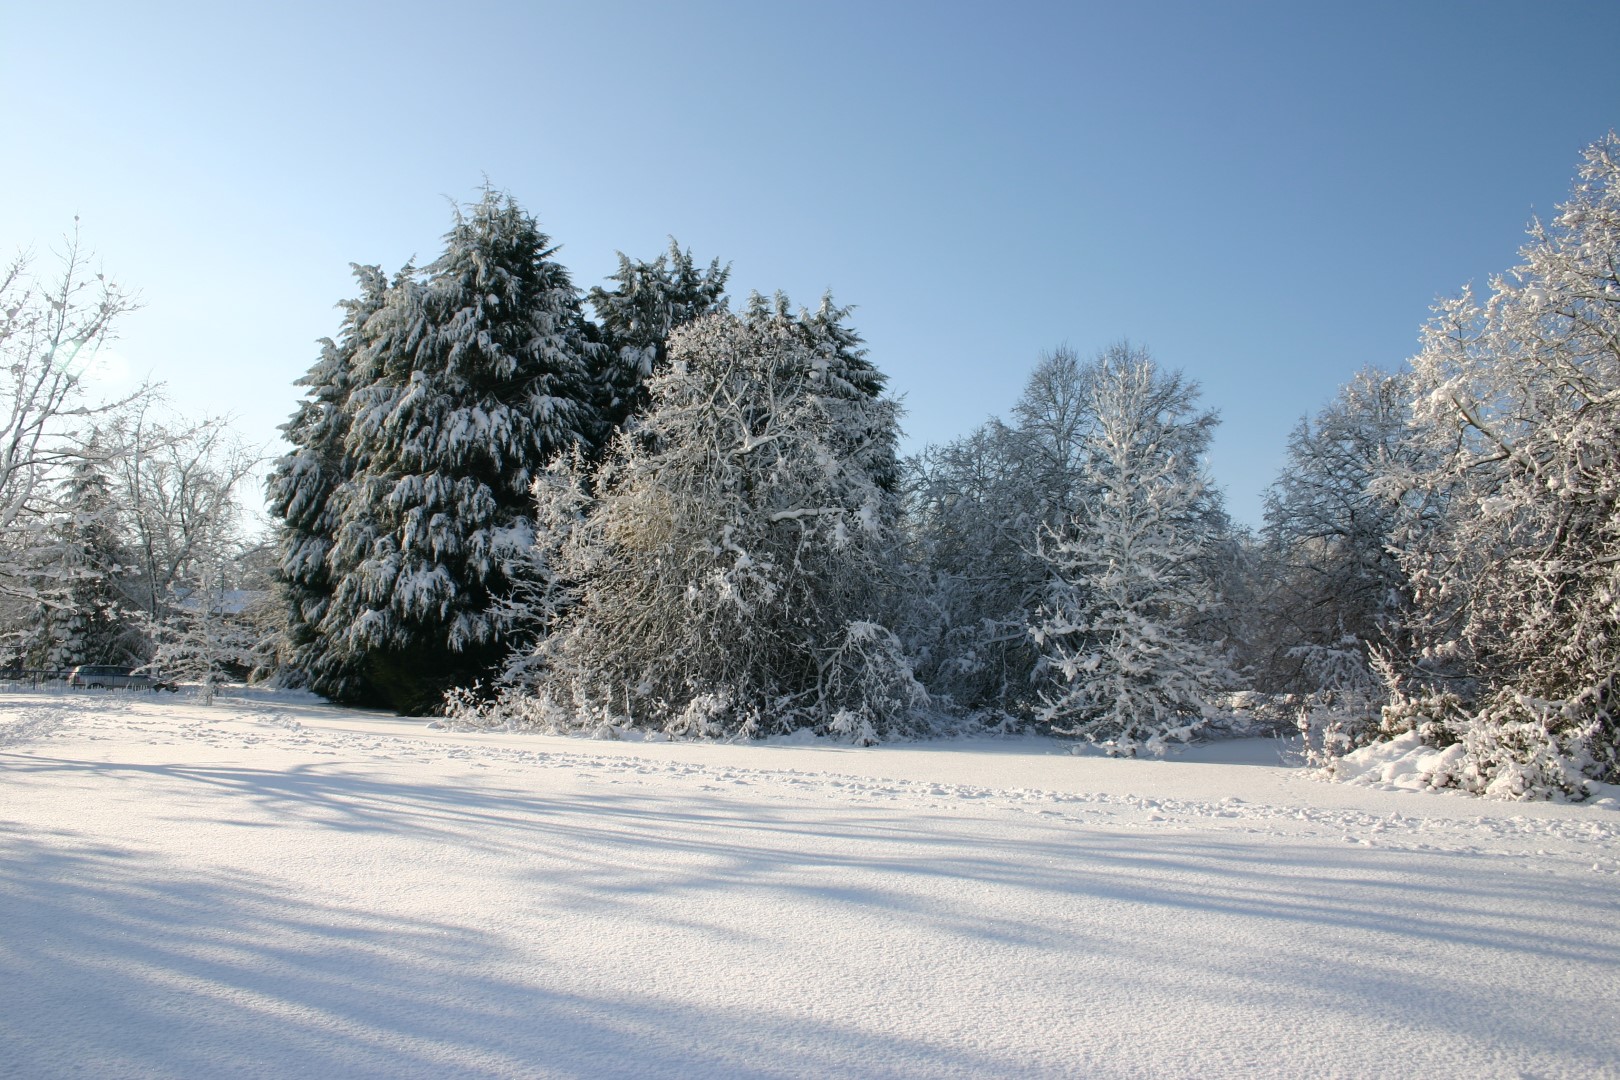
Winter Snow, Reading, UK

img_9230-large

Patras, Greece

img_8875-large

dsc01084-large

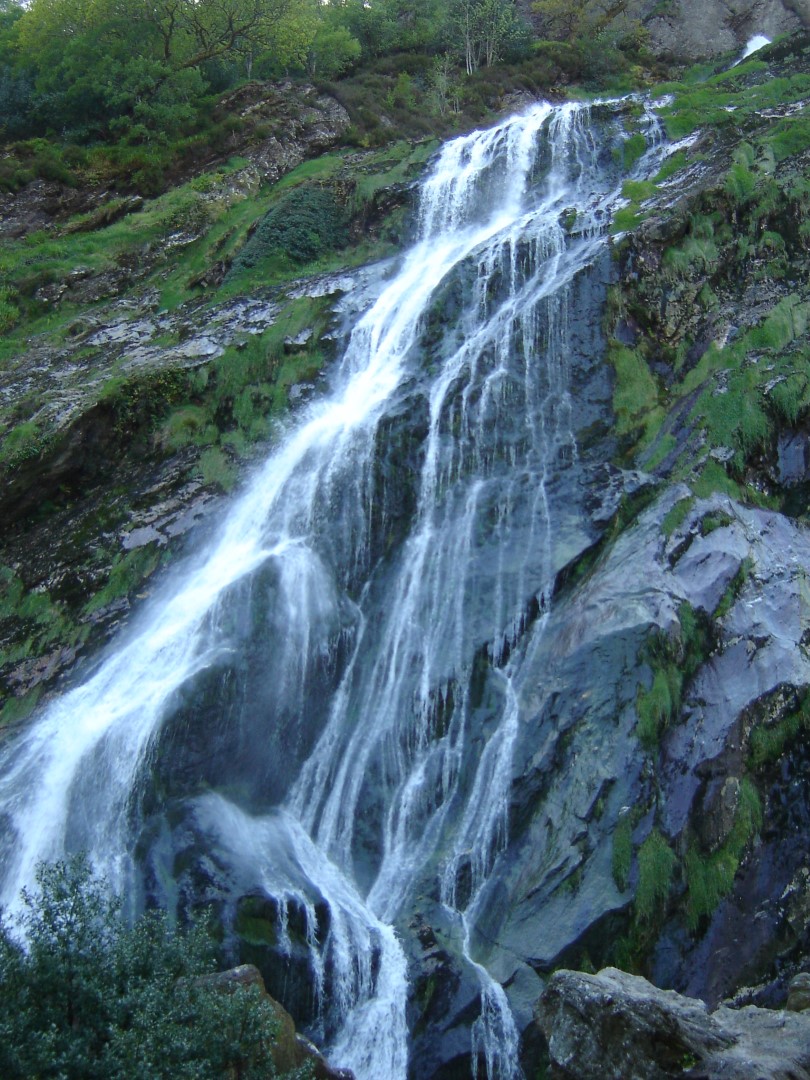
Powerscourt Water Falls,  Ireland

dscf1361-large

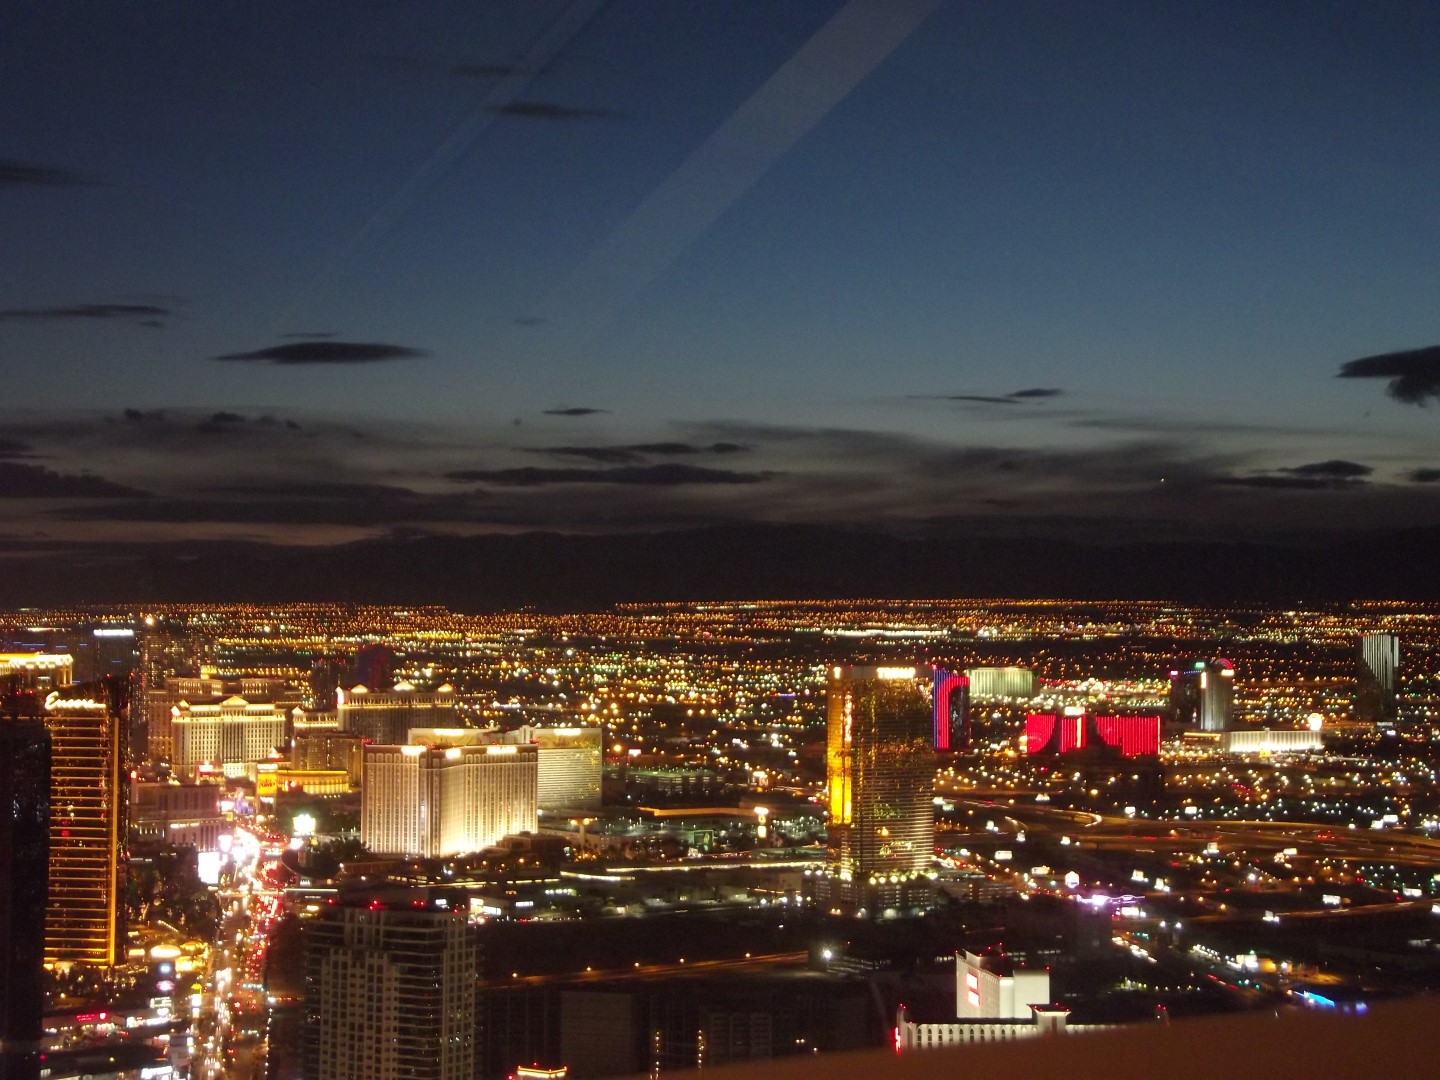
Las Vegas Strip Casinos From the Top of the Hotel Stratosphere (108 Floors)

dscf13802

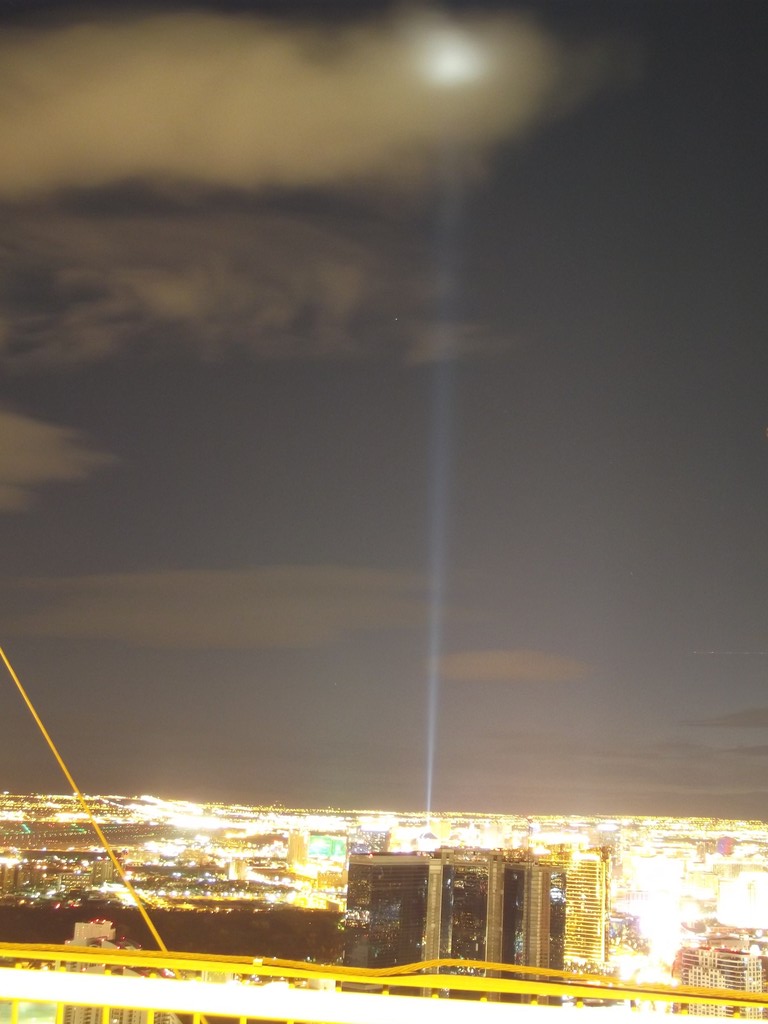
Sky Beam from Luxor Casino seen from the top of the hotel Stratosphere

img_9154-large

img_9078-large

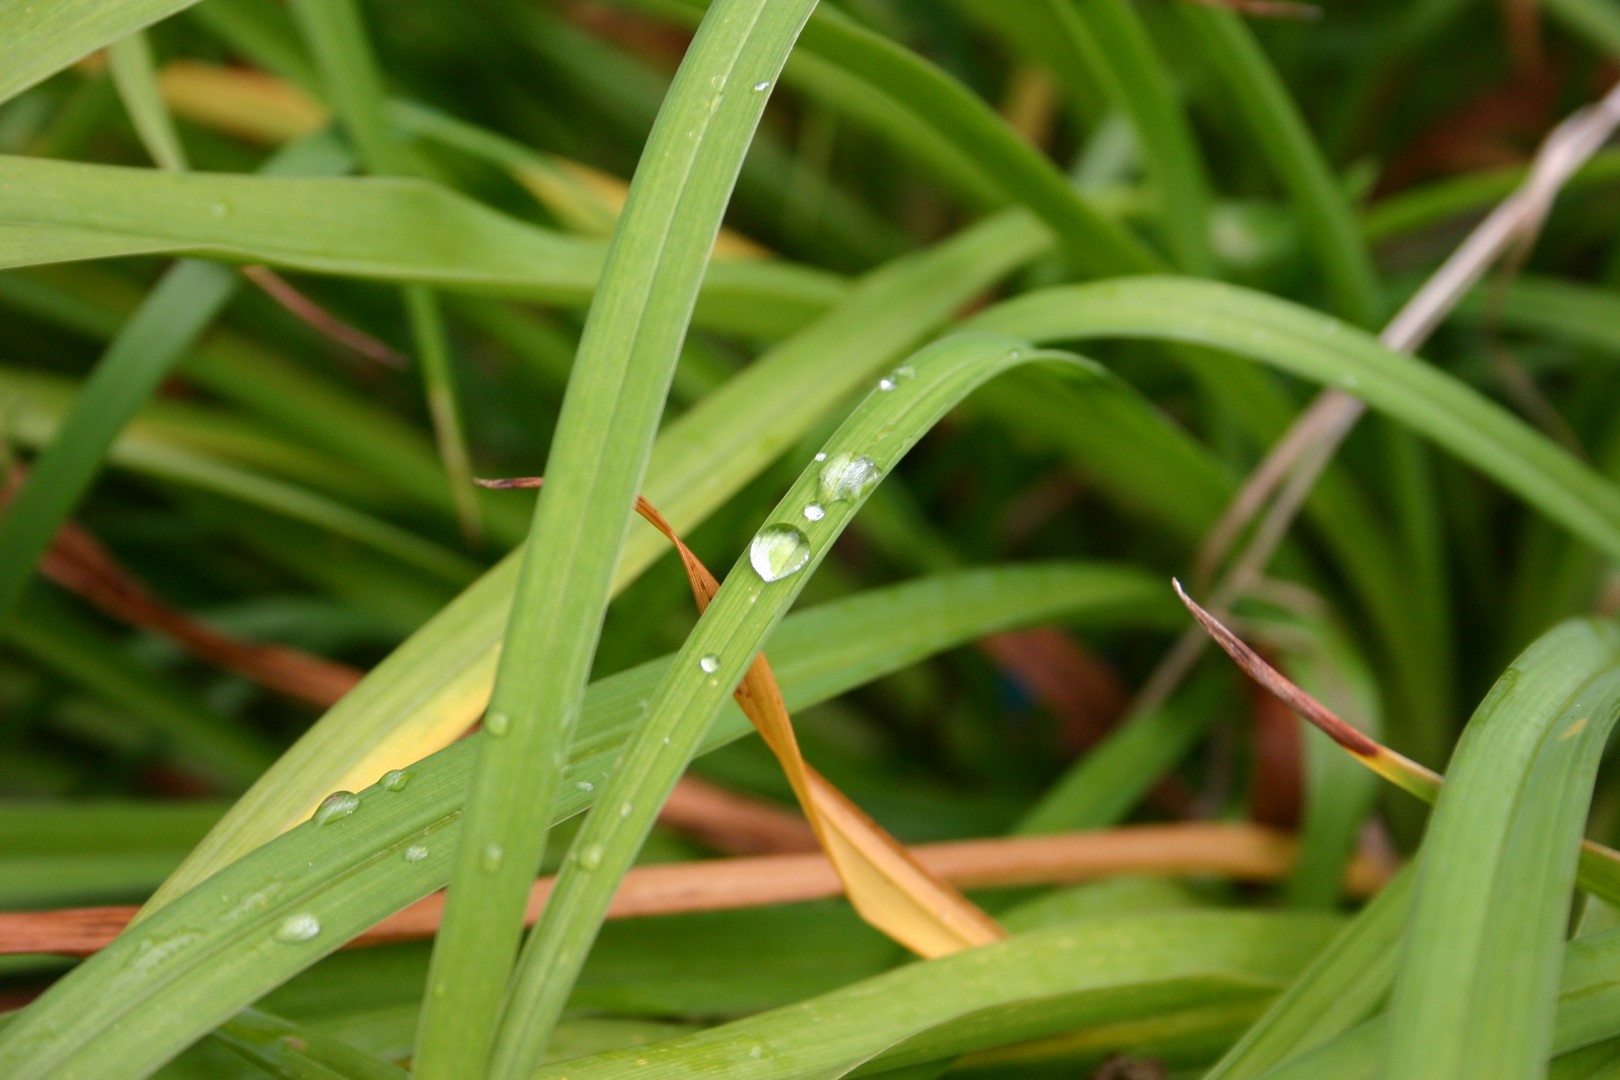
Dew drop on a blade of grass

img_9074-large

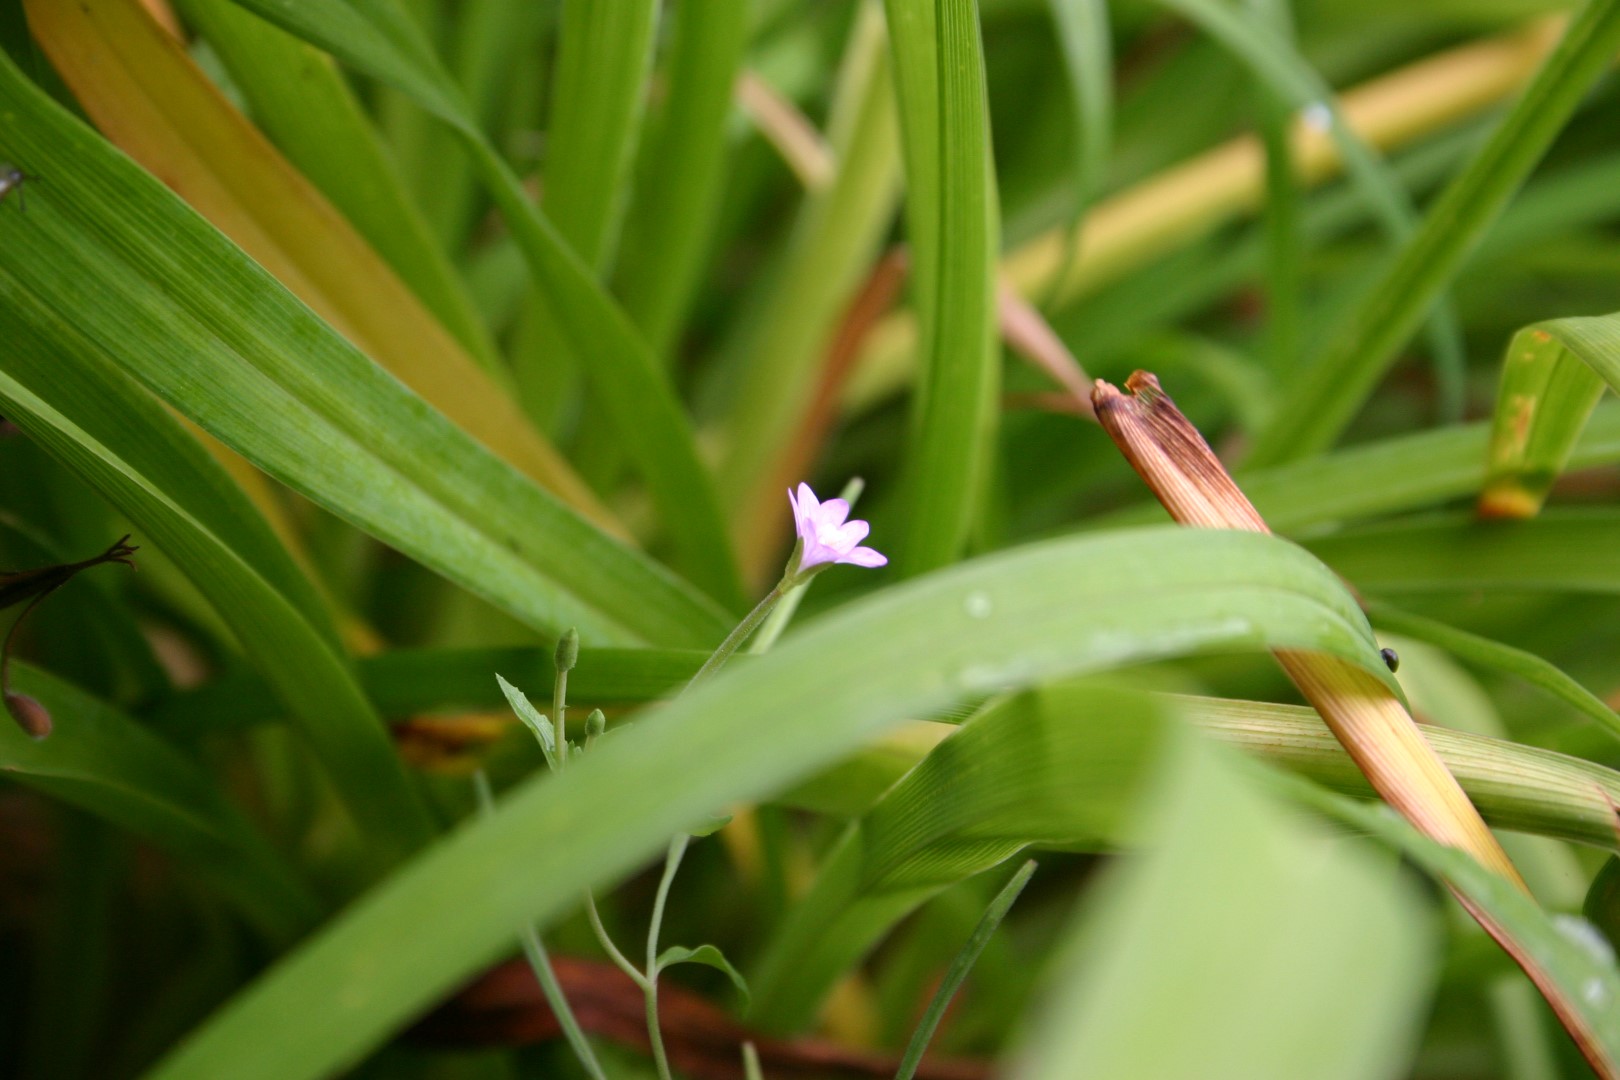
Tiny flower

dscf1222-large

Grand Canyon – Panorama

dscf1247-large

Hoover Dam – Panorama

img_9150-large

 img_9019-large

dscf1399

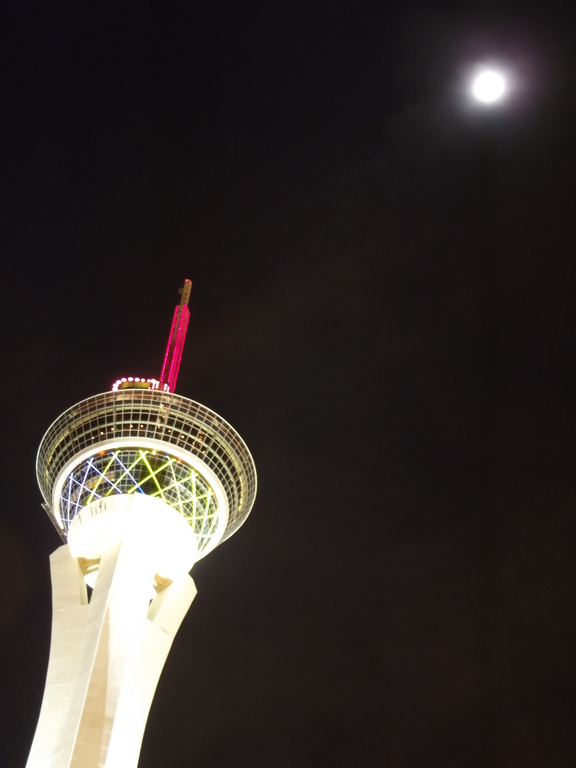
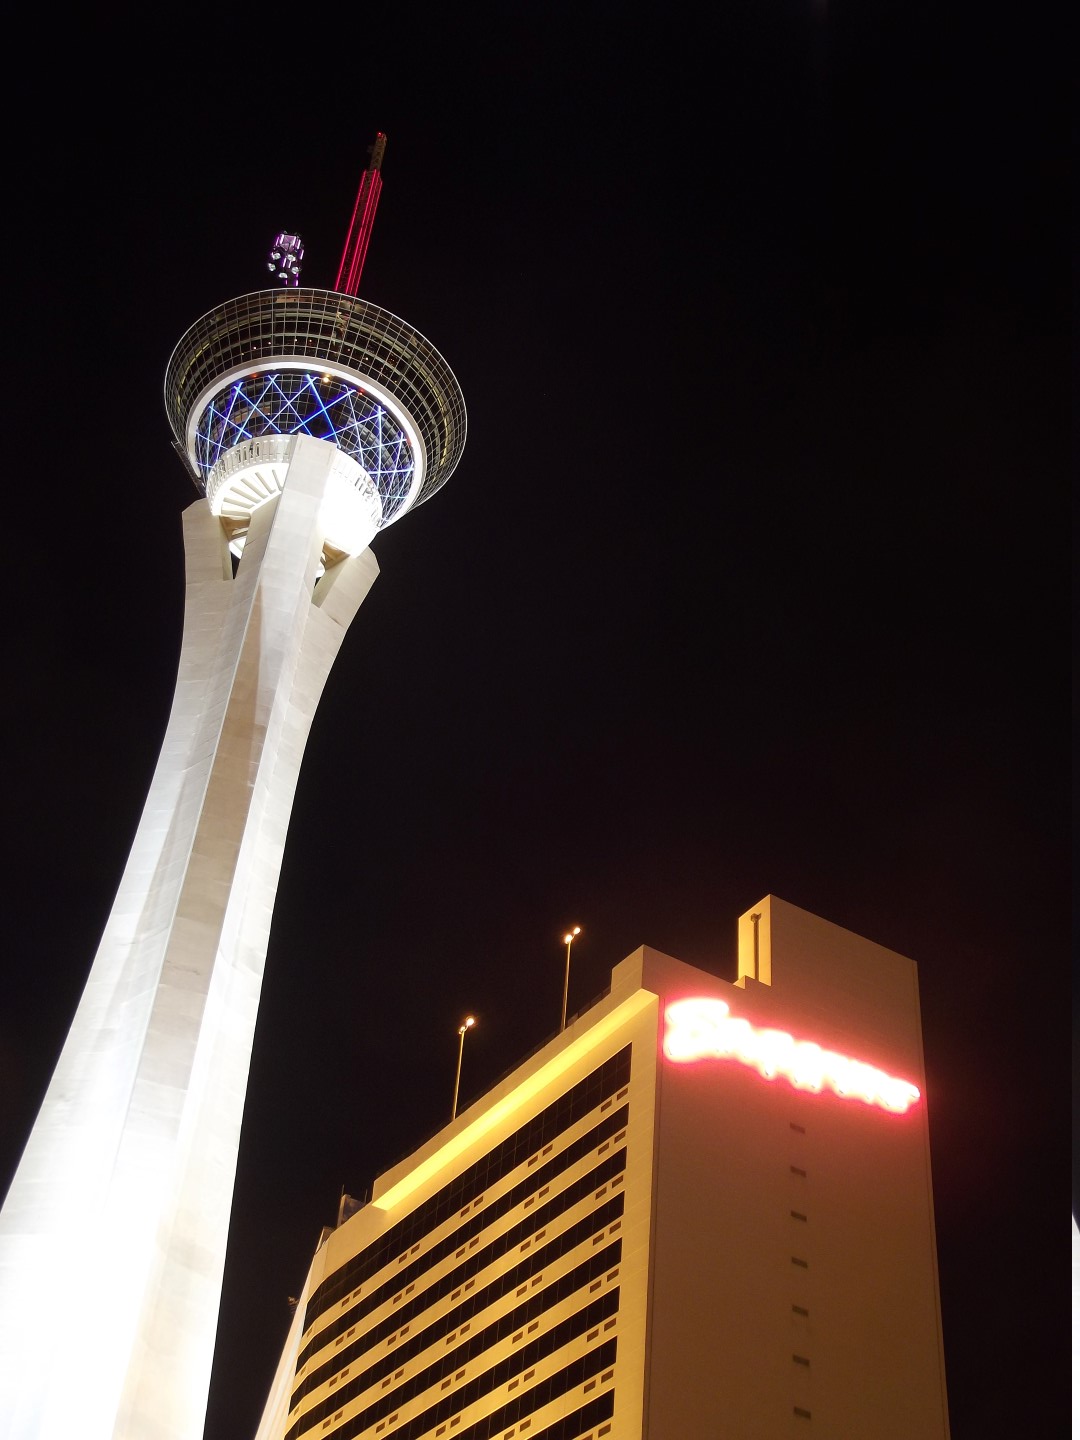
Hotel Stratosphere in Las Vegas

dscf1396-large

img_8826-large-2

lulworthcove-2-large

 Lulworth Cove, Dorset, UK

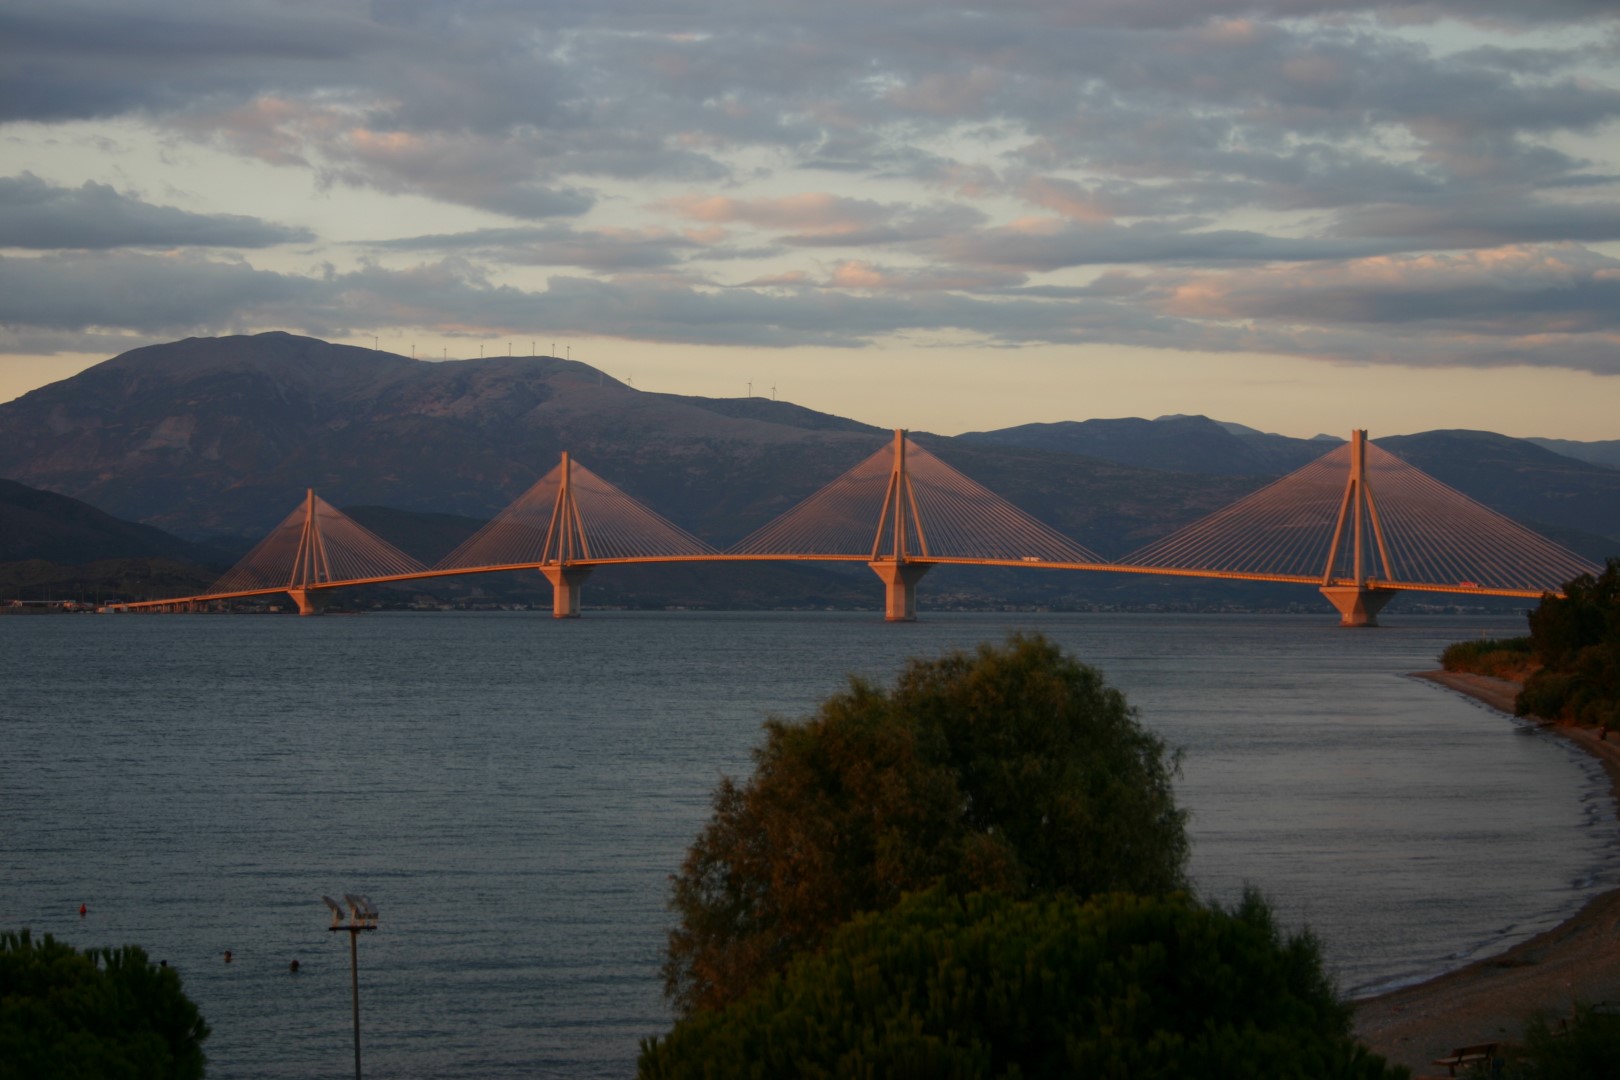
img_9234-large

Bridge painted by the Sun in Patras, Greece

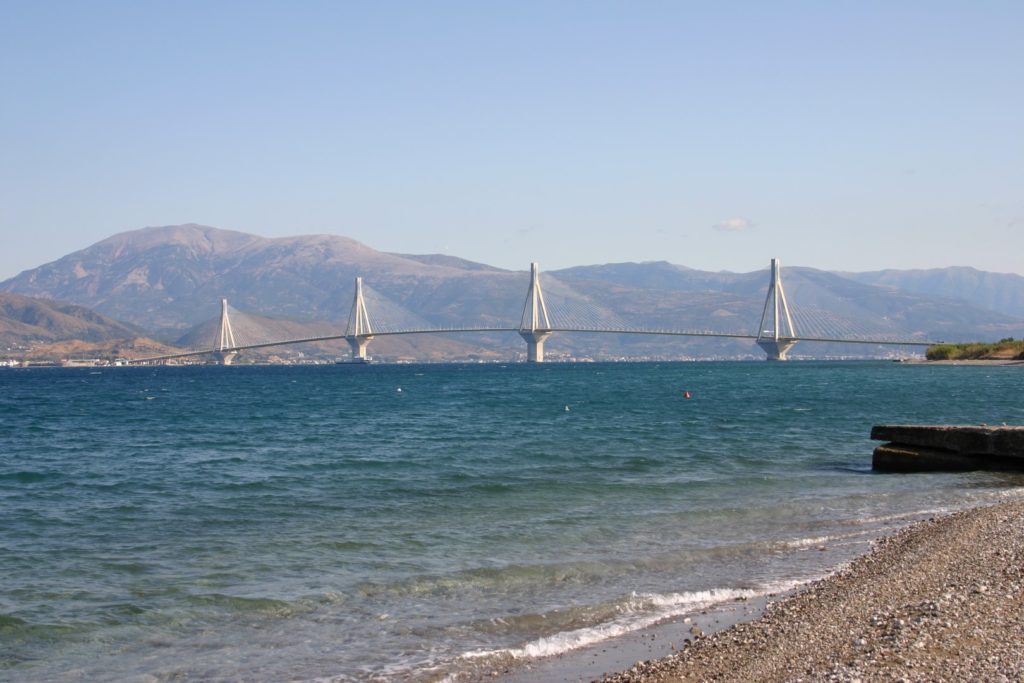
img_9104-large

Same Bridge, Day Time, Patras, Greece

img_9152-large

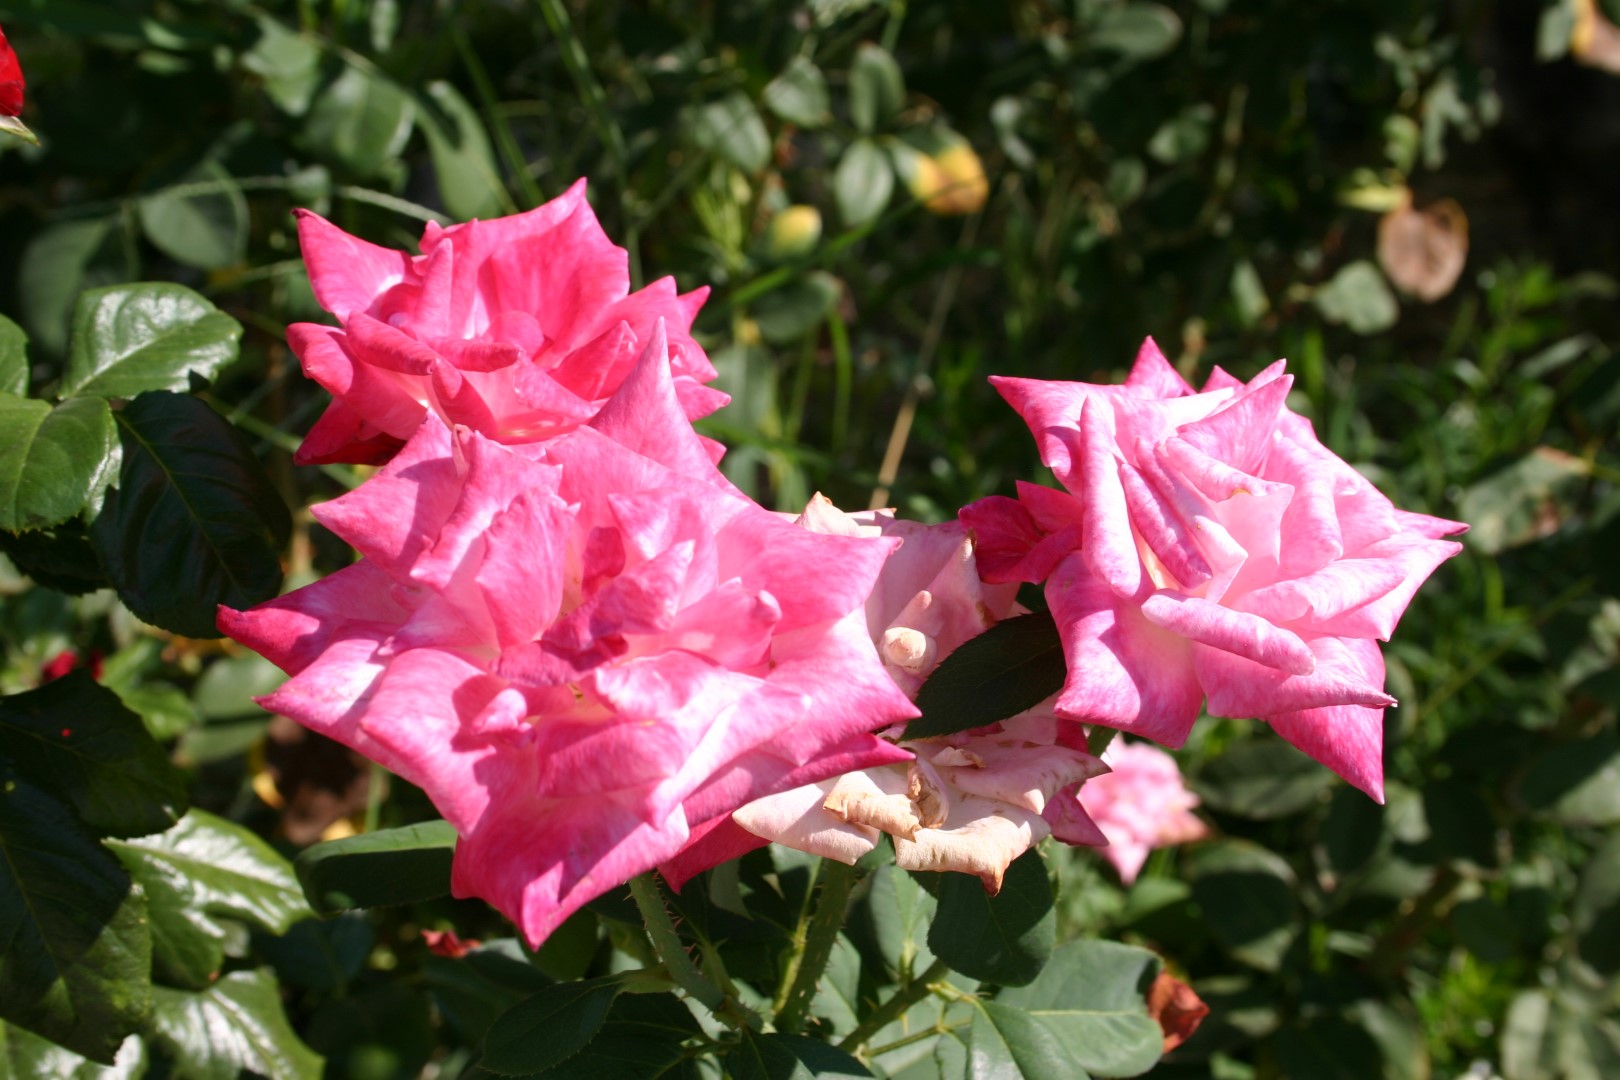
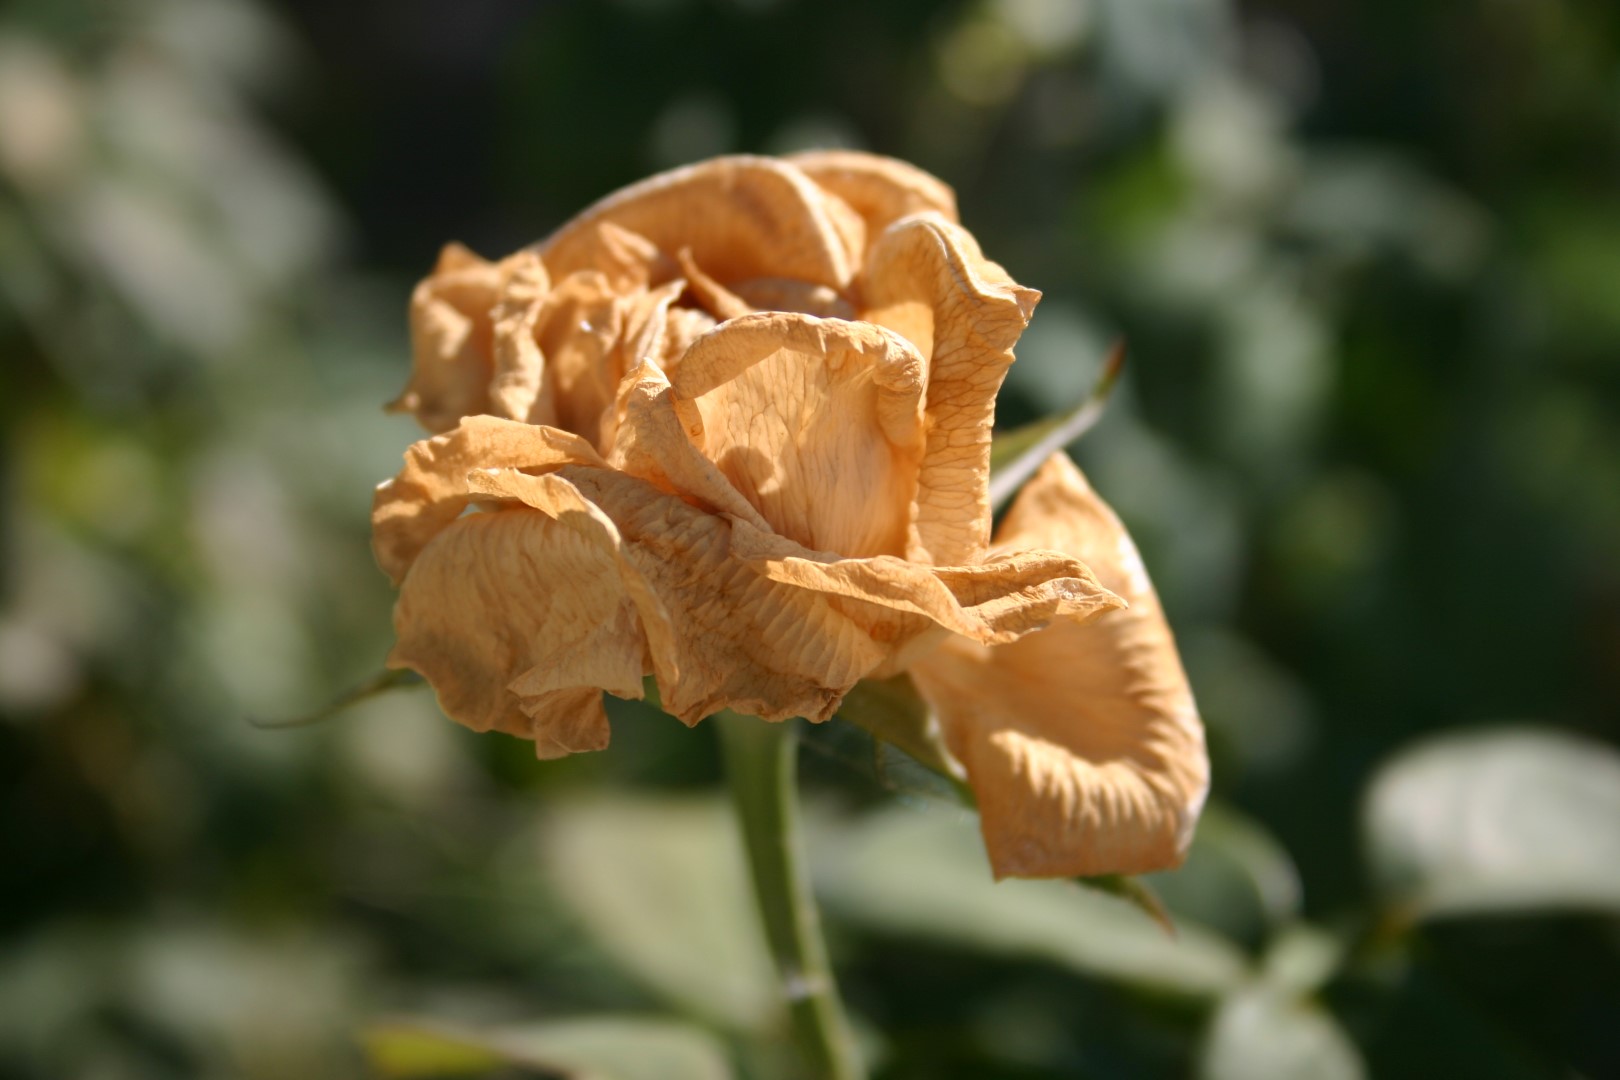
 Dried Rose

img_8842-large

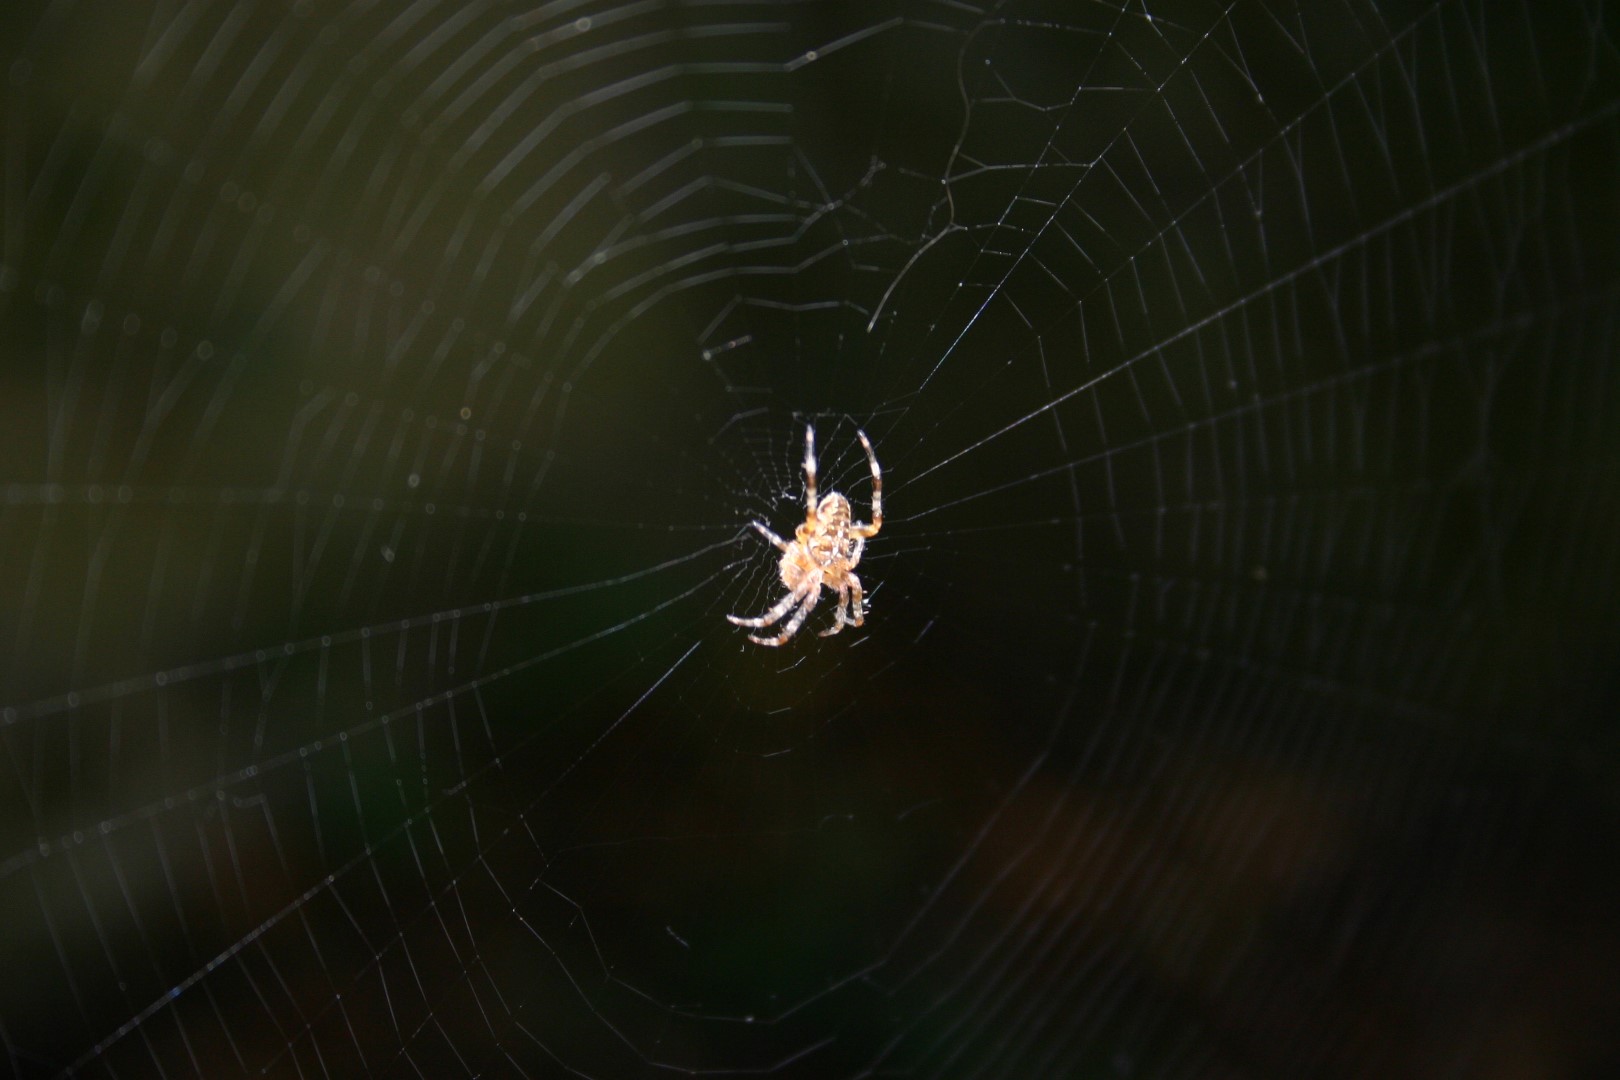
Garden Spider

img_8816-large

img_8814-large

img_2919-large

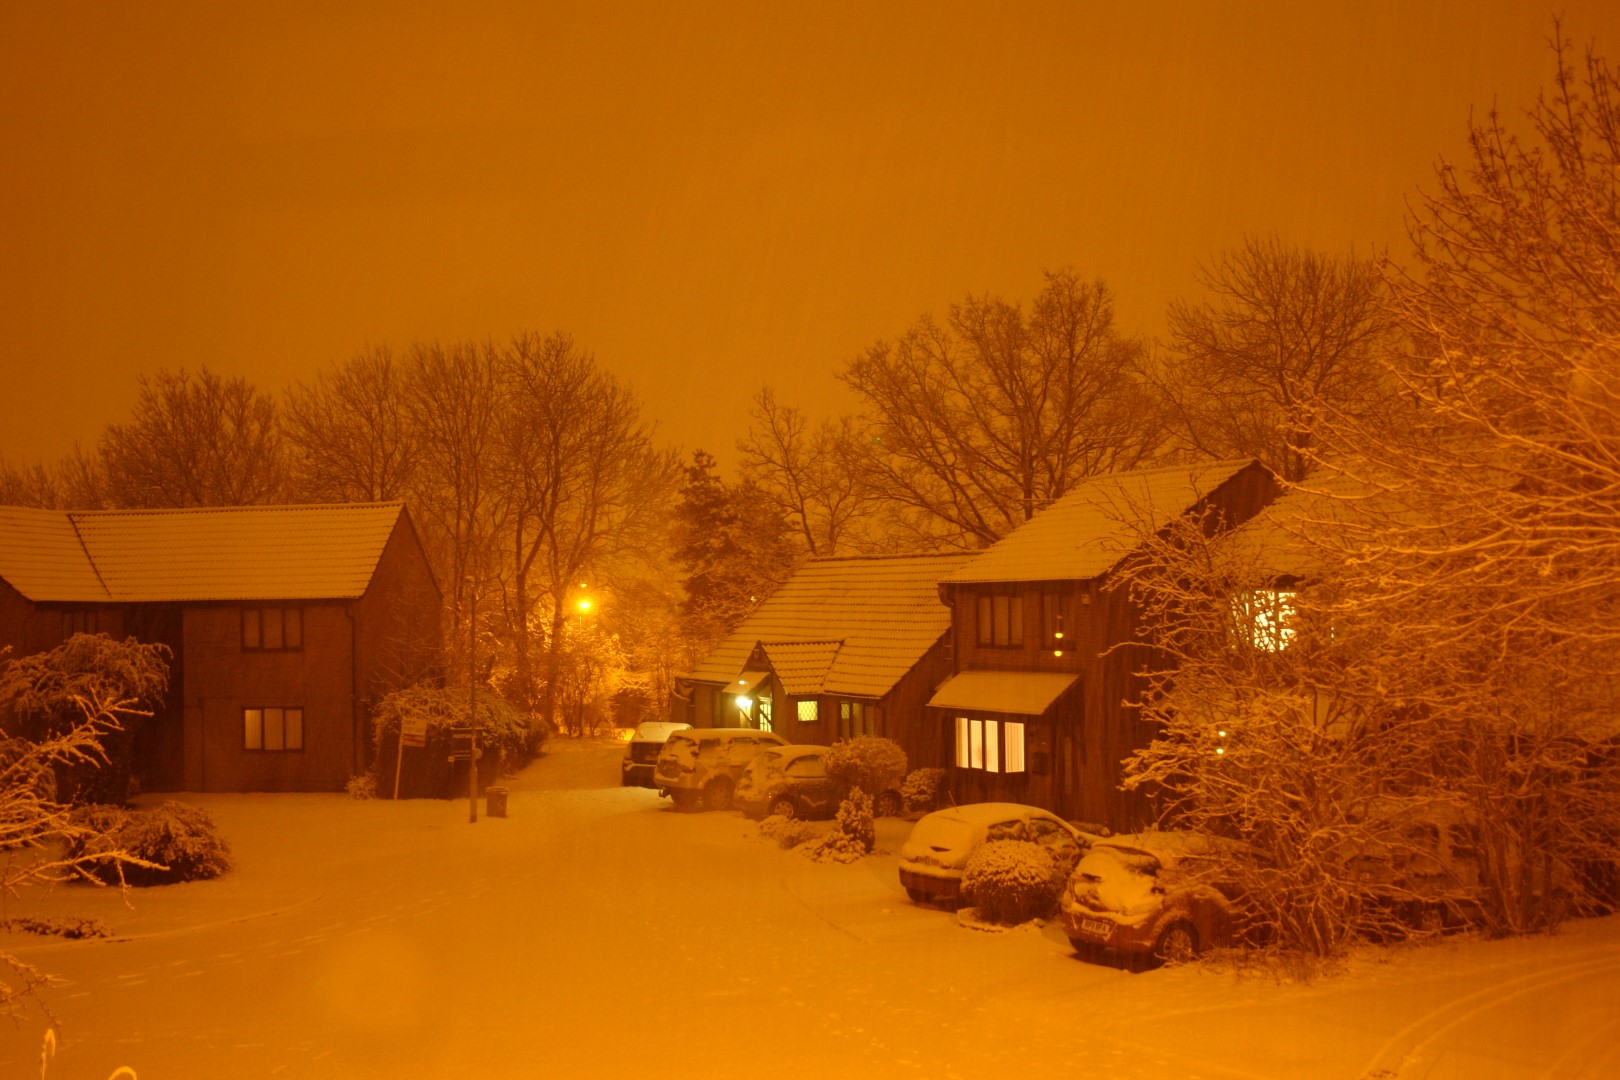
Neighborhood in Snowy Night, Lit by Street Lights

dscf1205-large

Grand Canyon

dscf1131-large

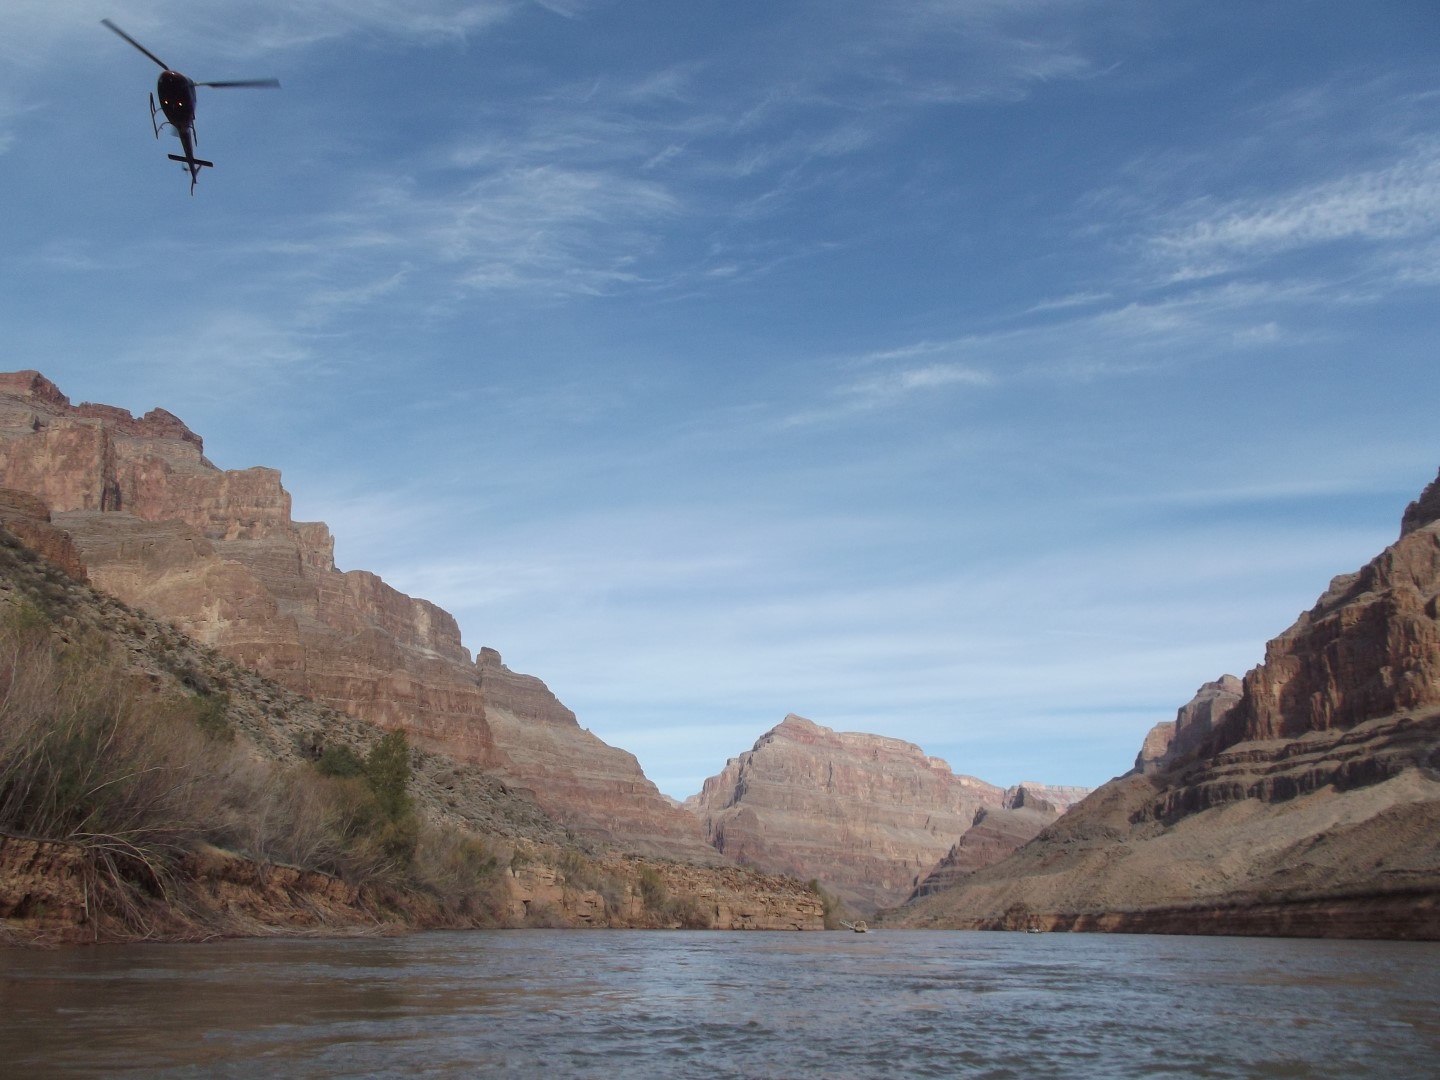
Grand Canyon from the Colorado river

dscf1084-large

Grand Canyon from the Colorado river

dscf0809-large

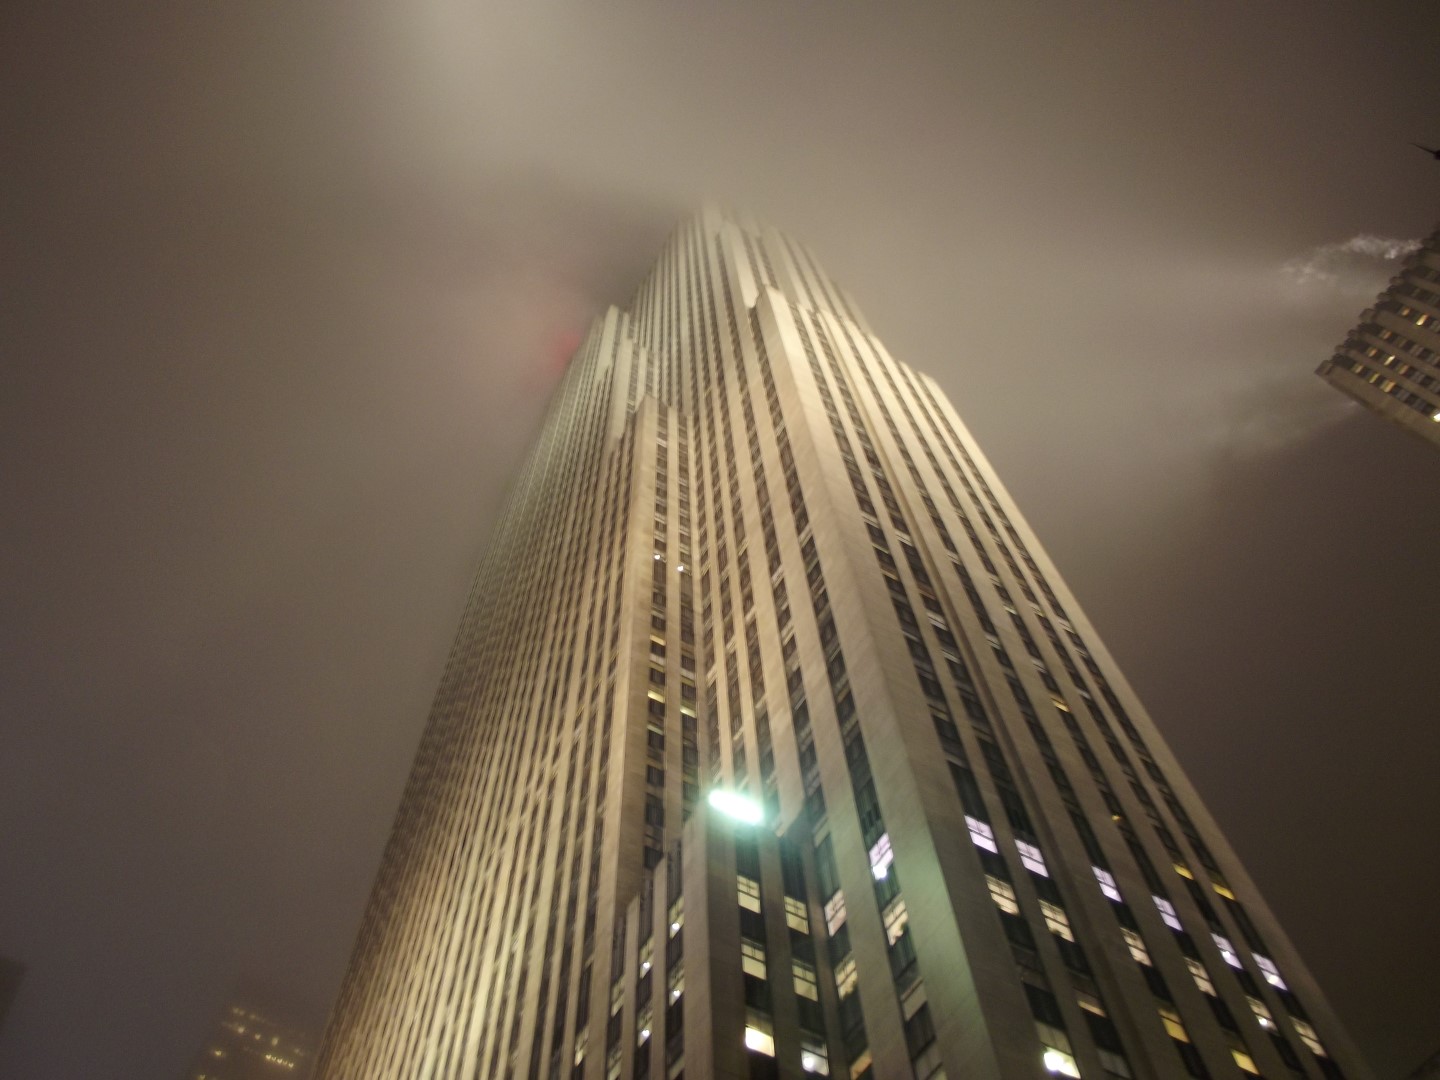
Rockefeller Center, New York, USA

dscf0381-large

 Canada from the other side of Niagara Falls

dsc00992-large

Waves, Bournemouth Beech, UK

Copyright © 2017 Rajkumar Raval, All Rights Reserved

Share Button

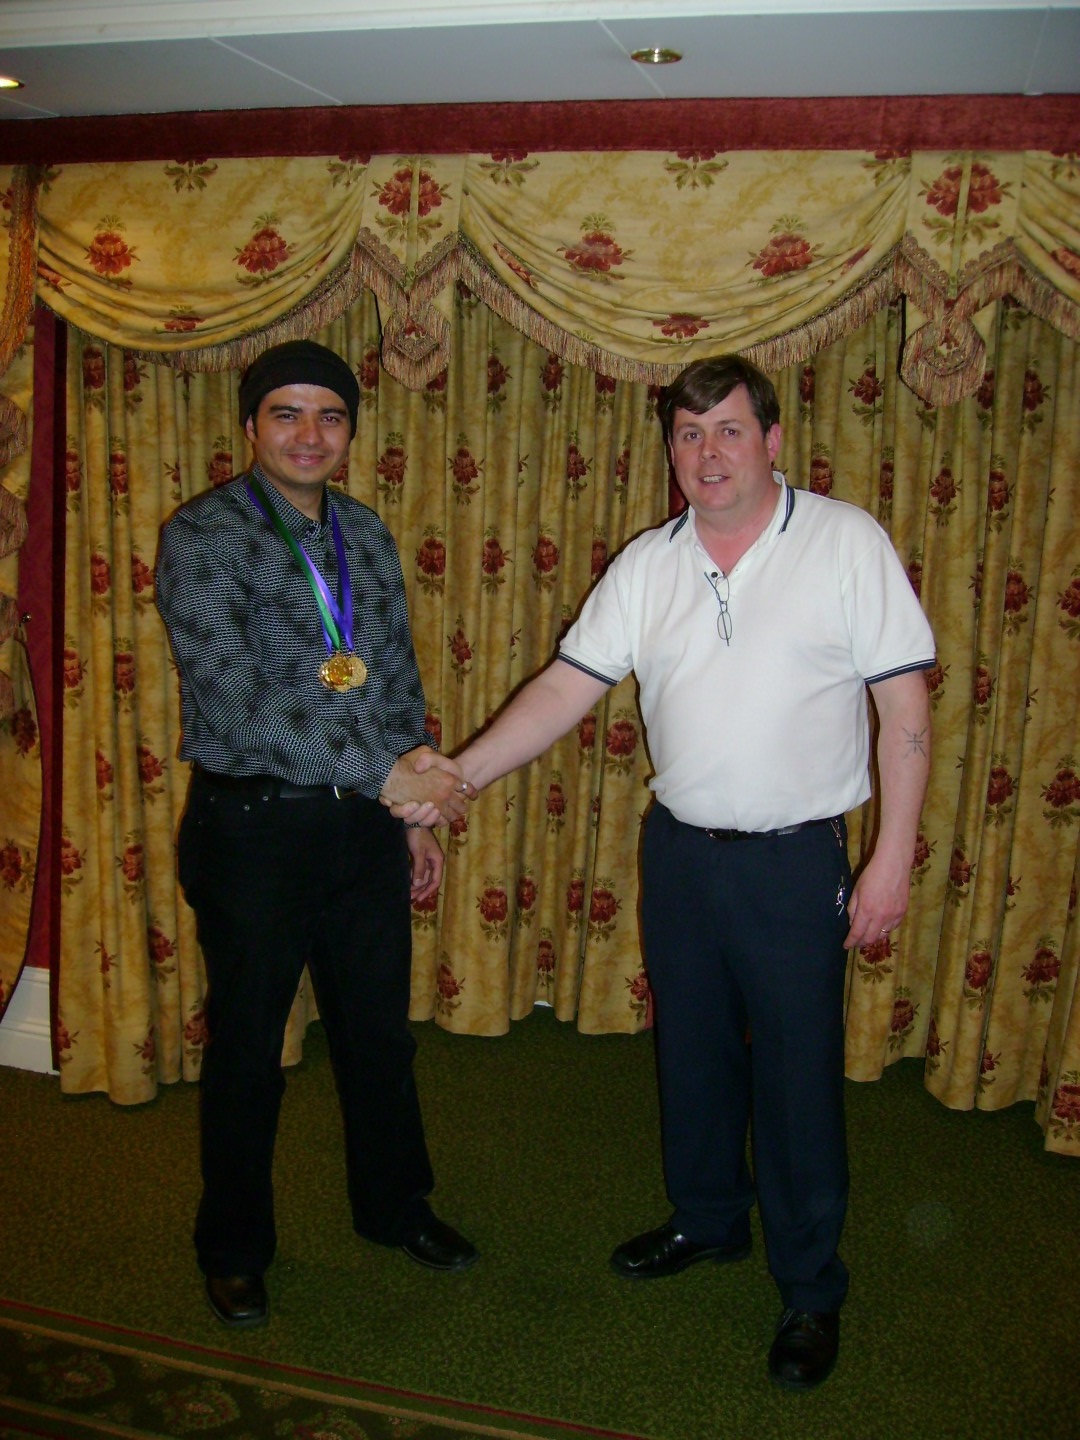
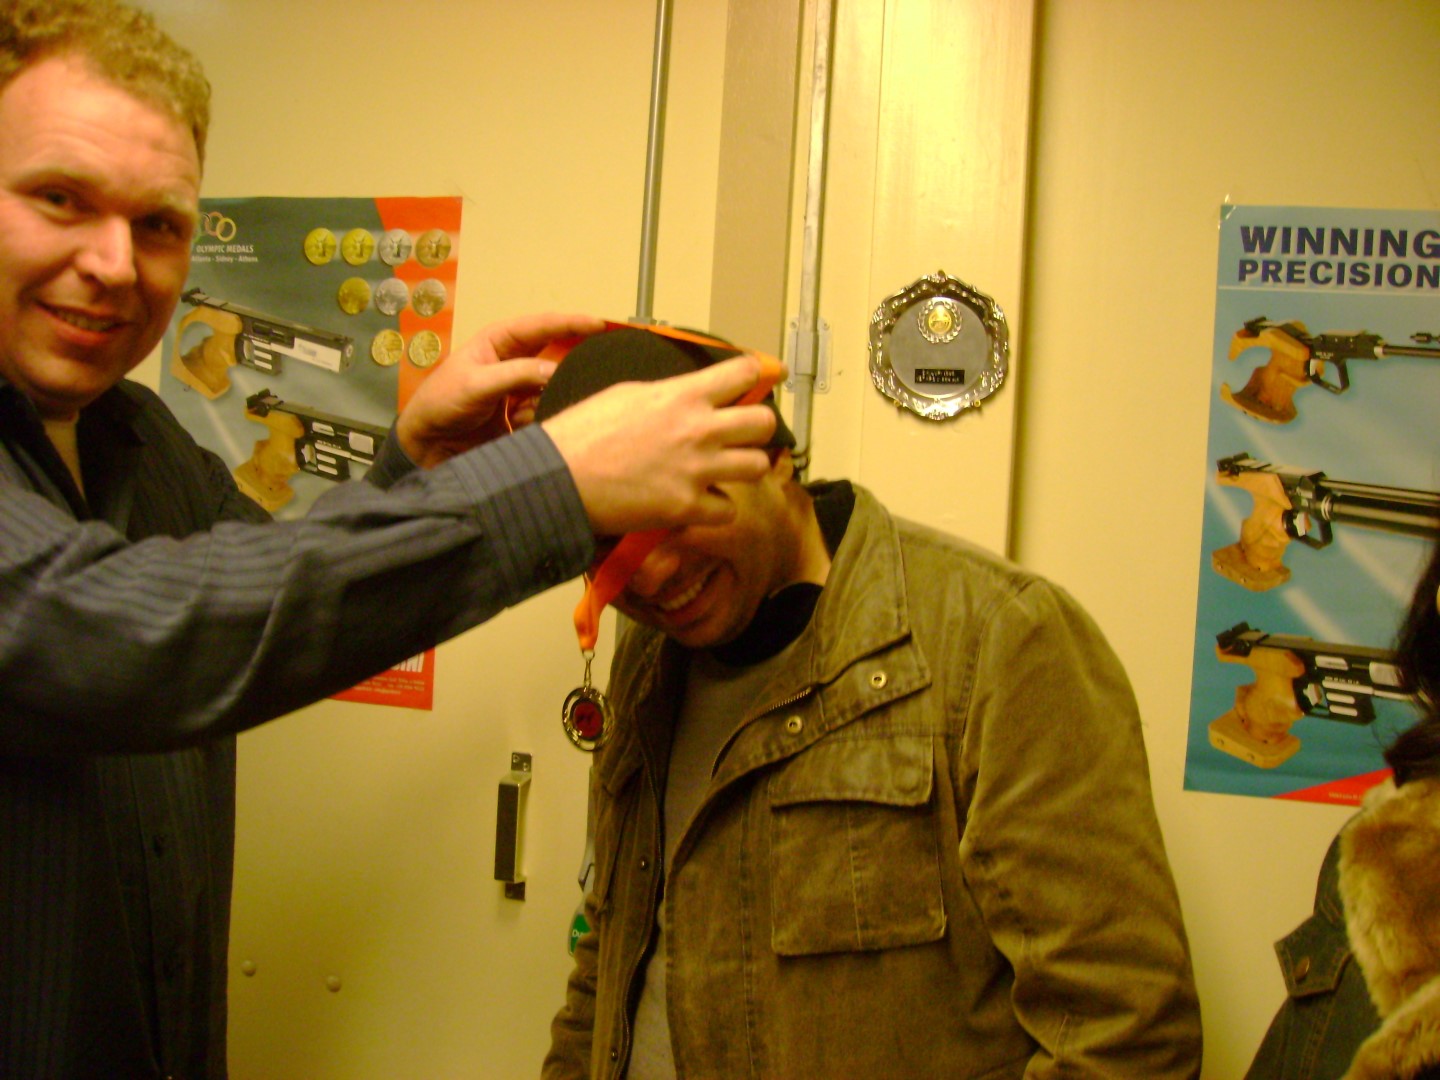
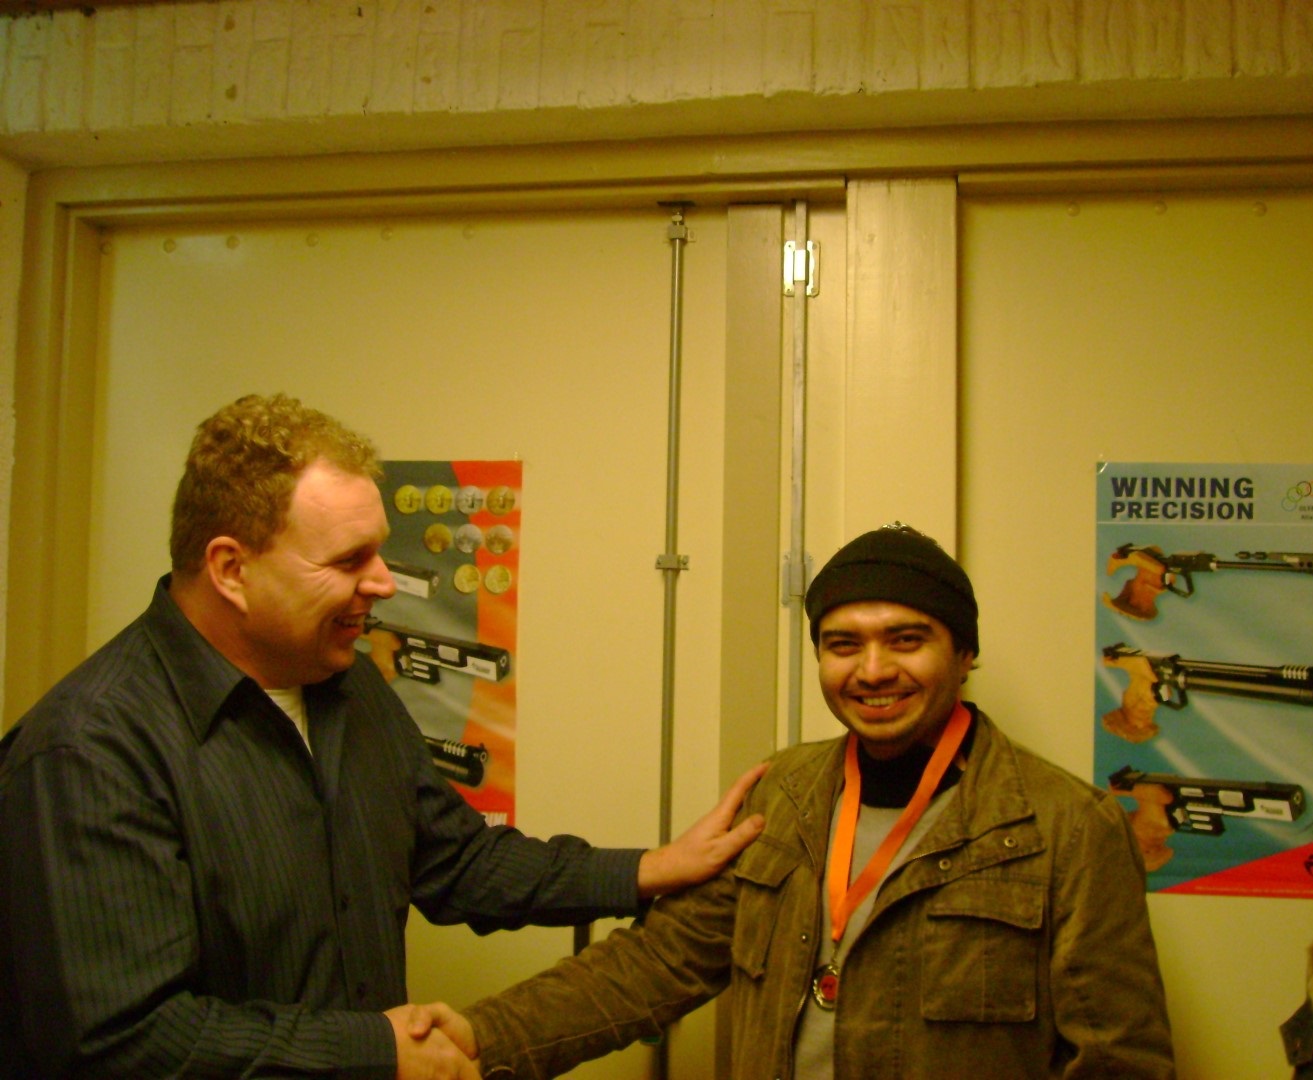
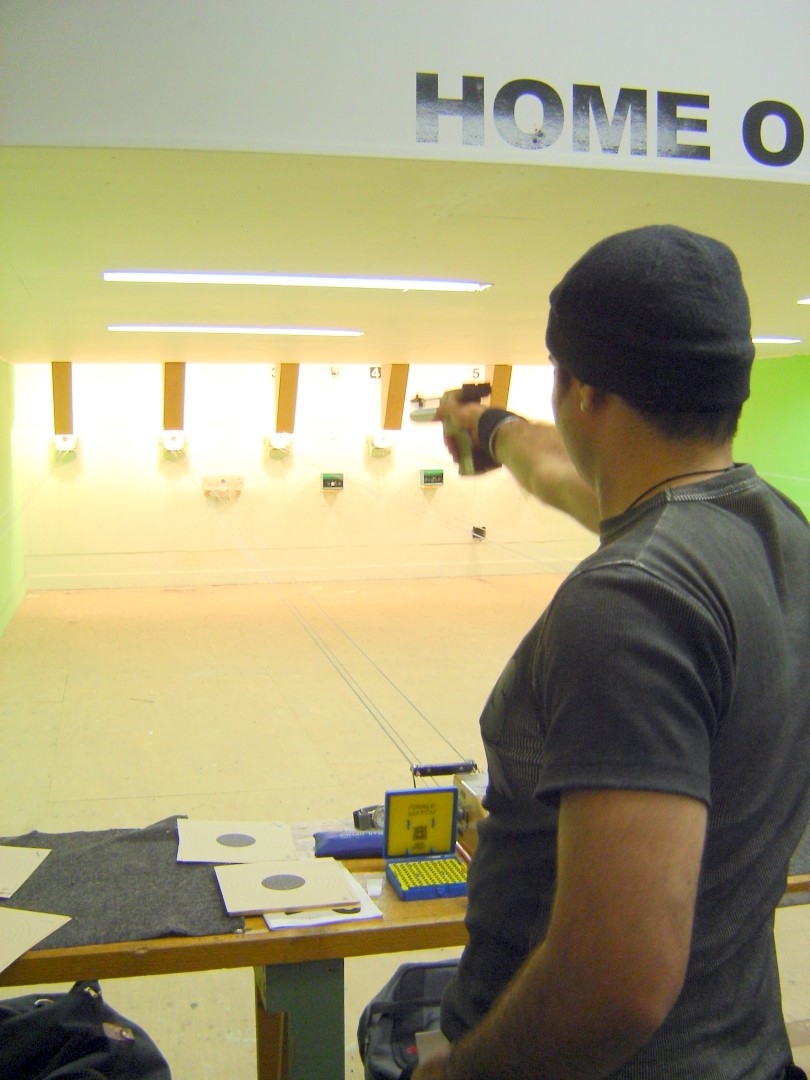
10m Air Pistol – Olympic Discipline

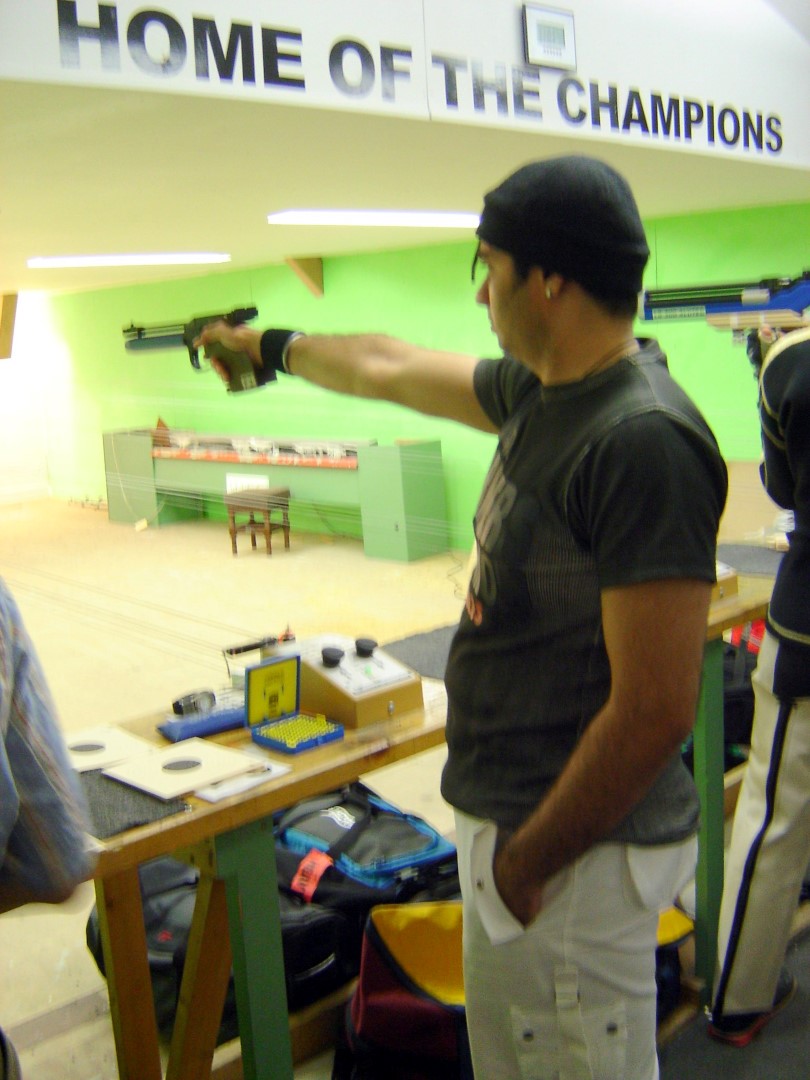
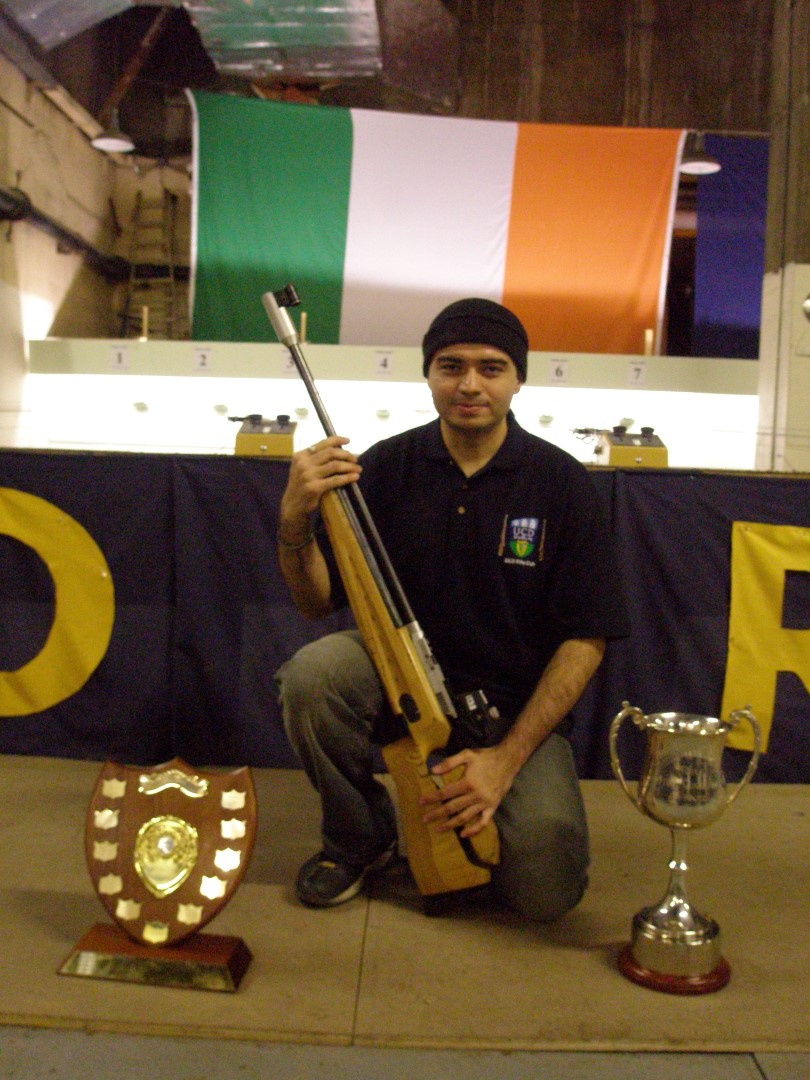
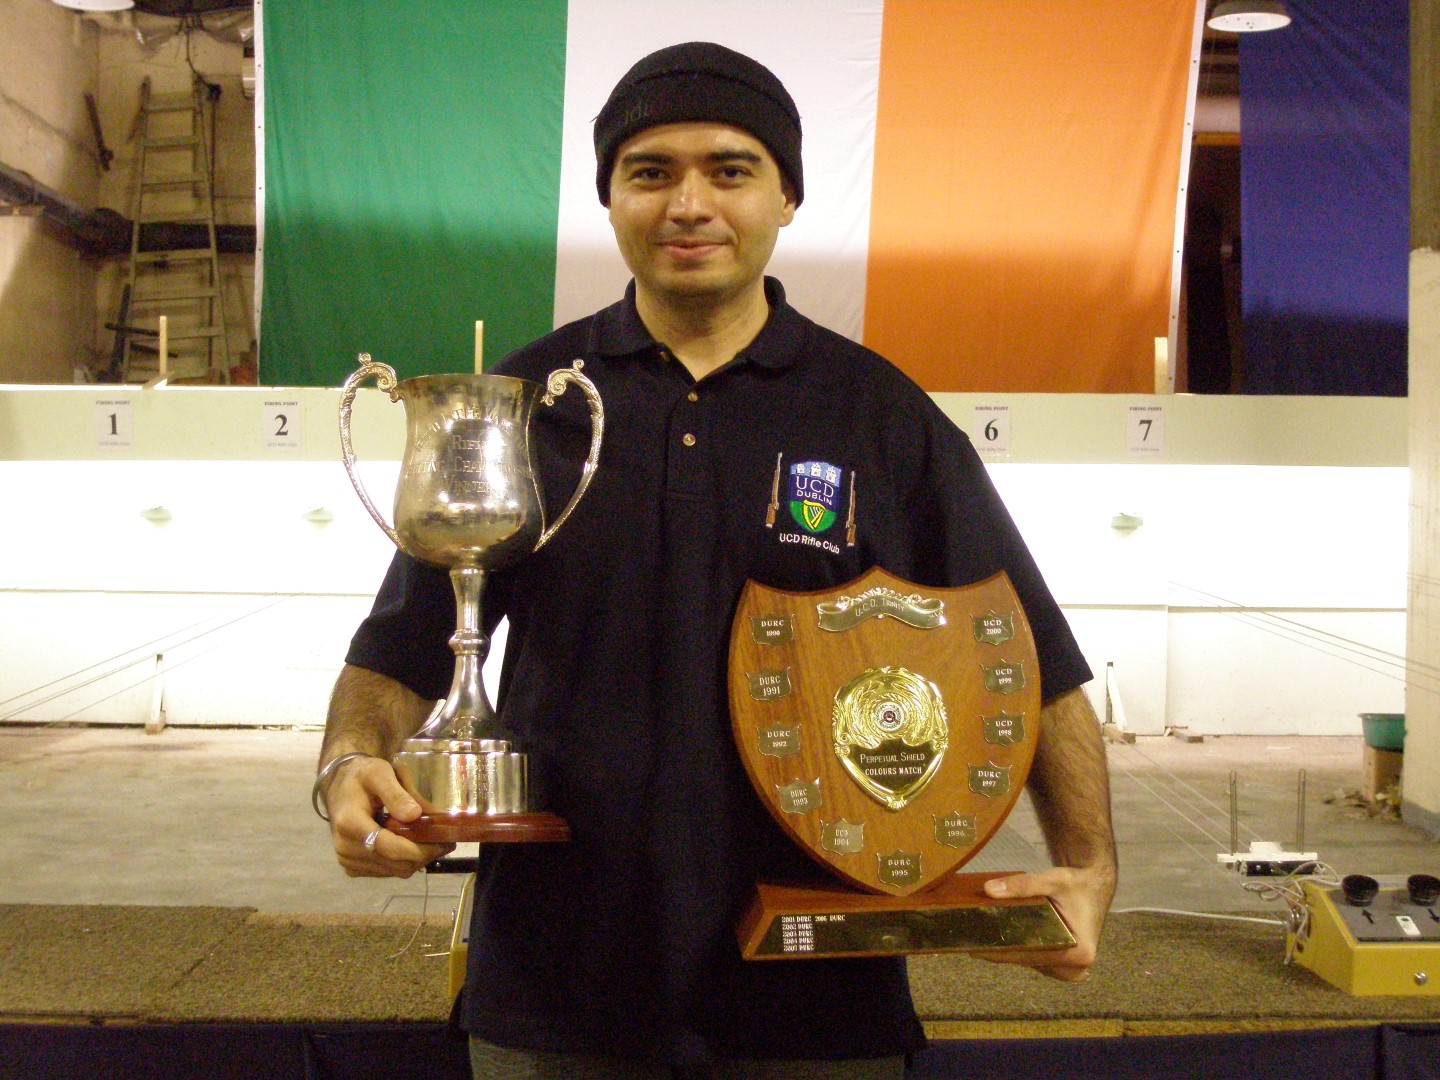
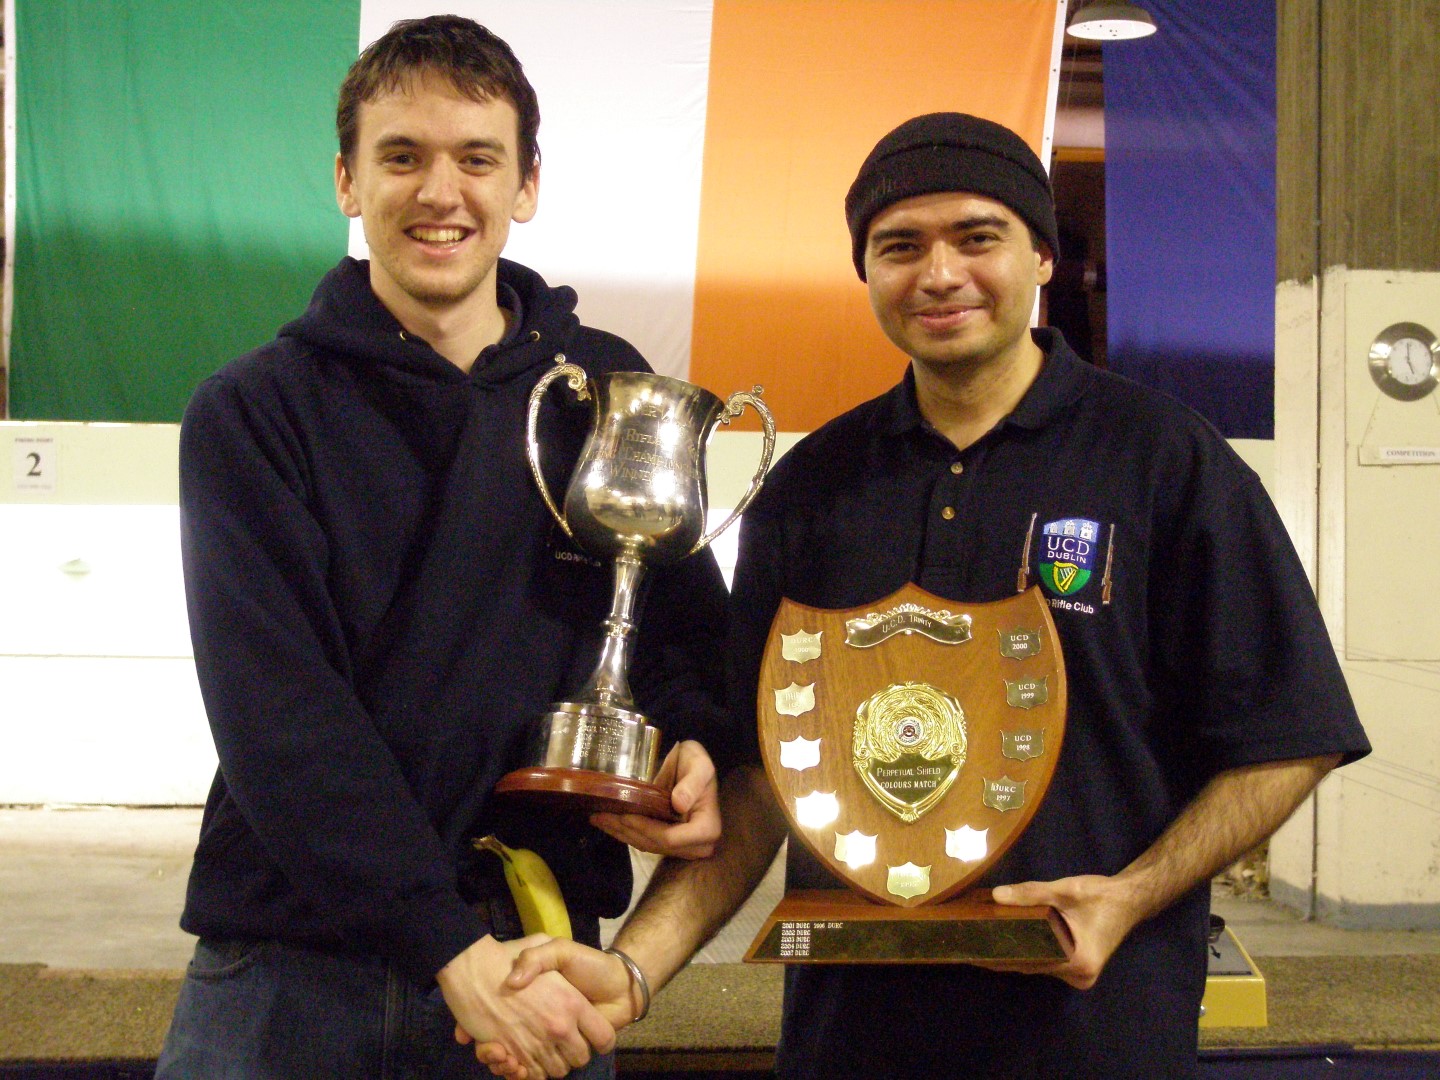
Competed and won various national level, county level and league target shooting competitions in Ireland, the Netherlands and the United Kingdom.

raj_pistorl2-large

Have been affiliated with the following:

  1. Ireland: http://www.ucd.ie/rifle/
  2. Ireland: http://www.targetshooting.ie/
  3. Ireland: http://www.issf.ie/
  4. The Netherlands: http://www.svwoensel77.nl/
  5. The UK: http://www.britishpistolclub.org/
  6. The UK: http://www.nsra.co.uk/
  7. The UK: http://www.oxonra.org/
  8. The UK: http://www.mtsc.club/
  9. The UK: http://www.pinewoodpistolclub.co.uk/

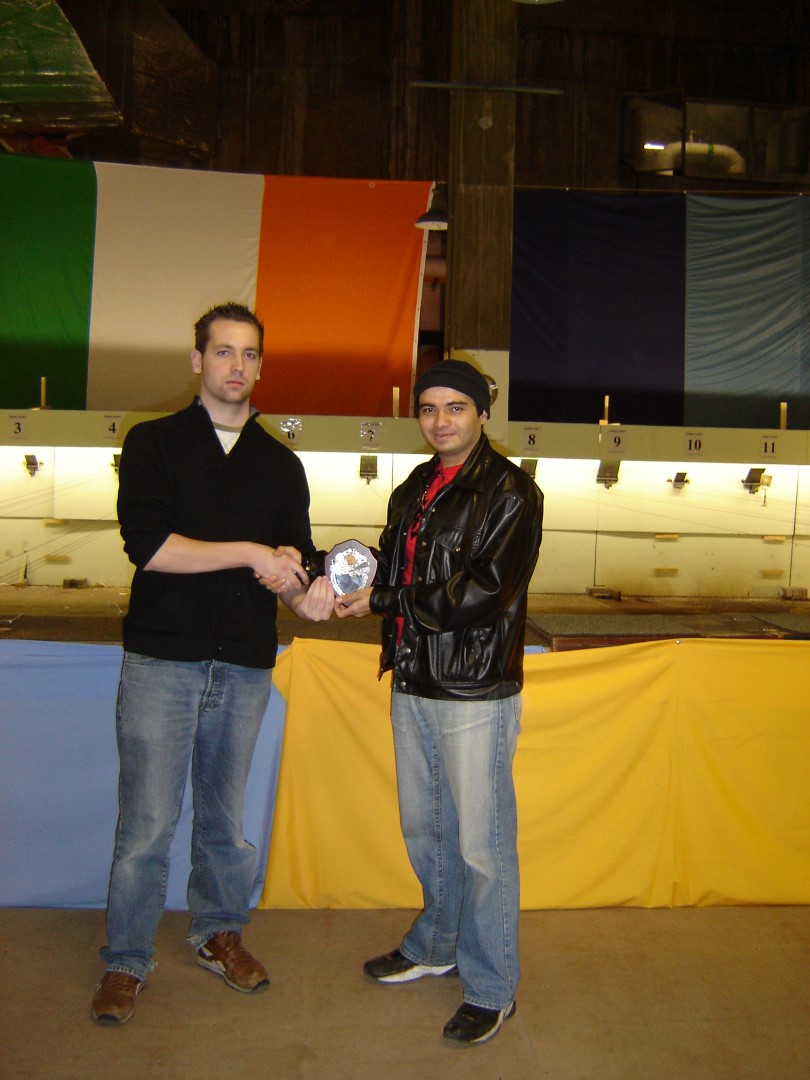
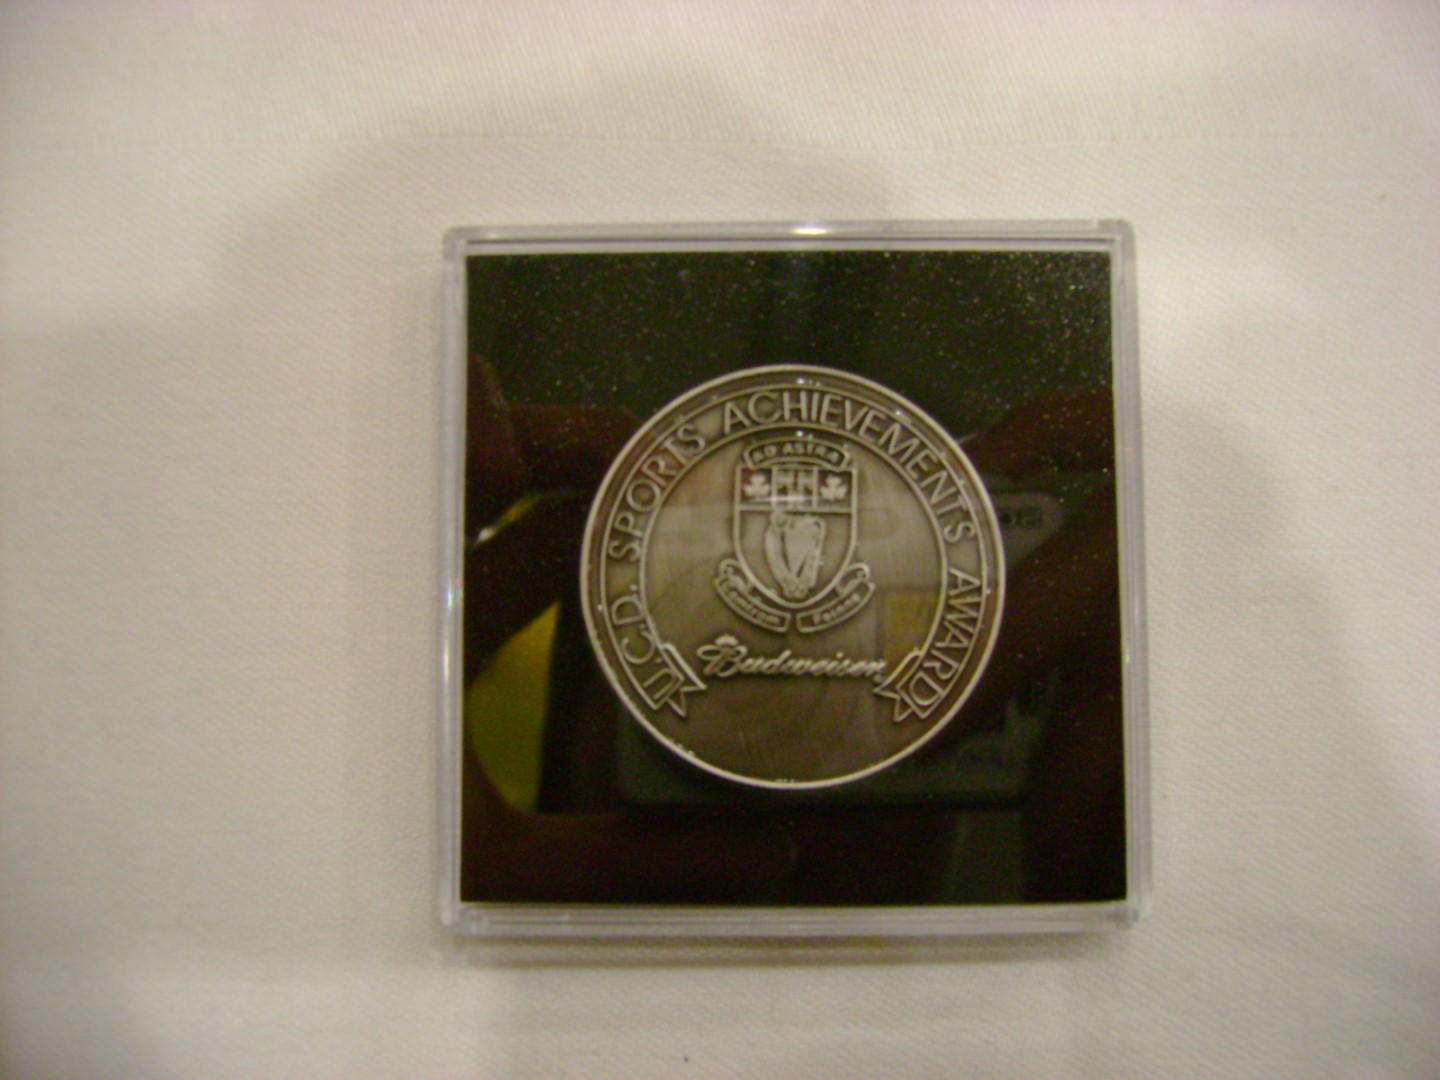
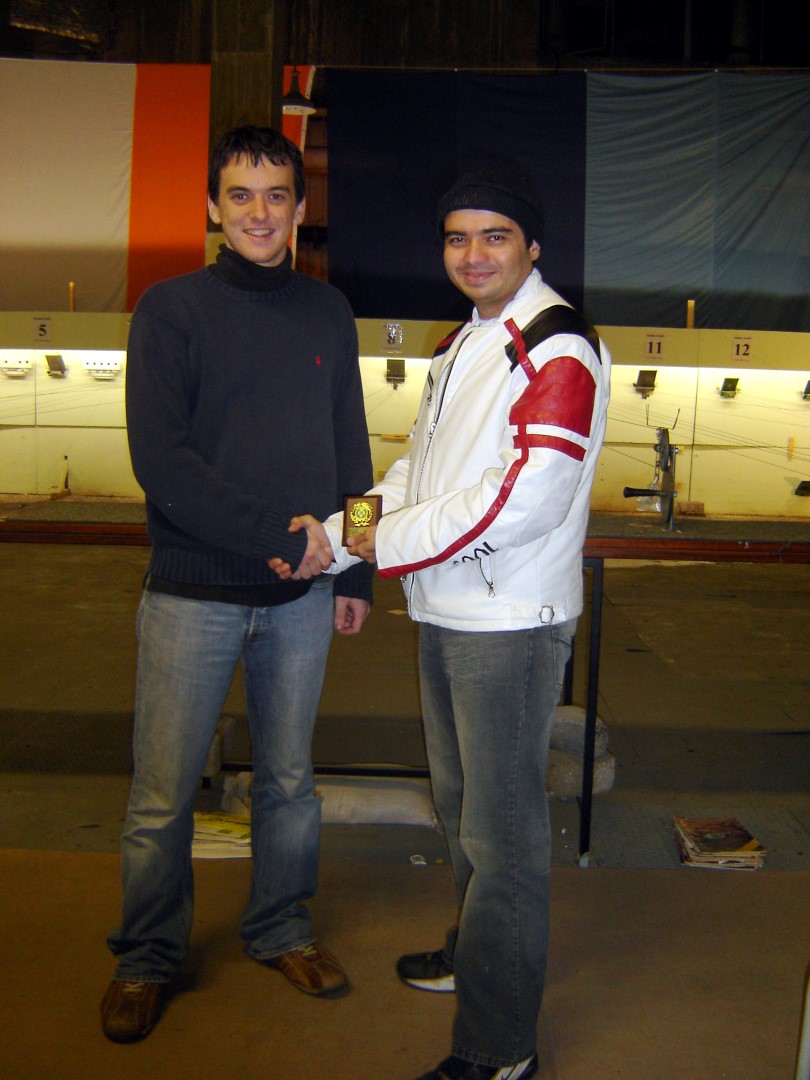
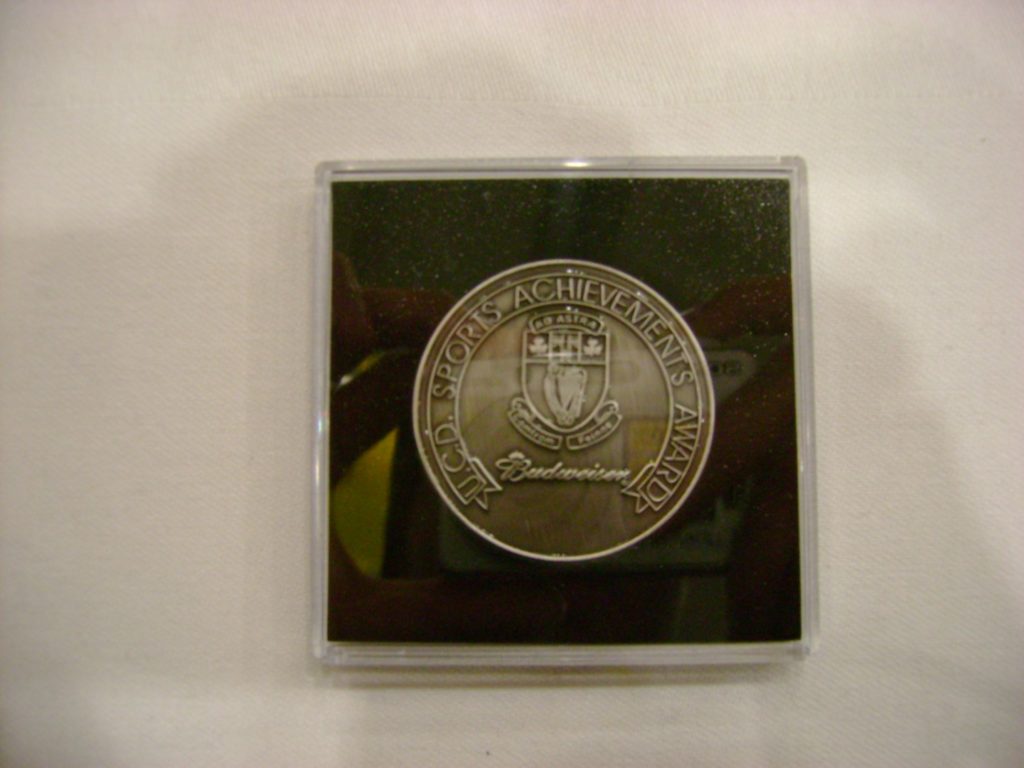
University College Dublin honoured me with the Sports Achievement Award for my efforts in target shooting in the year 2007.

dsc00026-large


dsc00132-largeimg_0481-large

dsc00051-2-large

dsc00052-large

dsc02564-1-large

raj_pistol-large

Share Button

10m Air Rifle – Olympic Discipline

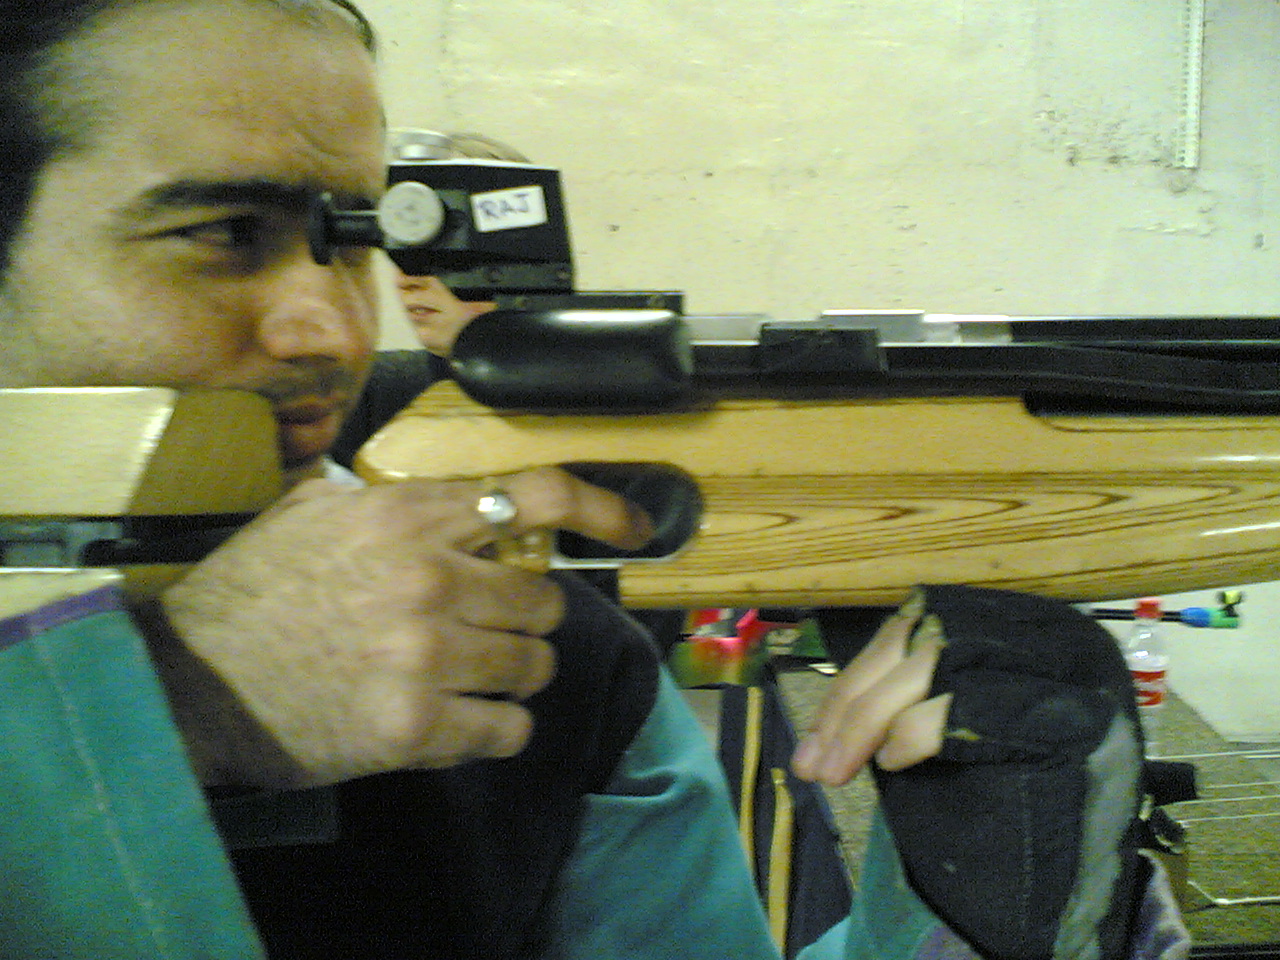
Competed and won various national level, county level and league target shooting competitions in Ireland, the Netherlands and the United Kingdom.

28022007001

Have been affiliated with the following:

  1. Ireland: http://www.ucd.ie/rifle/
  2. Ireland: http://www.targetshooting.ie/
  3. Ireland: http://www.issf.ie/
  4. The Netherlands: http://www.svwoensel77.nl/
  5. The UK: http://www.britishpistolclub.org/
  6. The UK: http://www.nsra.co.uk/
  7. The UK: http://www.oxonra.org/
  8. The UK: http://www.mtsc.club/
  9. The UK: http://www.pinewoodpistolclub.co.uk/

University College Dublin honoured me with the Sports Achievement Award for my efforts in target shooting in the year 2007.

dsc00026-large


dsc02552-1-large


OLYMPUS DIGITAL CAMERA


OLYMPUS DIGITAL CAMERA


OLYMPUS DIGITAL CAMERA


OLYMPUS DIGITAL CAMERA


OLYMPUS DIGITAL CAMERA


OLYMPUS DIGITAL CAMERA


dsc00129-large


dsc00133-large


dsc00137-large

Share Button

NunChucks Bruce Lee Style ;)

Share Button

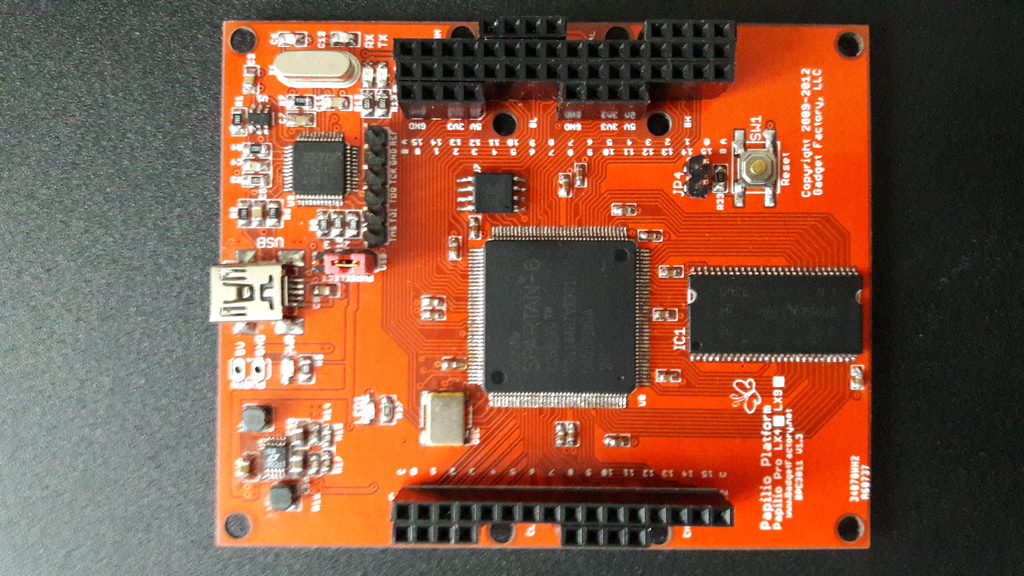
My First, Hand Soldered SMD PCB with FPGA – Papilio Duo

This is my first experience with hand soldering SMD components. Assembled the Paplio Duo board by completely hand soldering and it works! I could not have done it without the help and guidance of my fellow members at RLAB. So proud to be able to successfully solder the Xilinx Spartan 6 FPGA on this board :).

Website for this Open Source board is at Gadget Factory .

rajpapilio1

Share Button

Super Simple DIY Coffee Table Made from (PVC) Waste/Drain Pipe and Fittings

I wanted to make a smaller table which could be used as a coffee table as well as a table for kids. I searched a lot for a quicker and easier way to make such a table but could not find any instructions online. So I thought about it and came up with a way to make the table. I would like to share with you how I made the small table.

The frame was made using the plastic (PVC) waste pipe and pipe fittings (32 or 40 mm diameter) mainly used for bathroom/kitchen waste/drains. I bought these parts quite cheap from a trade DIY shop. In UK these type of pipes and fittings are called solvent weld pipe and fittings. Solvent weld means they can be stuck/attached with solvent cement (also known as PVC Glue).

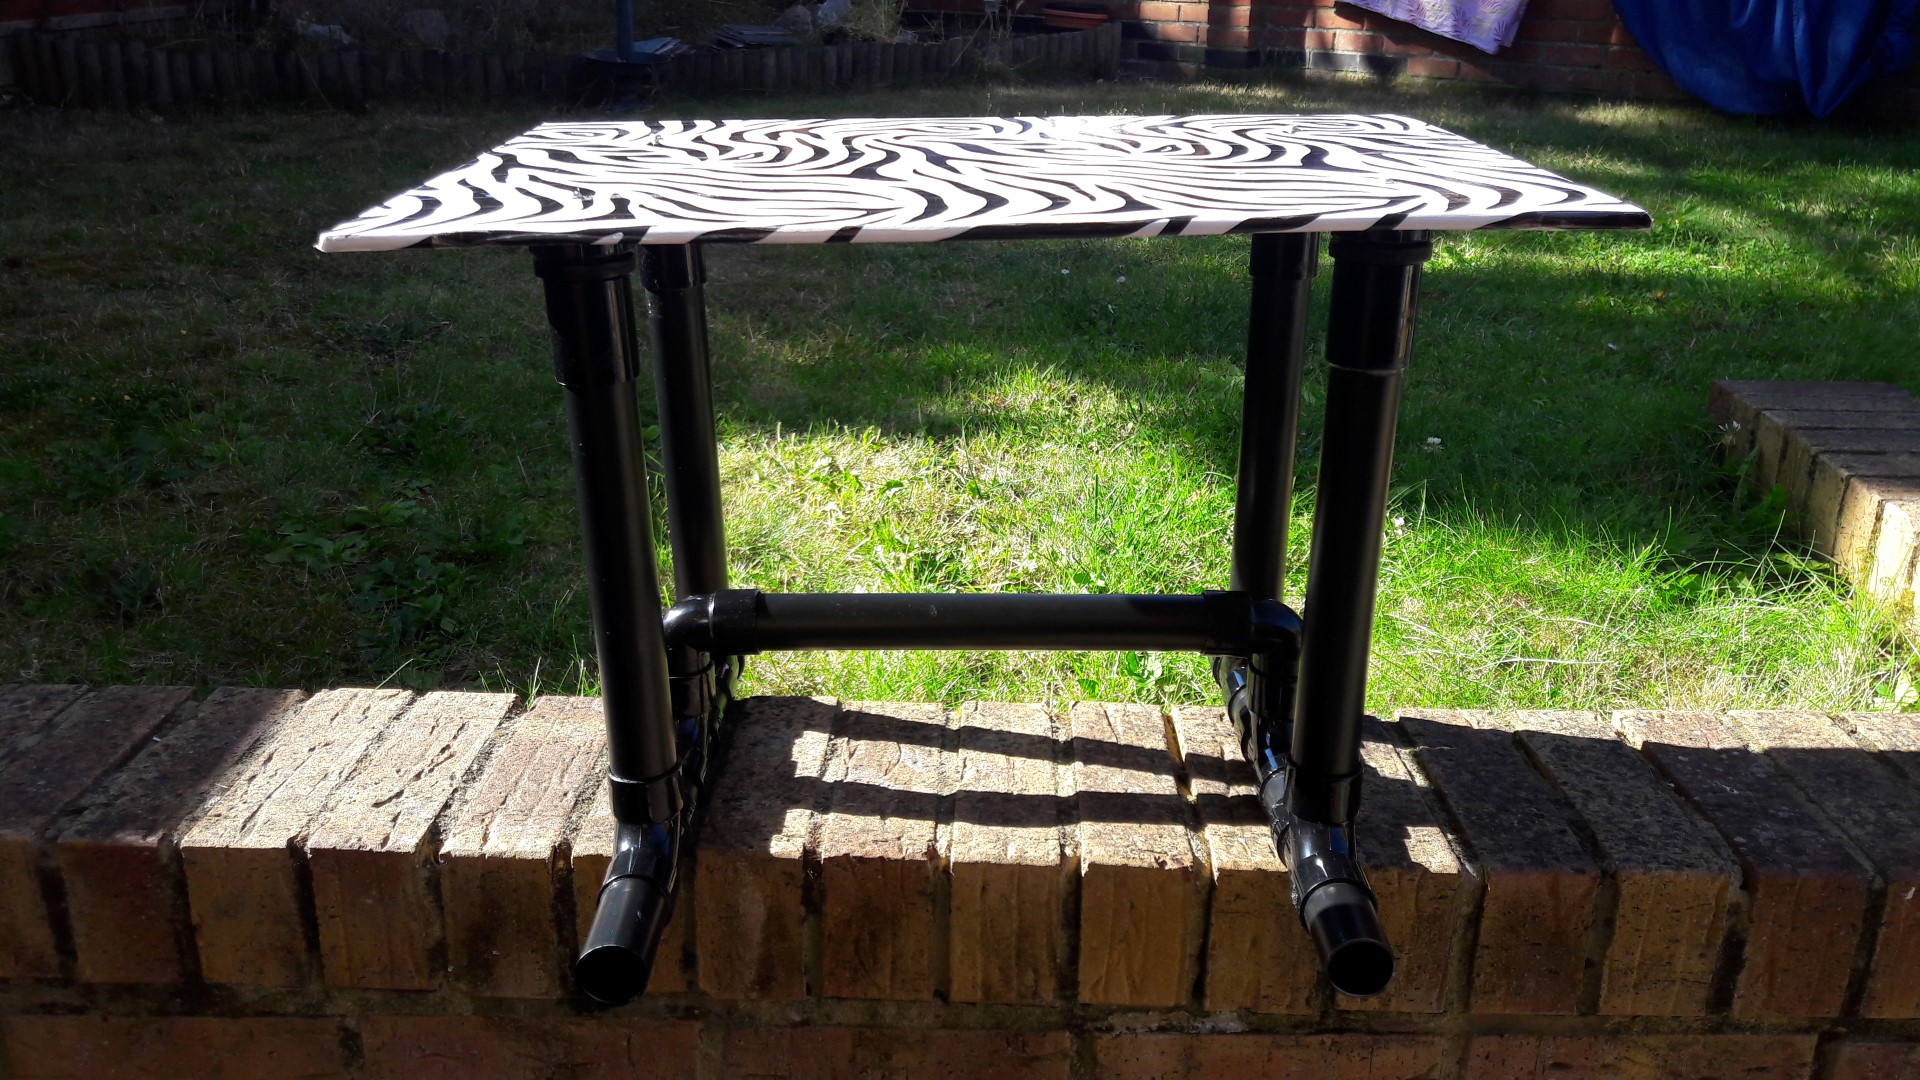
This is what the finished table looks like 🙂

finalasmb

Components Required

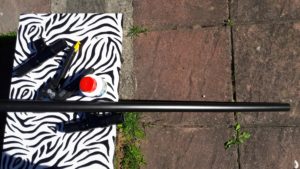
  1. Solvent weld (PVC) pipe black, 32 mm diametertools3
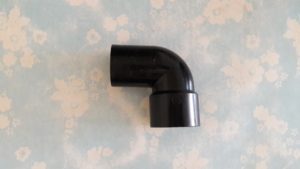
  2. Solvent weld (PVC) 90 degree conversionparts2
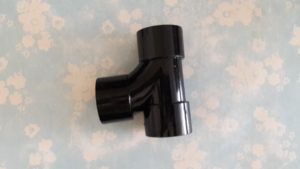
  3. Solvent weld (PVC) Tee, 32 mmparts1
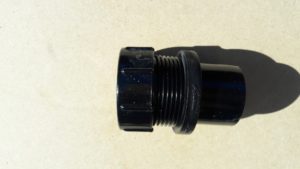
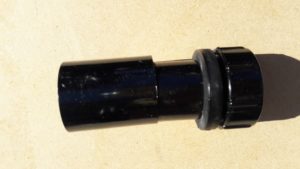
  4. Solvent weld (PVC) access plugparts4
  5. Solvent weld (PVC) straight coupling 32 mmasmb1
  6. Solvent Cement (PVC Glue)
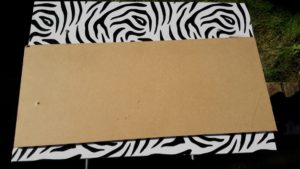
  7. About 5 mm MDF wood for the topTop1
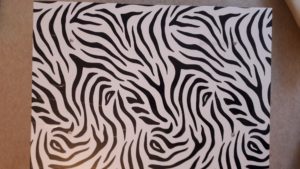
  8. Any nice decoration (paper or paint etc.) to go on the topTop2

Tools Required

  1. Drill with a wood drill bit
  2. Screw-driver
  3. A wood saw (manual, hand one or powered) or get the wood already cut
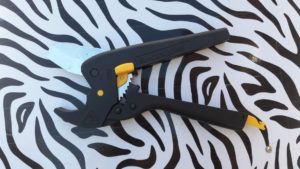
  4. Plastic, waste pipe cuttertools2


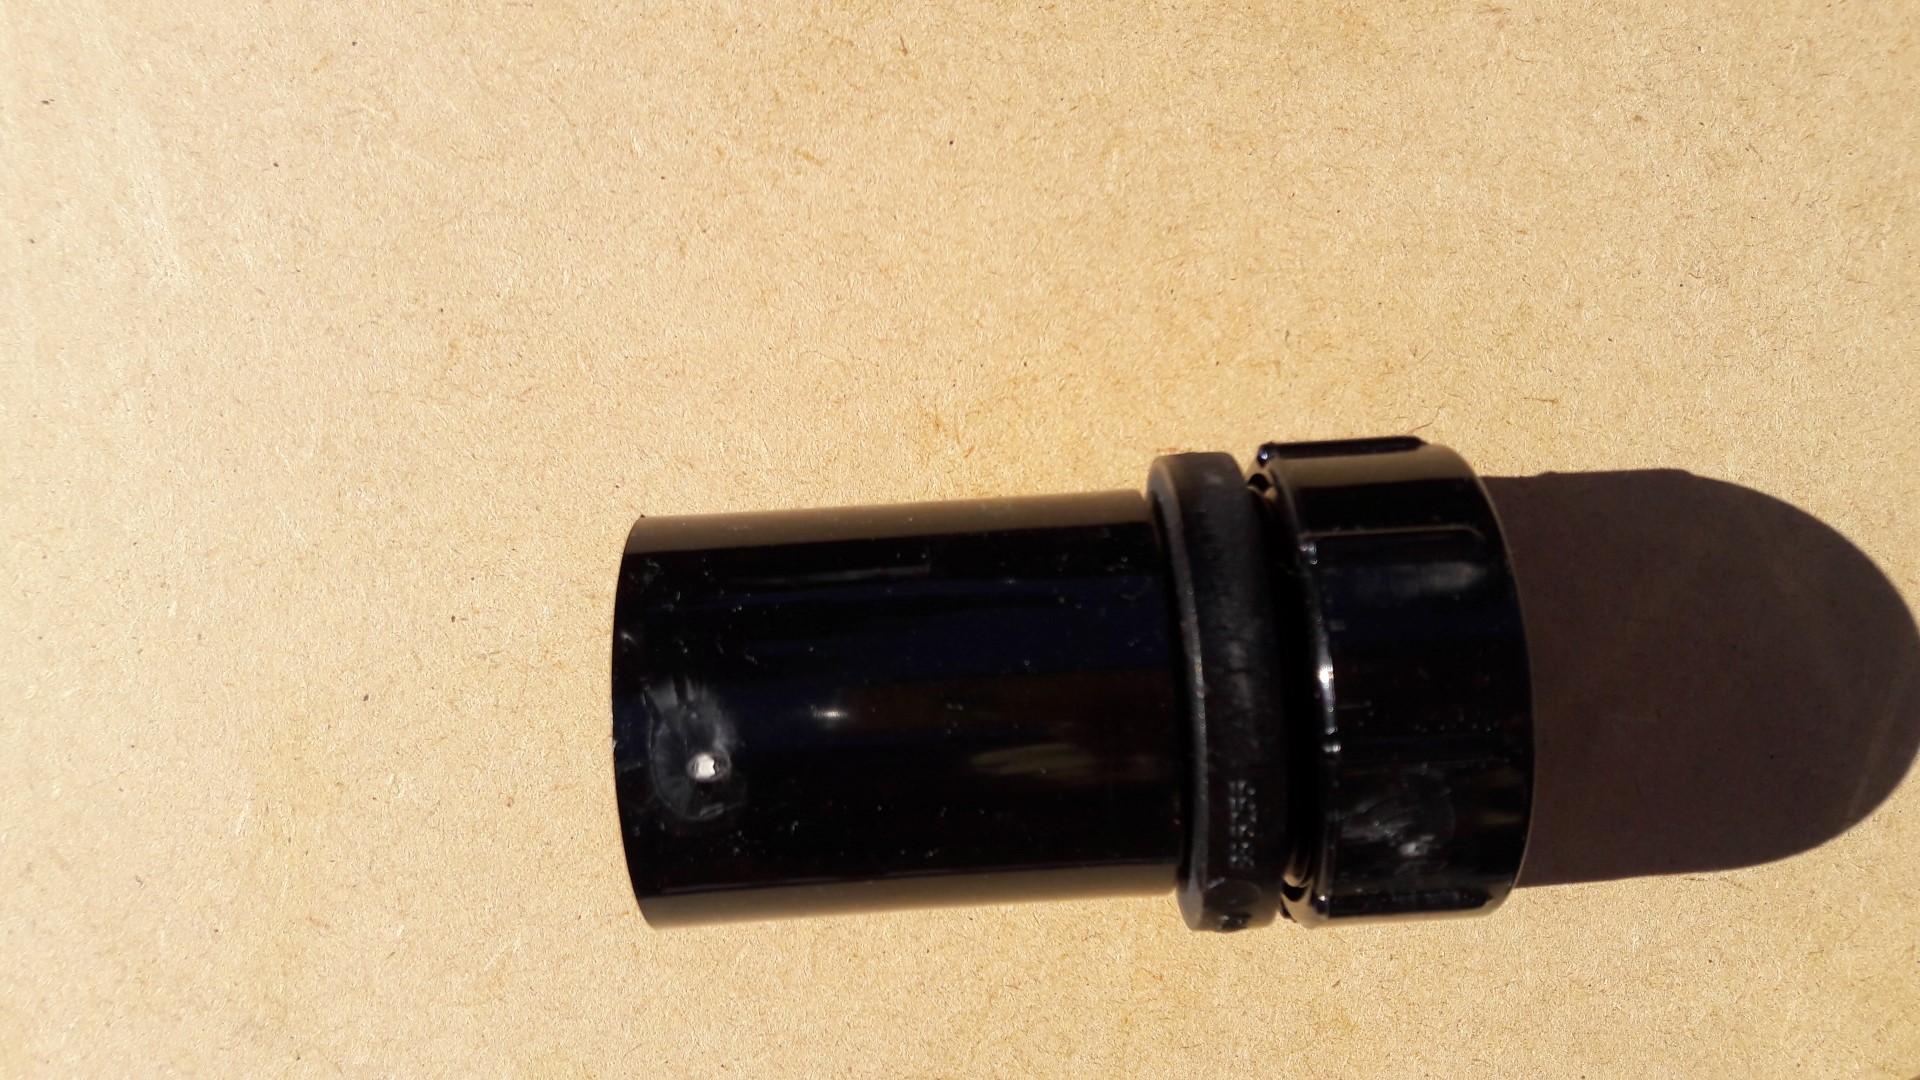
Please be careful while using these tools. First part of the process is to stick the access plug to the wood top of the table in order for the table legs to be screwed on. I first unscrewed the cap and glued the cap on the back side of the wooden top. I also drilled a hole through the top and the plastic cap and passed a screw and fixed it with a nut on the bottom side.

top3


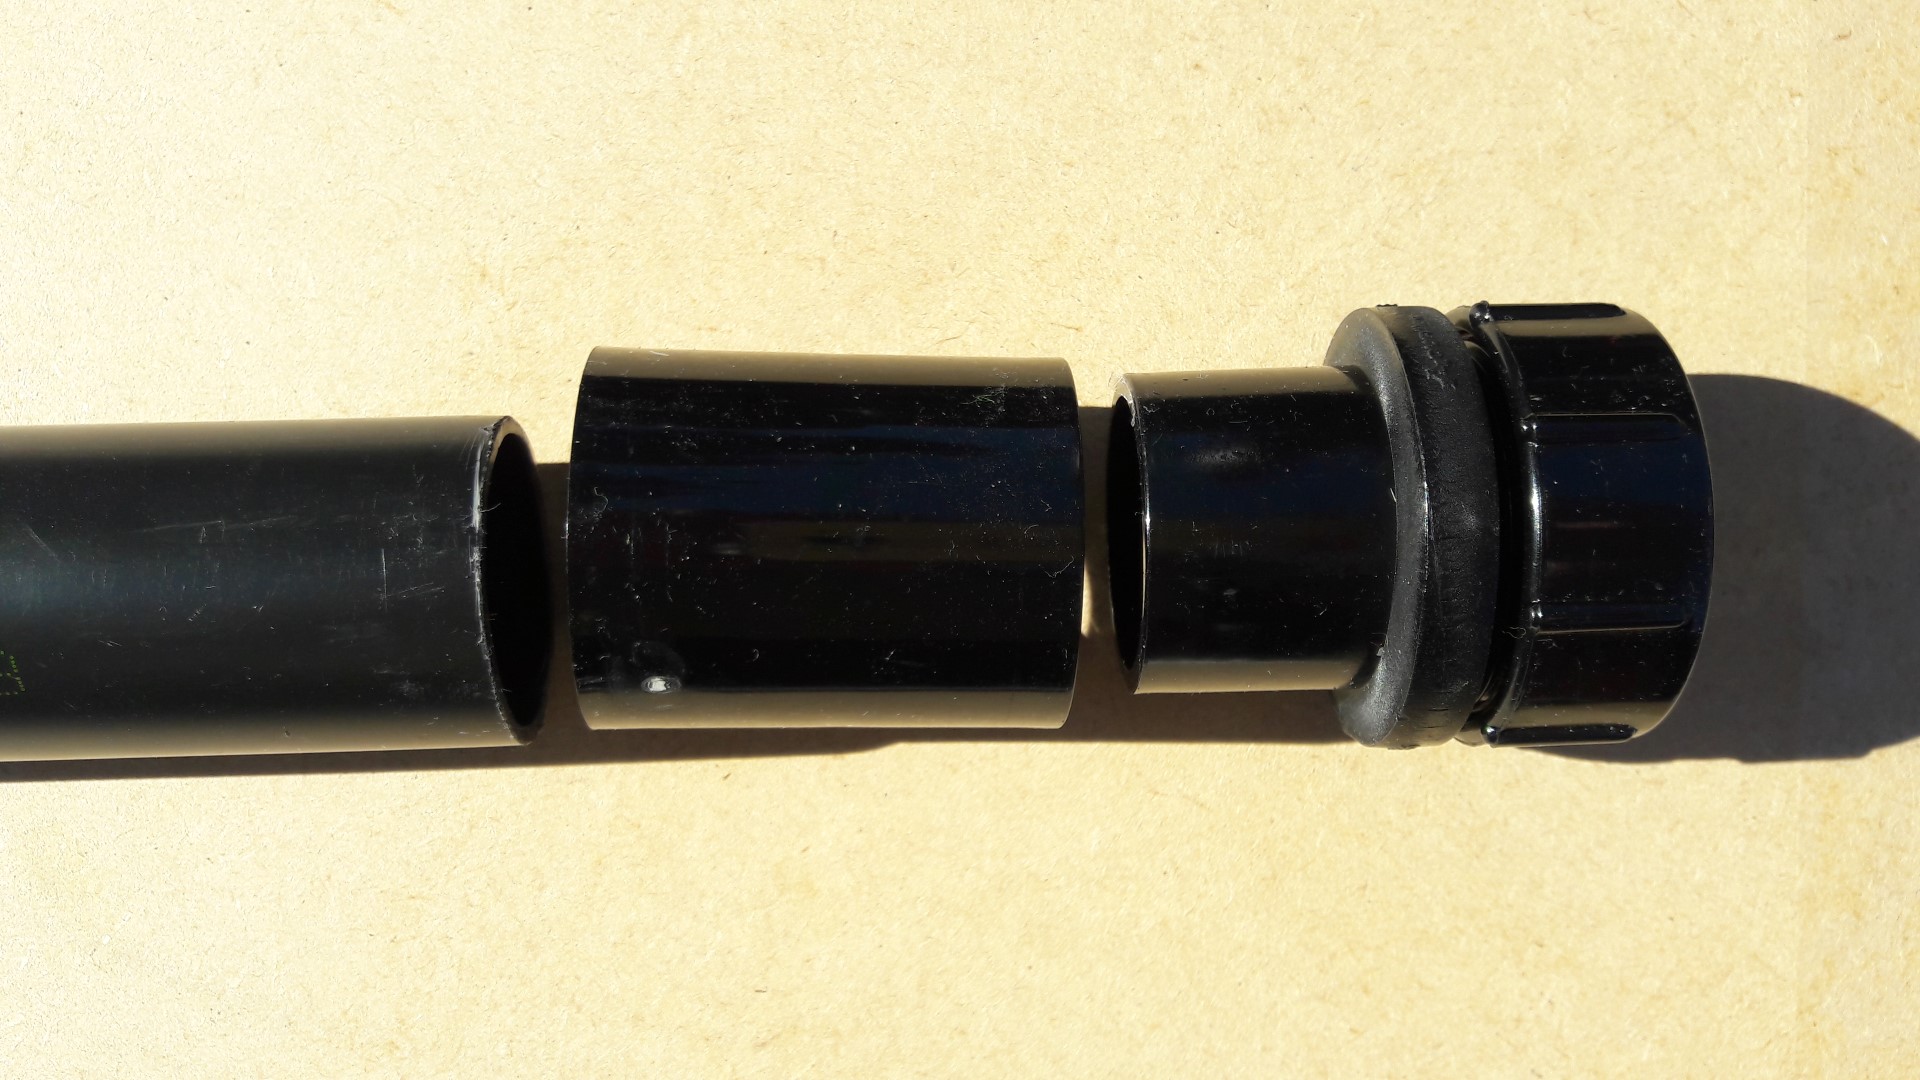
Applying solvent to a 32 mm straight coupling to make a joint with the access plug.
asmb2

Then applying solvent to the straight coupling and the pipe cut to the size of the table leg that you require in order to create the leg of your table.
asmb3

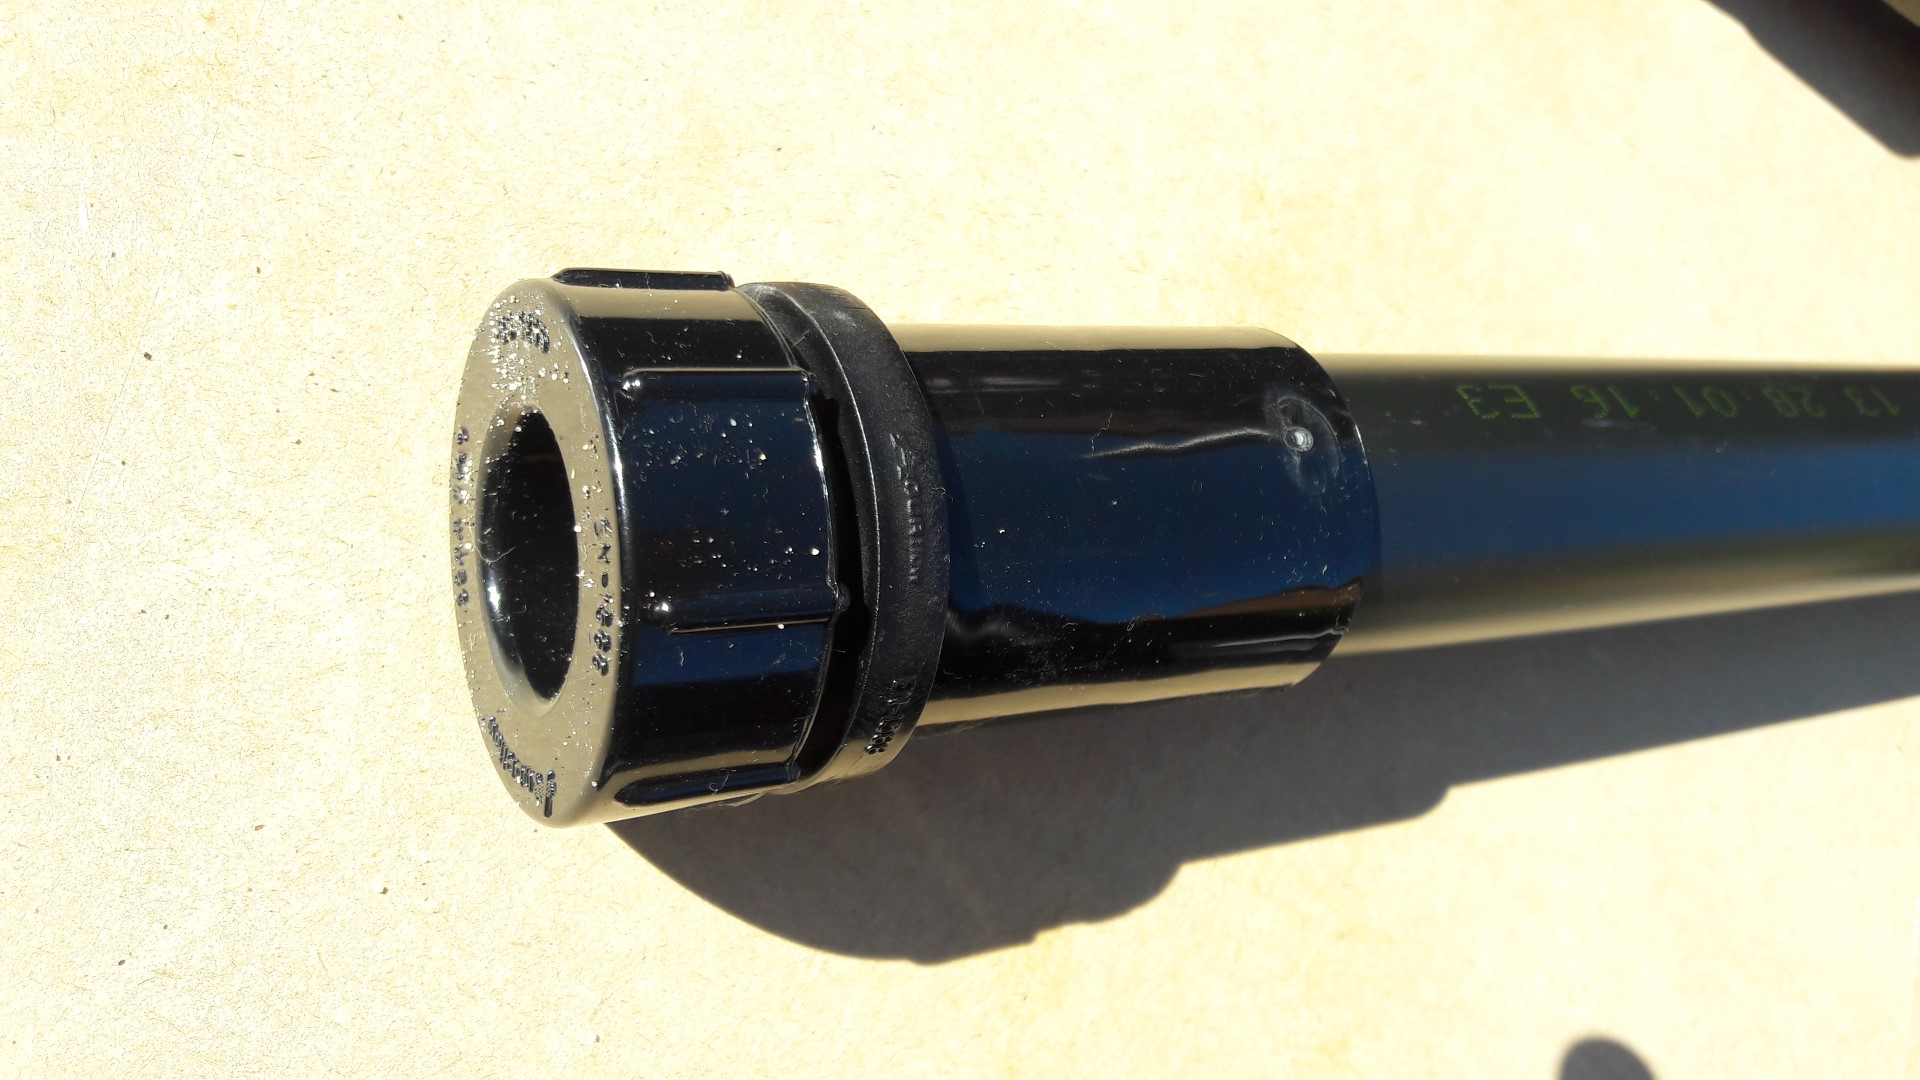
Finally the leg of your table is ready :).

asmb4

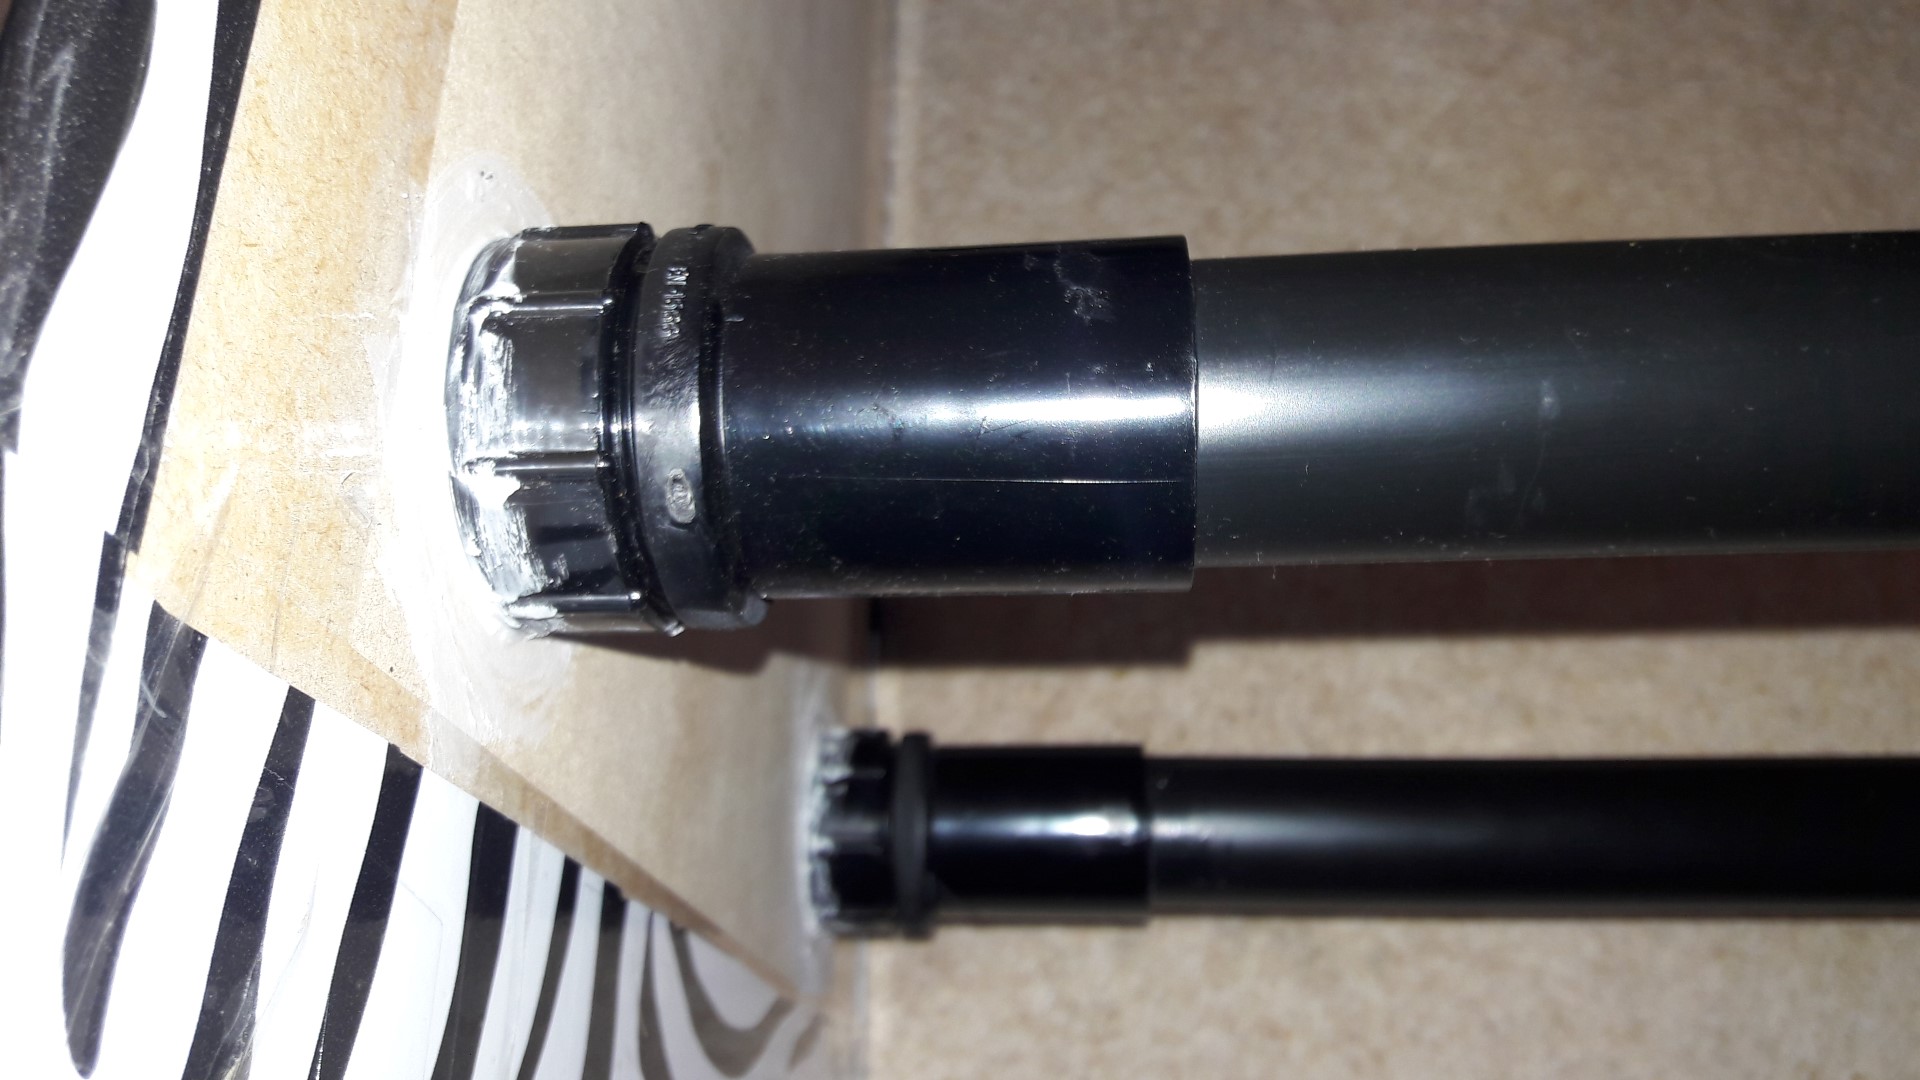
The leg then is screwed onto the cap of the access plug which we stuck on the back side of the table top before.

top5

Now solvent is applied to the Tee to create stable base on the legs of the table.

asmb5

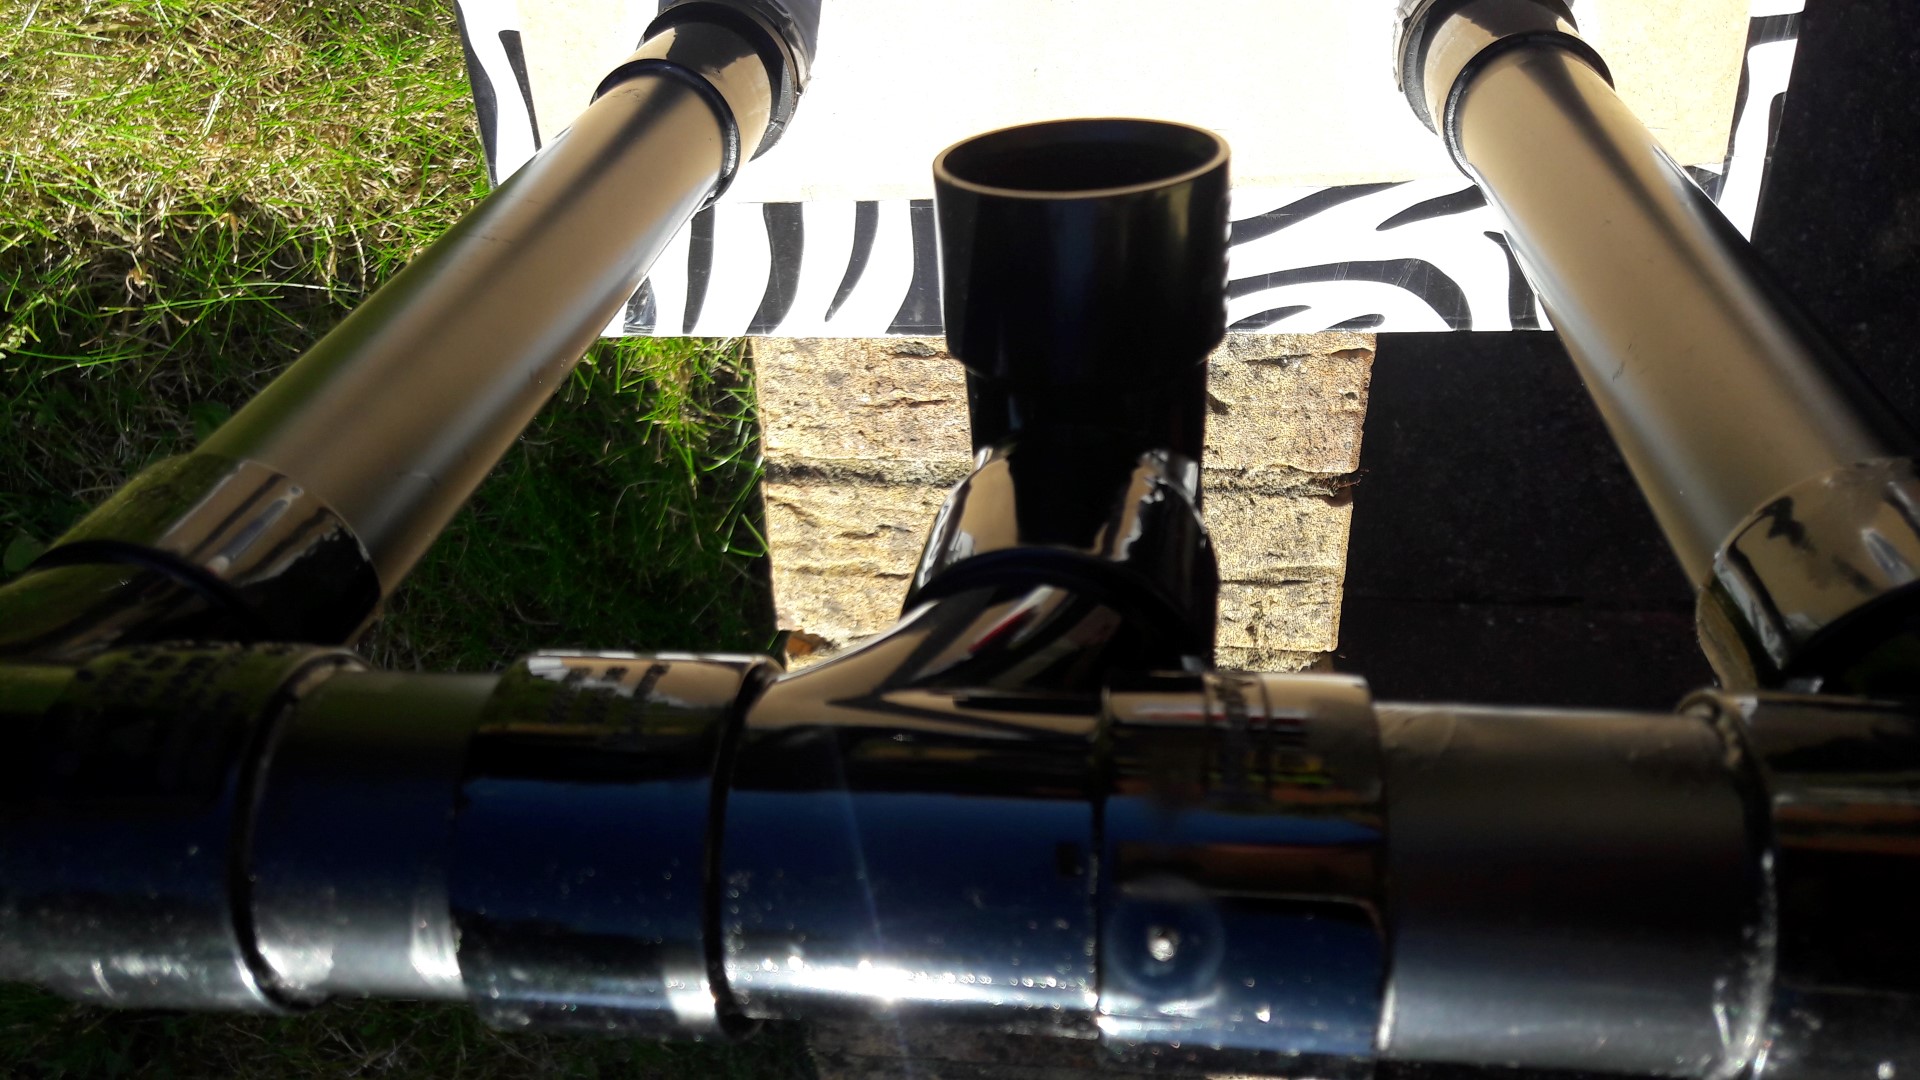
The following image shows the entire table leg. The main reason behind creating such a base at the end of the table leg is so that the table can easily slide on the carpet or laminate floor. This also stabilizes the table and gives strength to its structural integrity.

asmb6

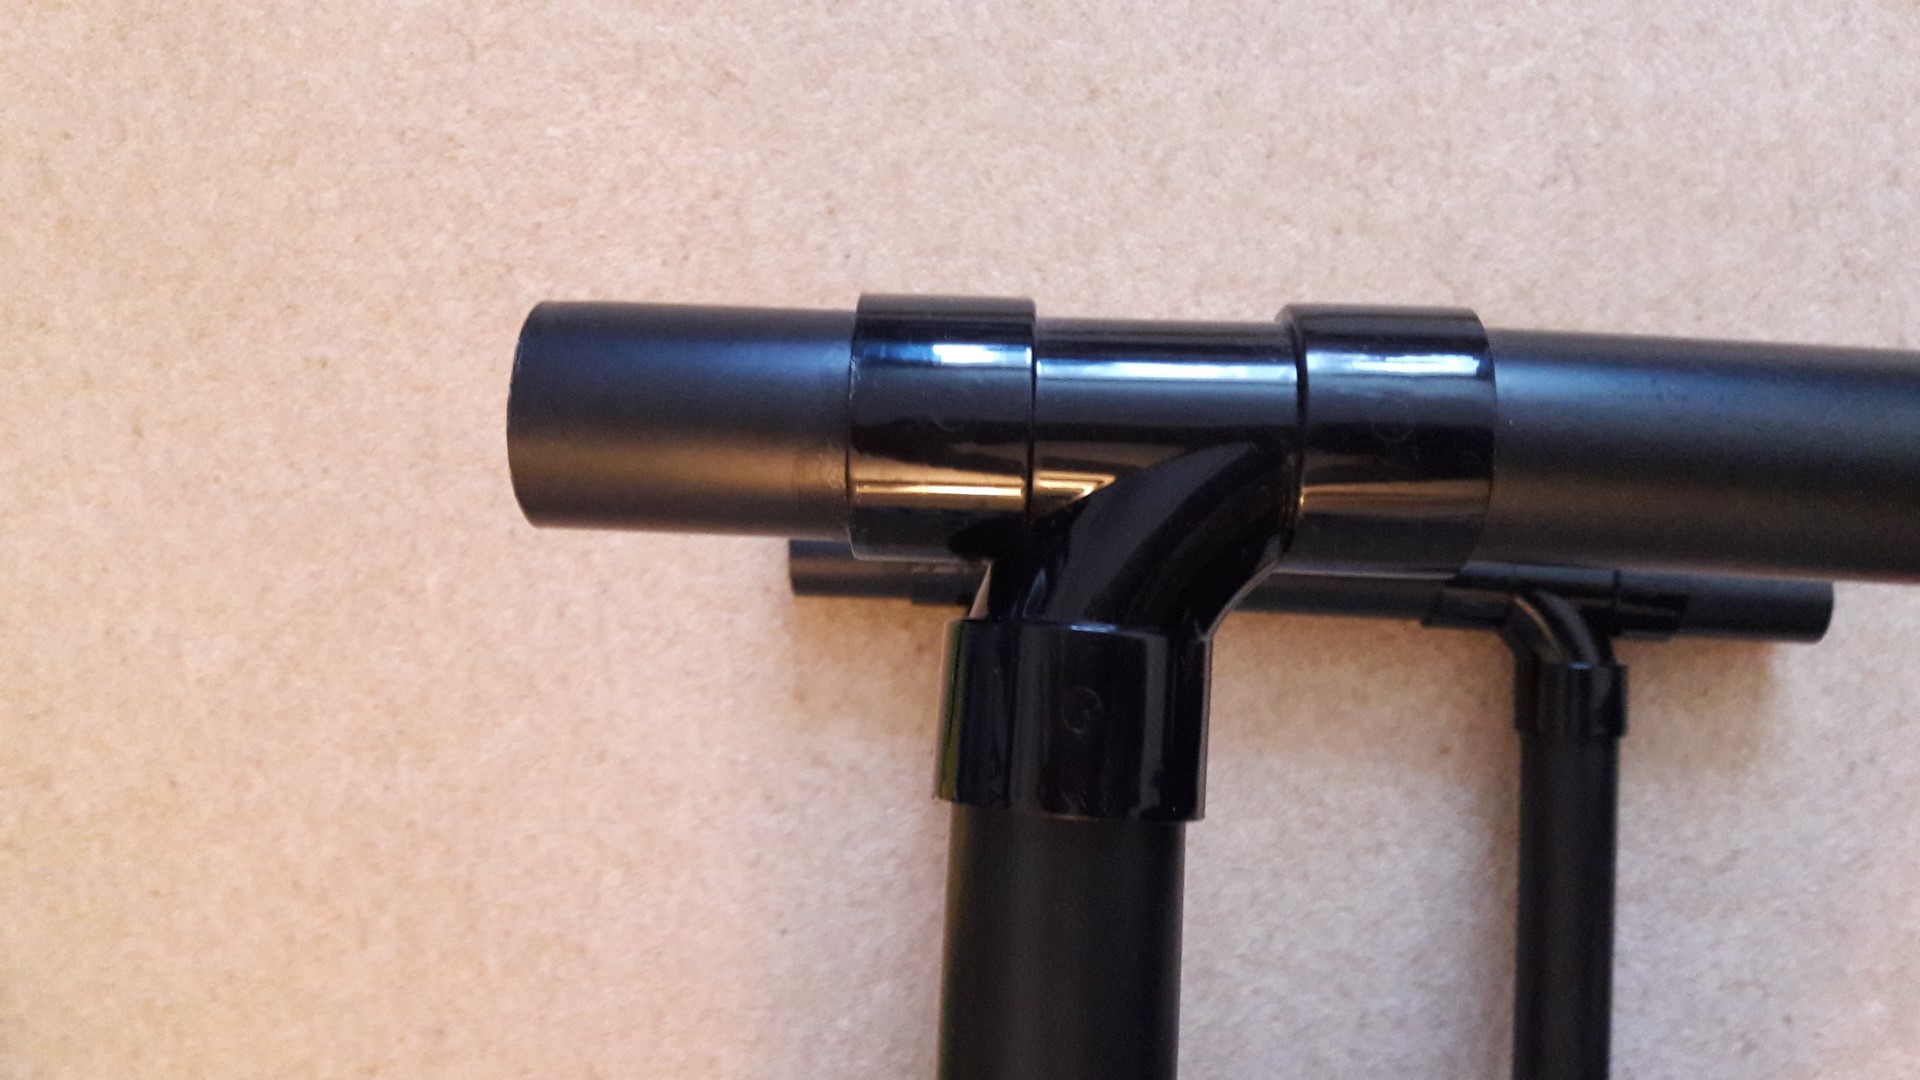
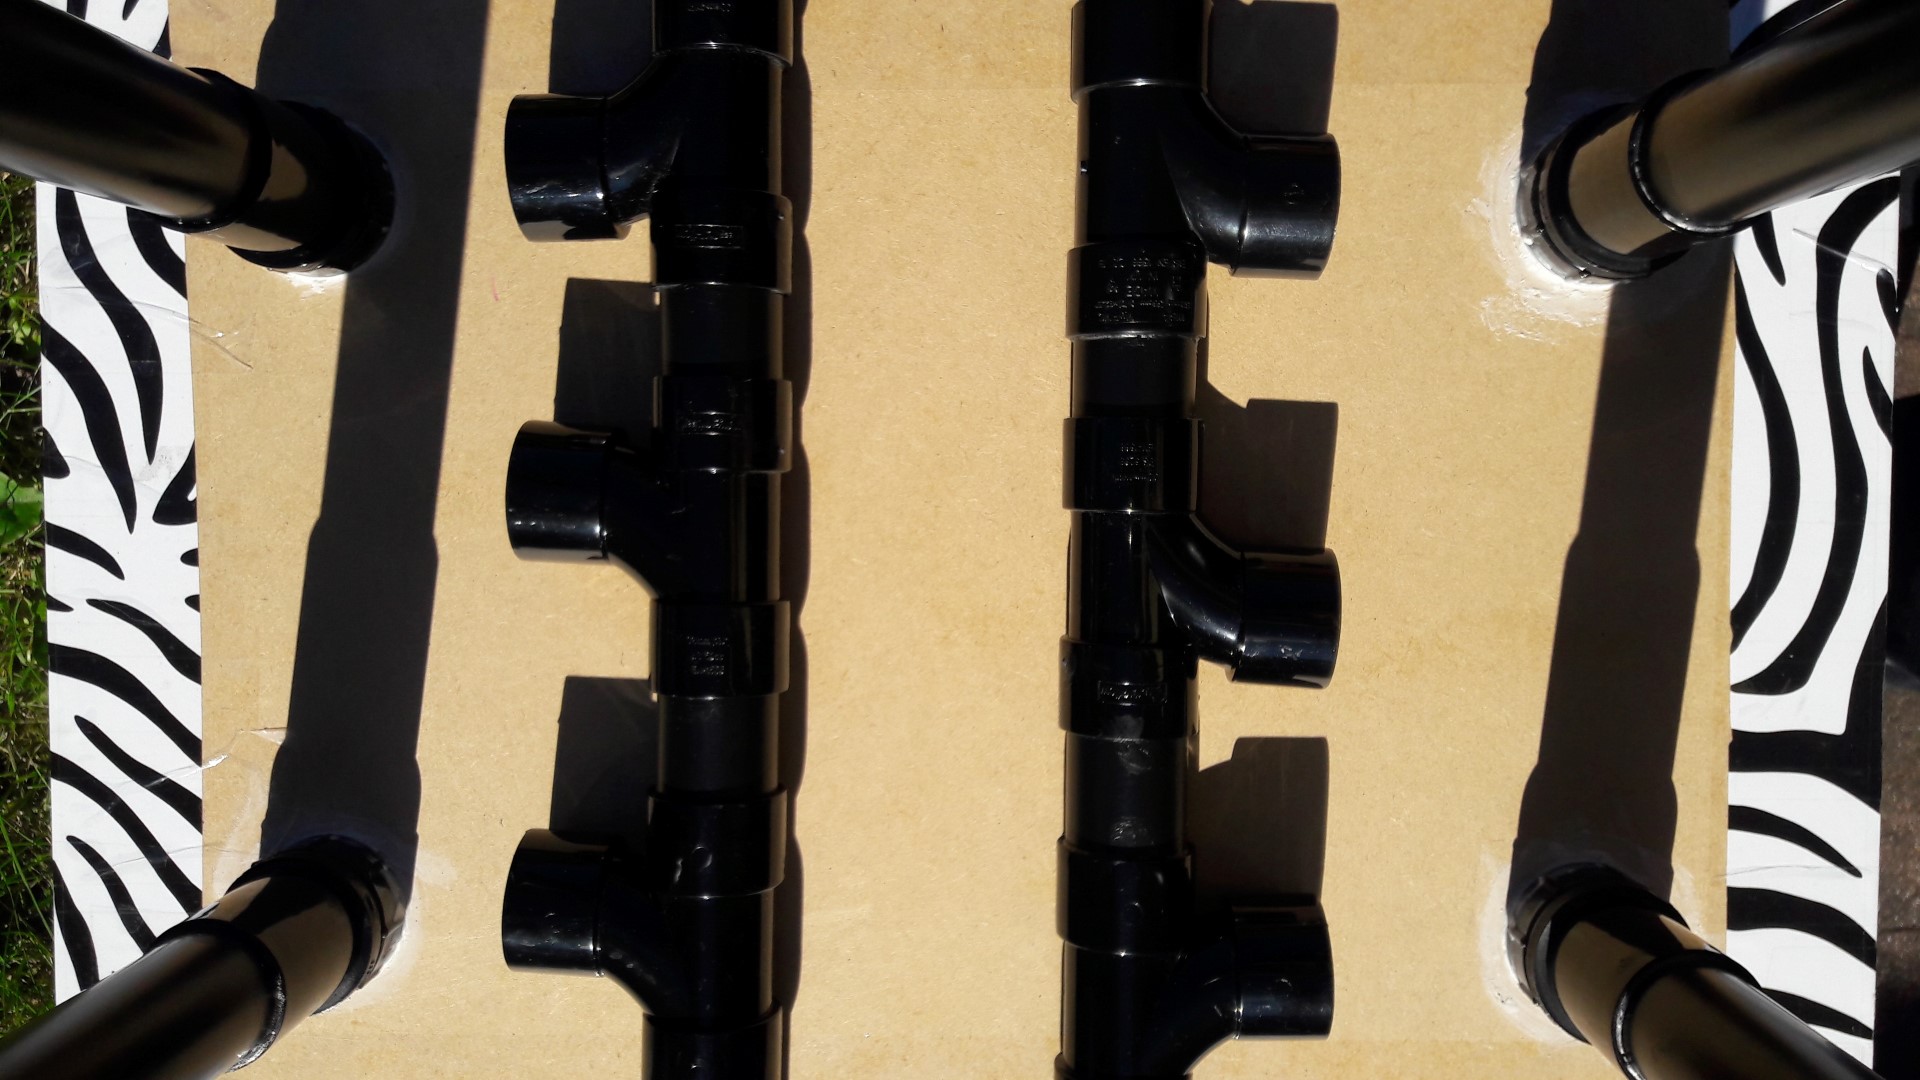
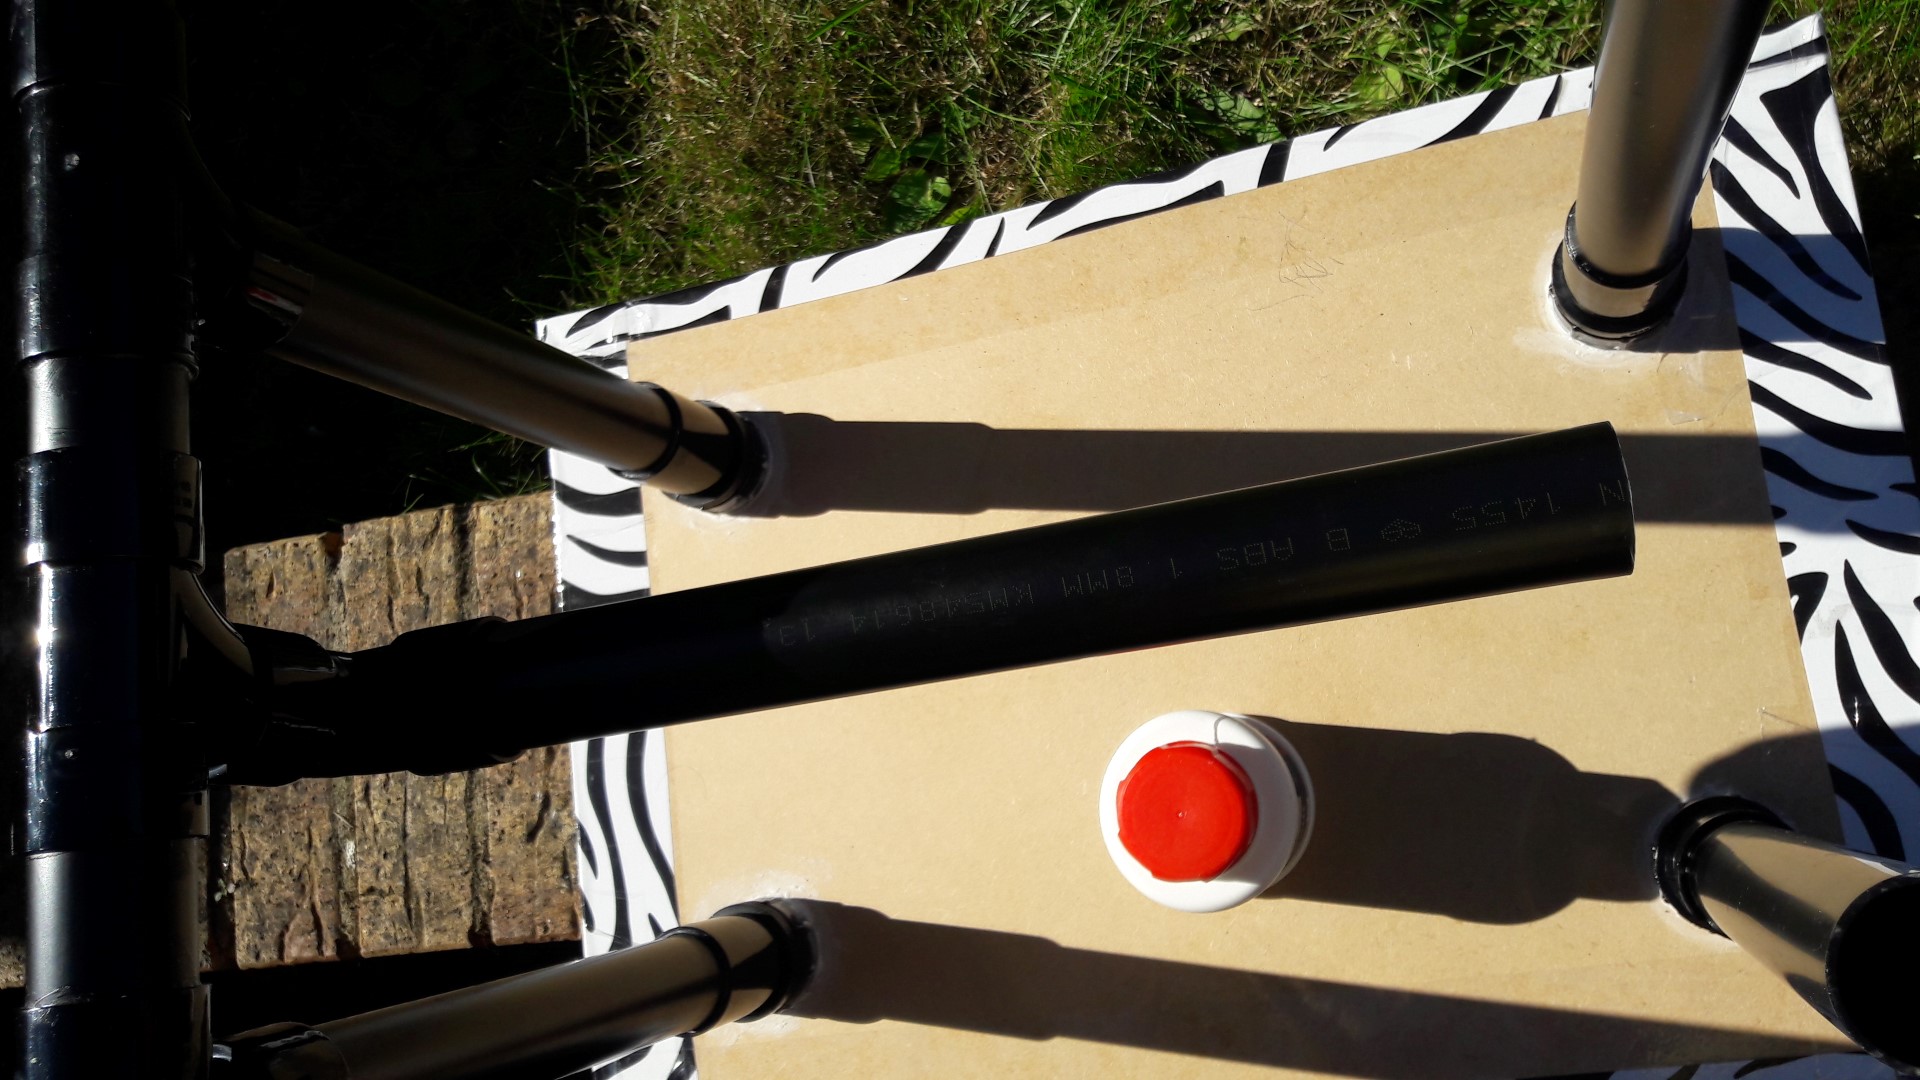
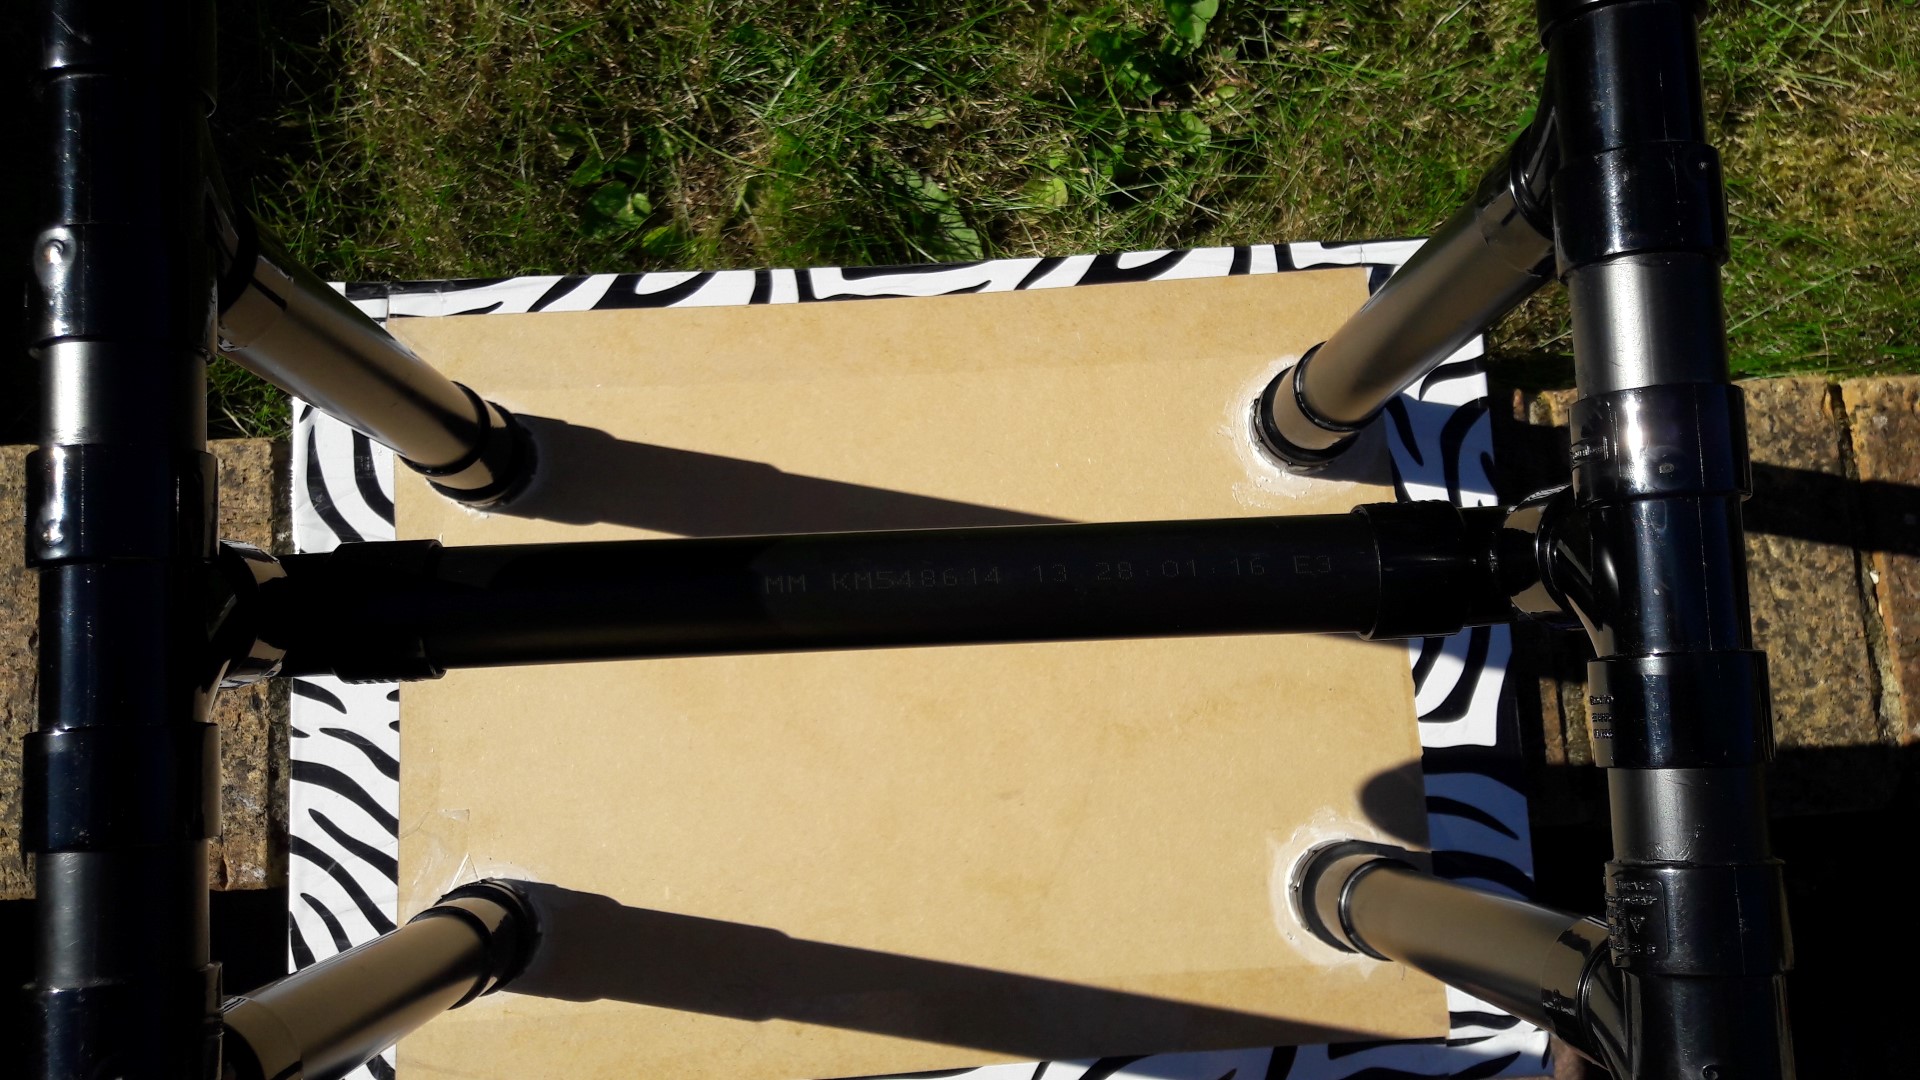
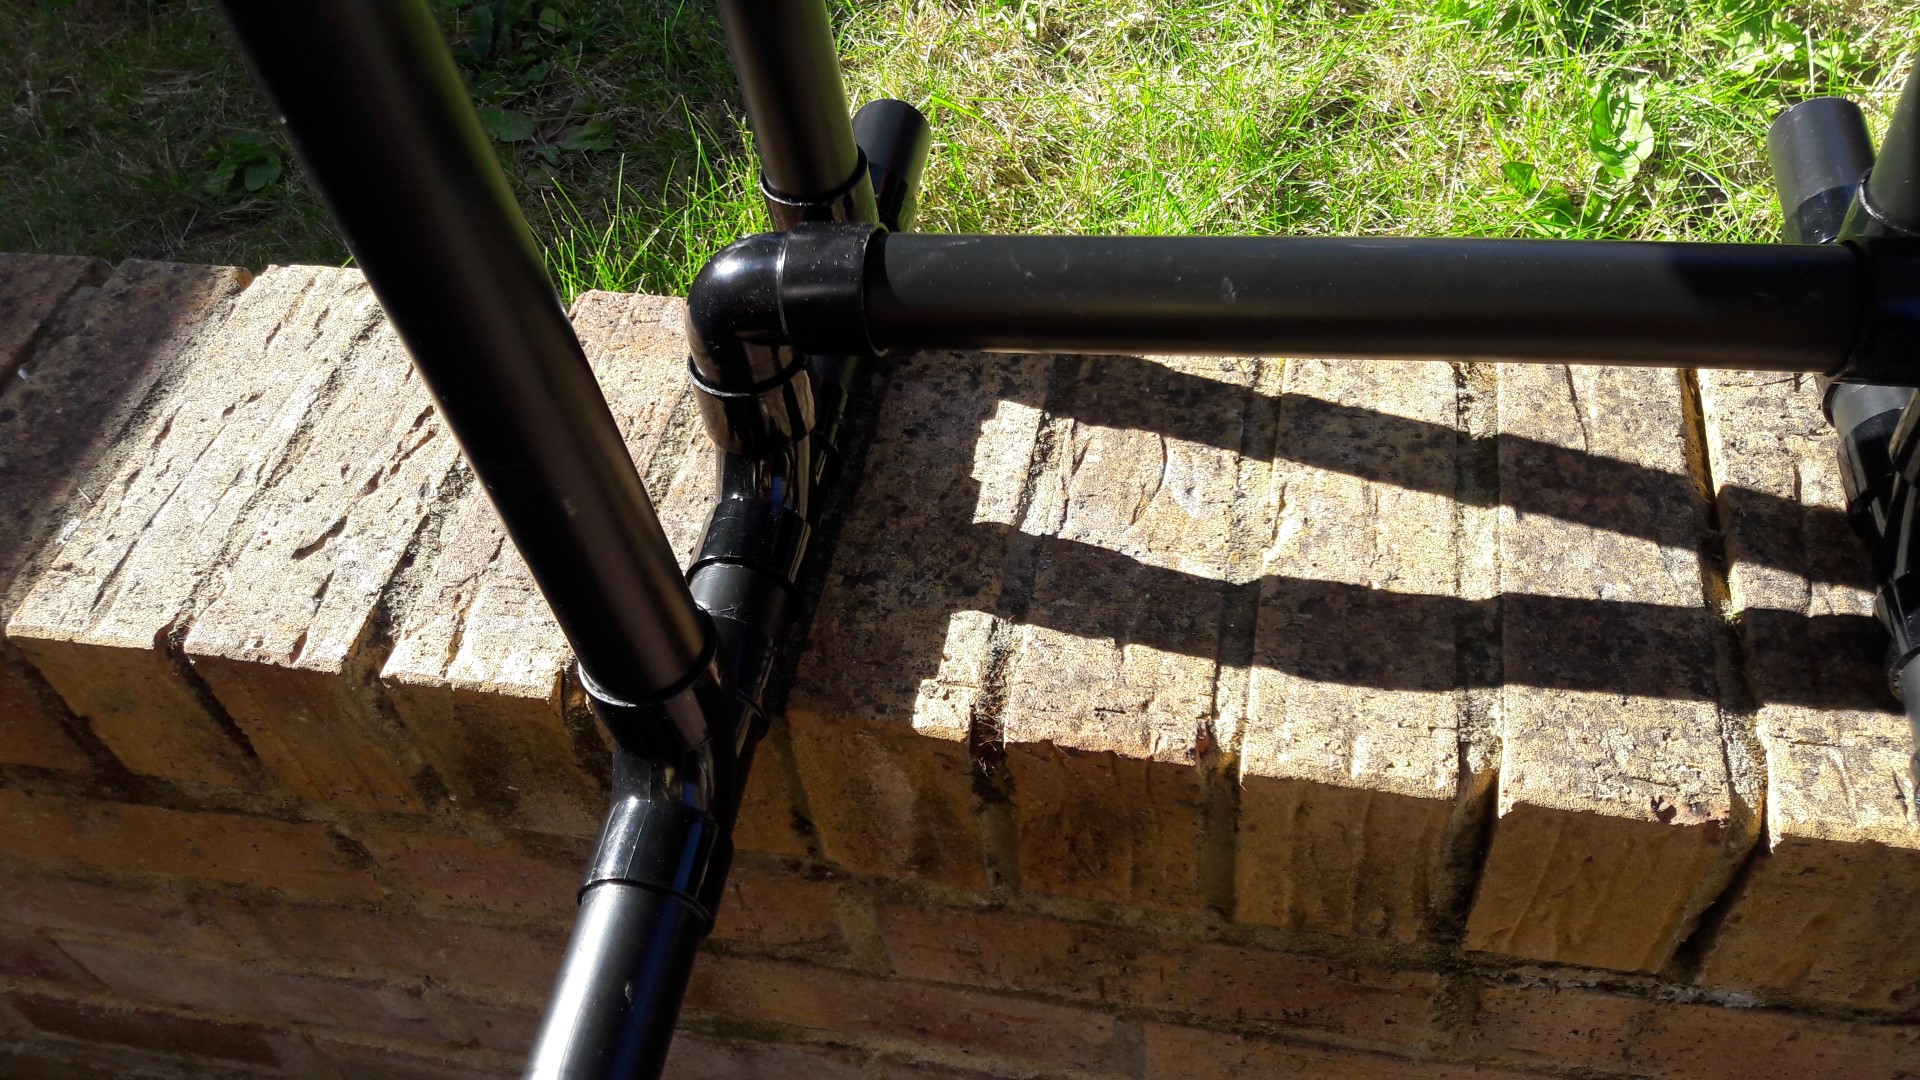
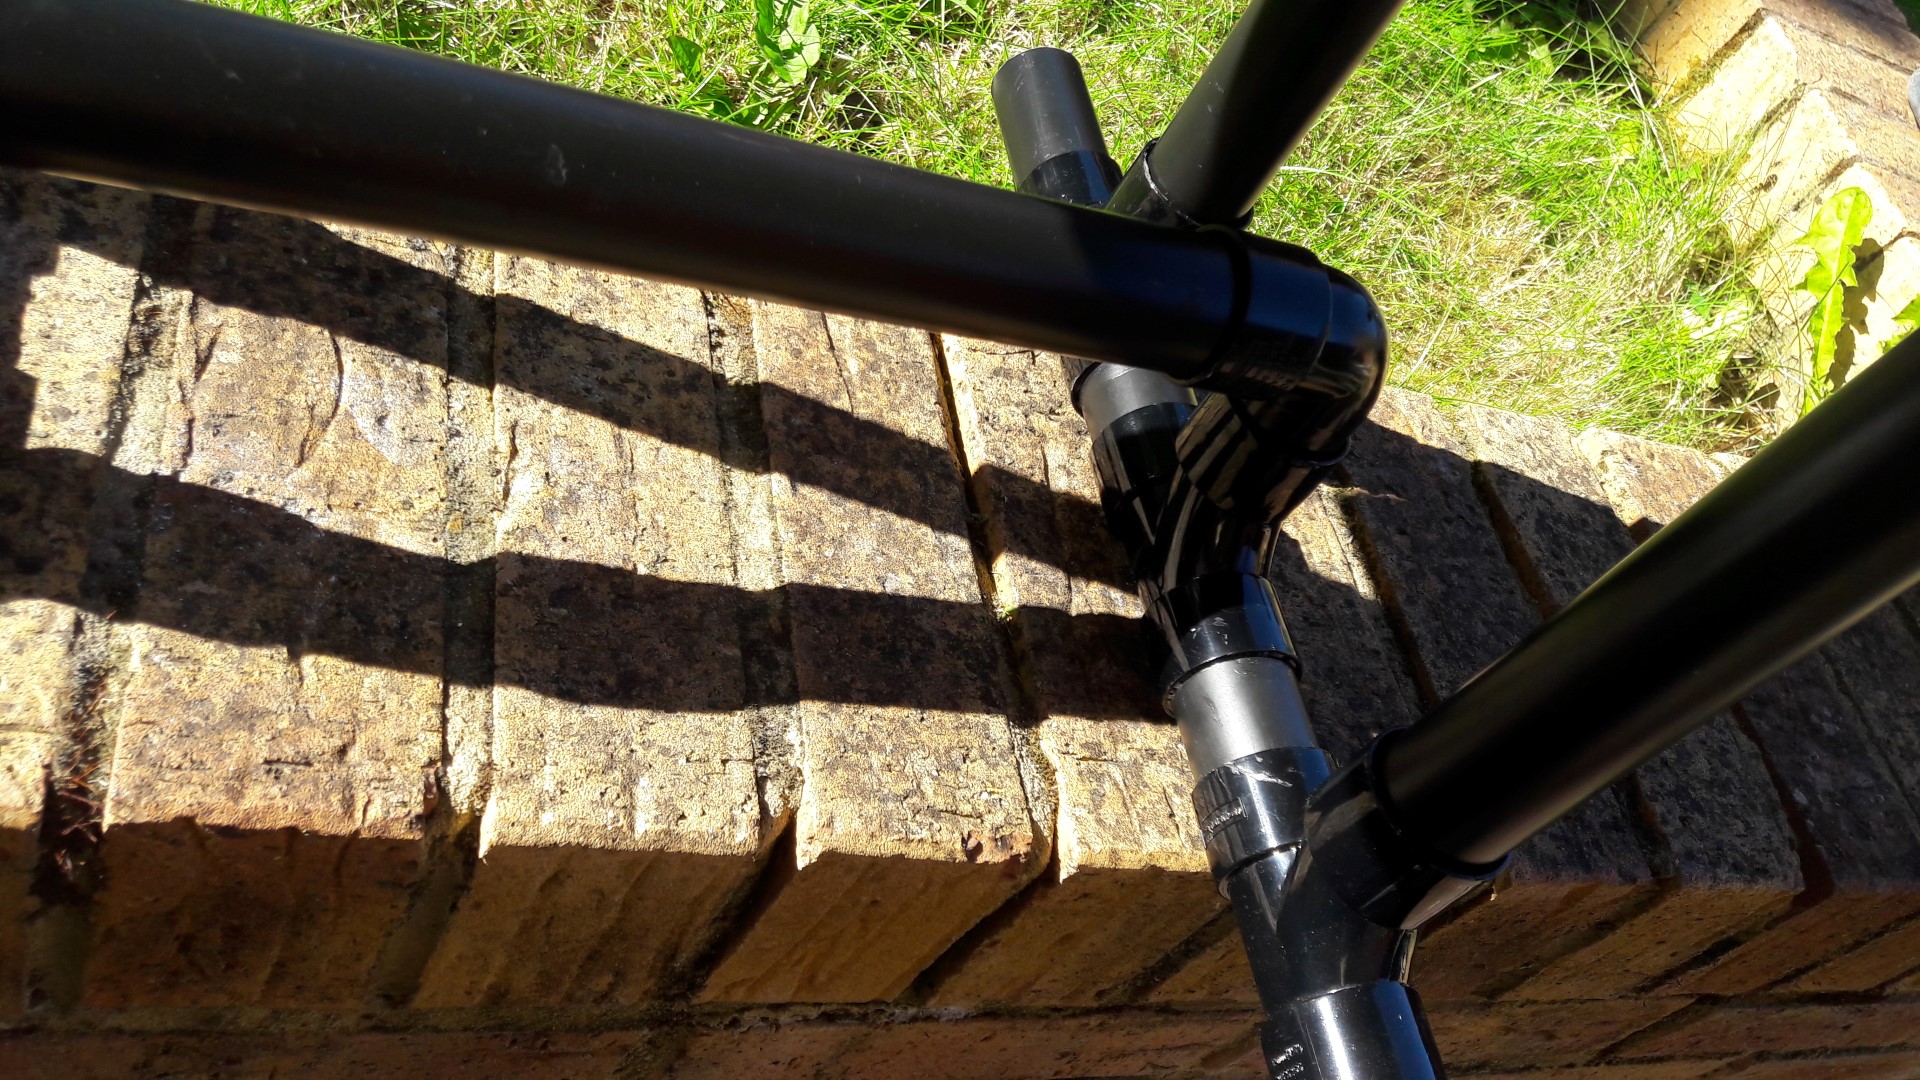
In order to create the middle support and leg rest, 3 Tees are stuck together as shown in the following image, by applying solvent to the Tees and small pieces of pipe to link and interconnect them.

asmb7

The 90 degree conversion is then stuck to the middle Tee. This forms one end of the leg rest in the middle of the table.

asmb9

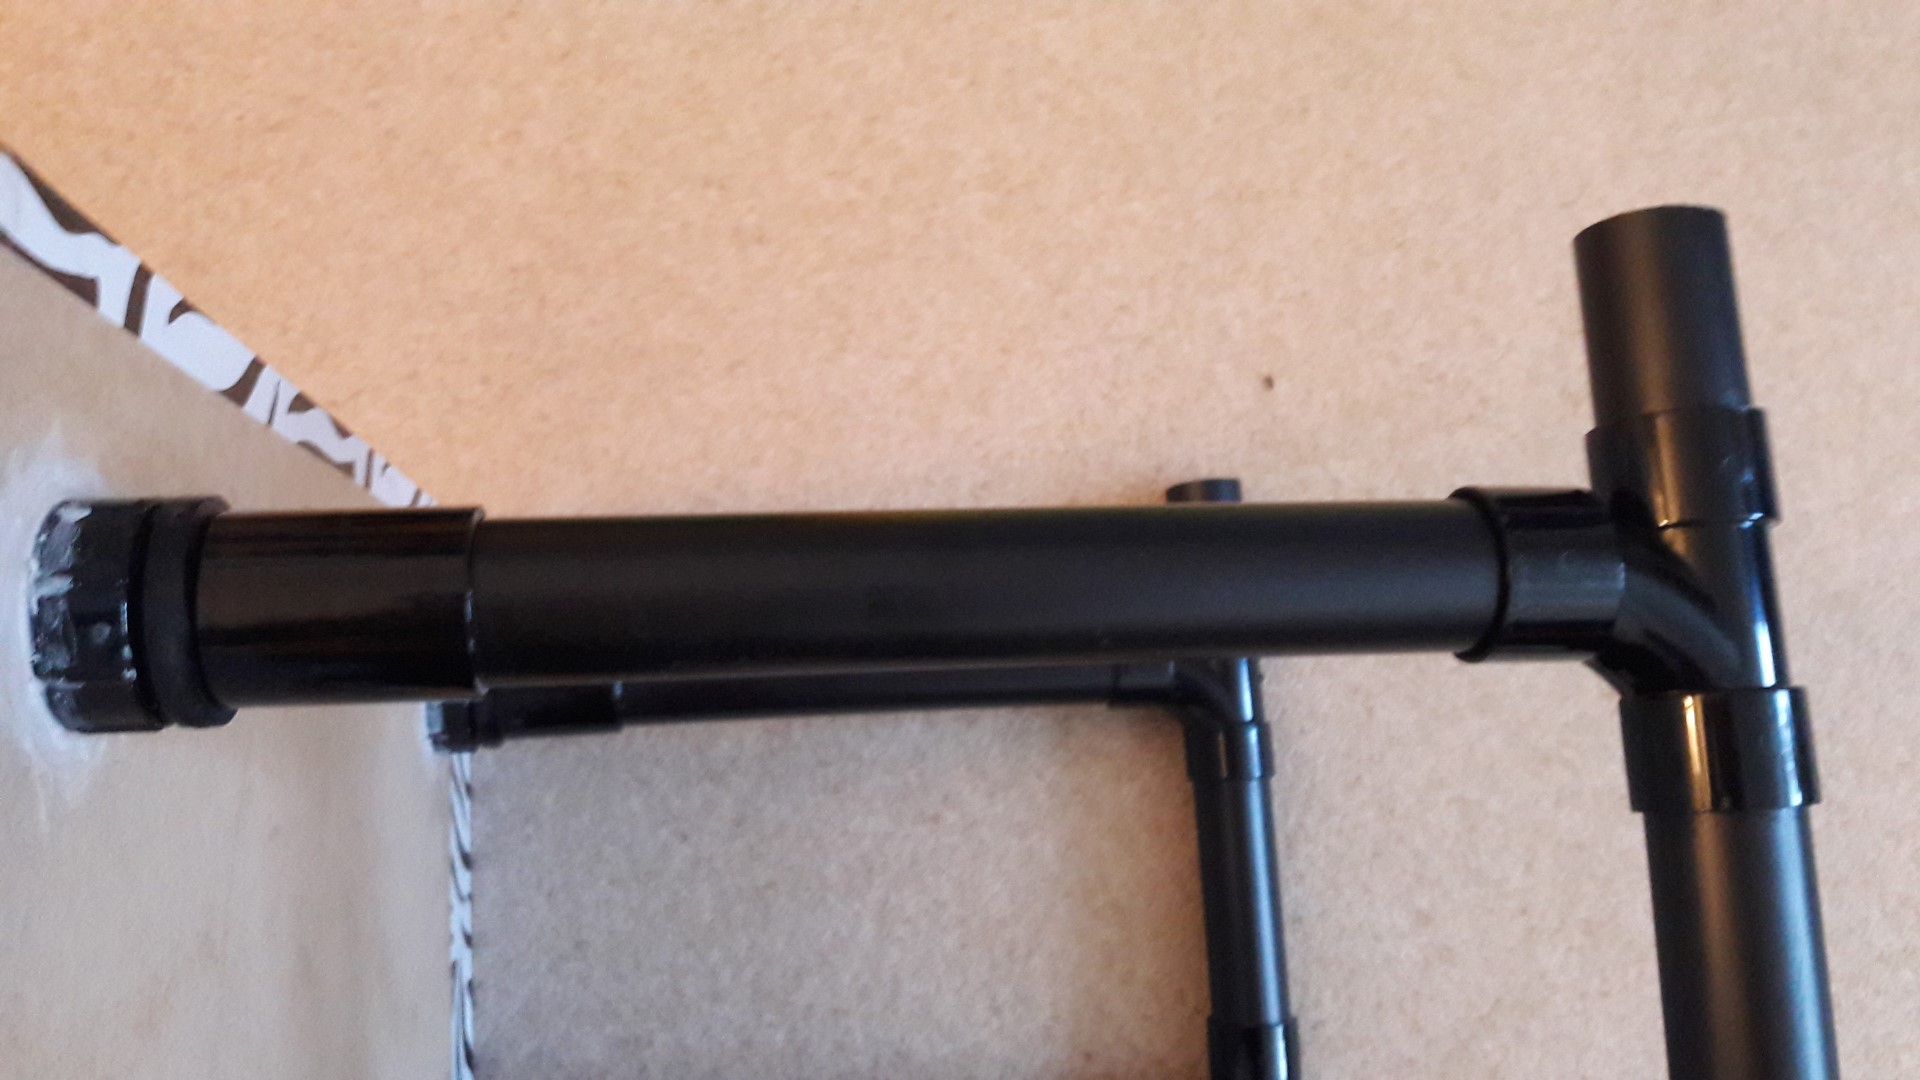
Then pipe is cut and stuck to the 90 degree conversion on one end, length wise to create the leg rest.

asmb10

Similarly the other end of the leg rest is created using the Tee and the other 90 degree conversion.asmb11

This structure serves two purposes, a nice leg rest and provides much required structural strength to the table.

asmb12

asmb13

Finally the table is ready. So easy to make, so quick to make.

finalasmb


Share Button